


Removal and Replacement Procedures
Maintenance and Service Guide 5–11
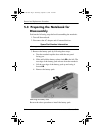
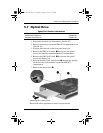
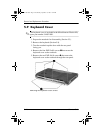
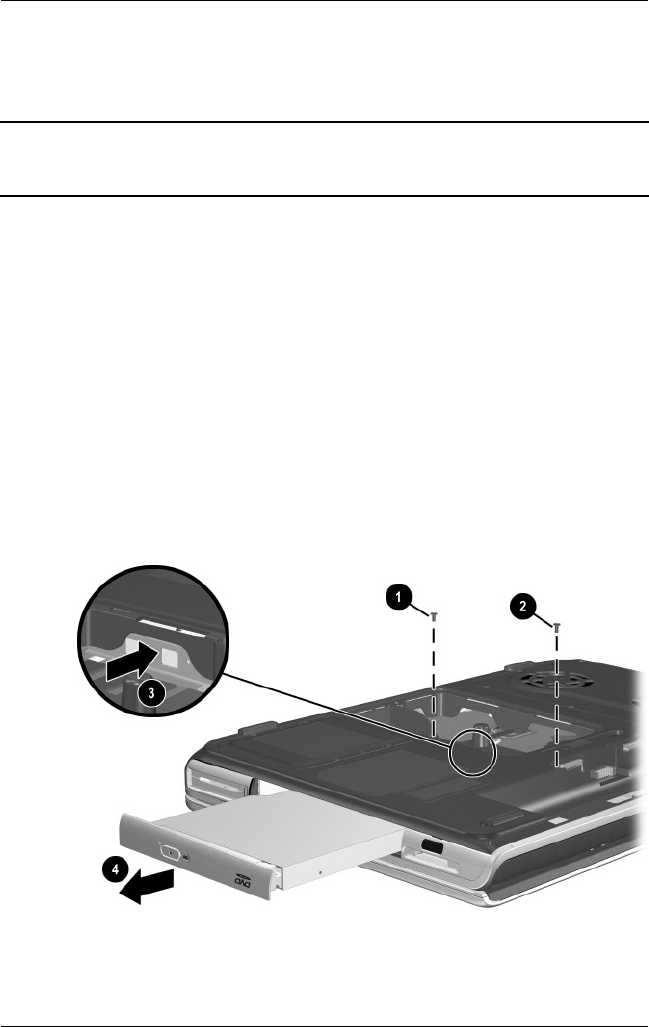
5.7 Optical Drive
1. Prepare the notebook for disassembly (Section 5.3).
2. Remove the memory expansion/Mini PCI compartment cover
(Section 5.5).
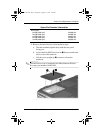
3. Position the notebook so the front panel faces you.
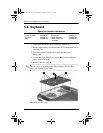
4. Remove the PM2.5×5.0 screw 1 that secures the optical
drive in the memory expansion/Mini PCI compartment.
5. Remove the PM2.5×8.0 screw 2 that secures the optical
drive in the battery bay.
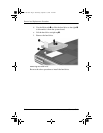
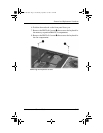
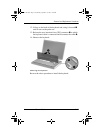
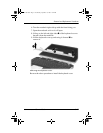
6. Push on the back of the optical drive 3 through the opening
on the left side of the memory expansion/Mini PCI
compartment.
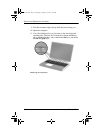
7. Remove the optical drive 4.
Removing the Optical Drive
Reverse the above procedure to install an optical drive.
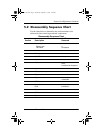
Spare Part Number Information
8X Max DVD-ROM/CD-RW combination drive
8X Max DVD-ROM drive
24X Max DVD+RW drive
344860-001
344859-001
344861-001
333621-001.book Page 11 Wednesday, September 17, 2003 12:24 PM