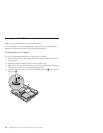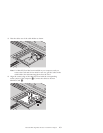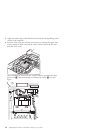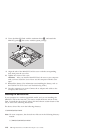
8. Cover the Mini-PCI Card with the insulation sheet 1, and attach the
Mini-PCI guide 2 that comes with the option package.
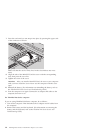
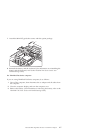
9. Align the tabs of the Mini-PCI Card slot cover with the corresponding
slots; then press the cover flat.
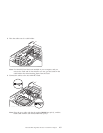
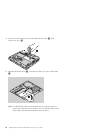
10. Tighten the screws of the cover.
Attention: After you install a Mini-PCI Card, do not use your computer
until you have closed the cover. Never use the computer with the cover
open.
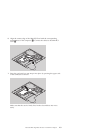
11. Reinstall the battery. (For information on reinstalling the battery, refer to
the ThinkPad T30 Series Service and Troubleshooting Guide.)
12. Turn the computer over again. Connect the ac adapter and cables to the
computer; then turn it on.
Installing the device driver
If your computer is a wireless upgradable model, and you are installing the
Mini-PCI Card for the first time, you need to install the device driver for the
Card. To install the device driver, either click the Software section button of the
CD, or refer to the following instructions.
The device driver files are in the following directory:
C:\DRIVERS\WIN\WLLANINT
Note: On some computers, the device driver files are in the following directory
instead:
C:\IBMTOOLS\DRIVERS\WLLANINT
1-10 IBM High Rate Wireless LAN Mini-PCI Adapter: User’s Guide


