9
DEUTSCH
ENGLISHFRANÇAISESPAÑOLITALIANOJAPANESECOMPL & WARR
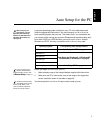
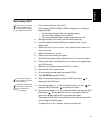
Auto Setup for Windows 3.1, Windows 95, Windows 98 or Windows NT
If the monitor is in standby
mode (STANDBY ON), it
may automatically turn off while
you are waiting for it to warm up.
You can disable the Windows
energy saving feature by
clicking on the S
TART
button and
selecting S
ETTINGS
, C
ONTROL
P
ANEL
, D
ISPLAY
, S
CREEN
S
AVER
.
Make sure that the E
NERGY
SAVING
FEATURES
OF
MONITOR
check boxes are either empty, or
that the features are set to at
least 20 minutes.
Your system may also have its
Power Saving utility enabled
through the Bios Setup Utility.
Refer to your system manual for
directions on disabling that bios
option.
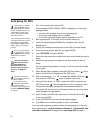
1. Turn on the monitor first; then the PC.
If the message CHECK SIGNAL CABLE is displayed, or if nothing is
displayed check:
• that the video interface cable is connected properly.
• the correct video adapter card is installed.
• the correct supported display mode is selected for your PC.
2. Wait approximately 15 minutes, until the monitor warms up.
3. Drag the icon bar and tool bar, if they are displayed, to the bottom of the
screen.
4. Insert the diskette labelled ‘IBM Monitor Installation Disk’ into the
diskette drive.
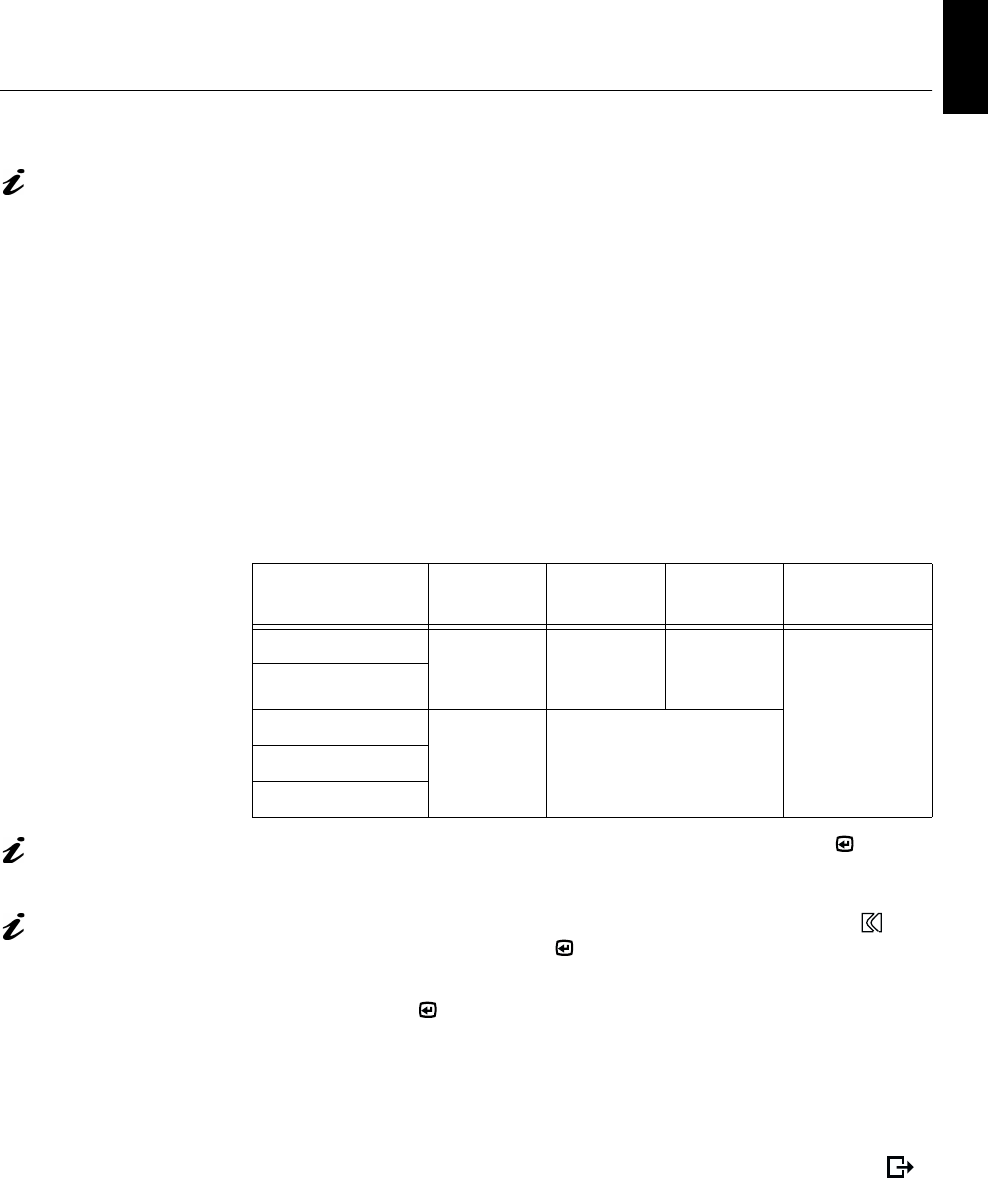
5. Check the operating system installed on your PC and follow the
instructions from the table below.
The size and diversity of
the dot pattern varies with
the screen resolution.
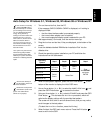
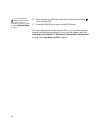
6. When the test pattern appears, press the OSD Enter button at the
bottom of the monitor to display the initial OSD menu.
Position the mouse pointer
at the bottom center of the
screen. This allows
A
UTO
S
ETUP
to run properly
7. Use an Arrow button ( -
or
+ ) to select the
IMAGE LOCK
icon and
press the OSD Enter button to access the function.
8. Using an Arrow button (
-
or
+
), select
AUTOMATIC
and press the OSD
Enter button . This activates the
A
UTO
S
ETUP
procedure, which will
optimize the display settings with the provided test pattern.
The screen will dim, blink on and off several times, and you may notice
small changes to the test pattern.
(To abort the
A
UTO
S
ETUP
function, press the
E
SC
key.)
9. When finished, the OSD main menu returns. Press the Exit button
once to exit from the OSD.
Operating
System
Step1 Step2 Step3 Step4
Windows 3.1
Open
P
ROGRAM
M
ANGER
Select
F
ILE
Select
R
UN
Ty p e
‘
A:\TESTPAT
’
and press
ENTER
Windows NT 3.5
Windows 95
Select
S
TART
Select R
UN
Windows 98
Windows NT 4.0


