64 Hardware Maintenance Manual: IBM PC Server/Enterprise Racks
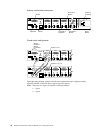
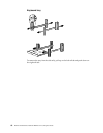
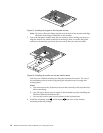
Figure 31. Installing the hinges on the flat panel monitor
Note: Be sure to slide each hinge into place on the back of the monitor and align
the holes in the hinges with holes on the monitor.
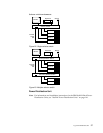
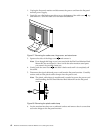
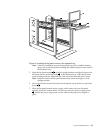
3. Lower the flat panel monitor onto the new monitor stand, making sure that you
align the holes in the stand with holes in the hinges; then, secure the flat panel
monitor to the monitor stand with the four screws that you removed earlier.
Figure 32. Installing the monitor on the new monitor stand
You have now finished attaching the flat panel monitor to its stand. The rest of
the installation process involves preparing the keyboard tray for storage and
routing cables.
Notes:
a. You must remove any keyboard or mouse that is already in the keyboard tray
before continuing.
b. You will not be able to store a mouse in the keyboard tray after installing the
Flat Panel Monitor Rack Mount Kit.
c. You can only store a space-saver keyboard in the keyboard tray.
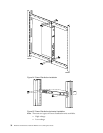
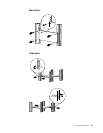
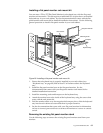
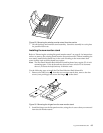
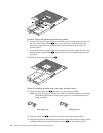
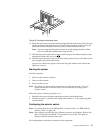
4. Install the mounting studs
2 and bumpers 3 that come in the monitor
mounting hardware package.


