Chapter 4. Installing Options
Input/Output connectors . . . . . . . . . . 15
Removing the cover . . . . . . . . . . . 15
Internal drive removal and replacement . . . . . 16
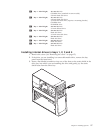
Installing internal drives in bays 1, 2, 3 and 4 . . 17
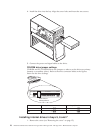
CD-ROM drive jumper settings . . . . . . 18
Installing internal drives in bays 5, 6 and 7 . . . 18
Hard disk drive jumper settings . . . . . 21
Installing a security U-bolt . . . . . . . . . 21
Installing adapters . . . . . . . . . . . . 22
Adapter slots . . . . . . . . . . . . . 22
AGP adapter . . . . . . . . . . . . . 24
Audio adapter . . . . . . . . . . . . 25
ADSL modem . . . . . . . . . . . . 25
Home PNA network adapter . . . . . . . 25
Replacing the cover . . . . . . . . . . . . 26
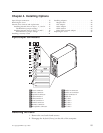
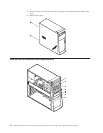
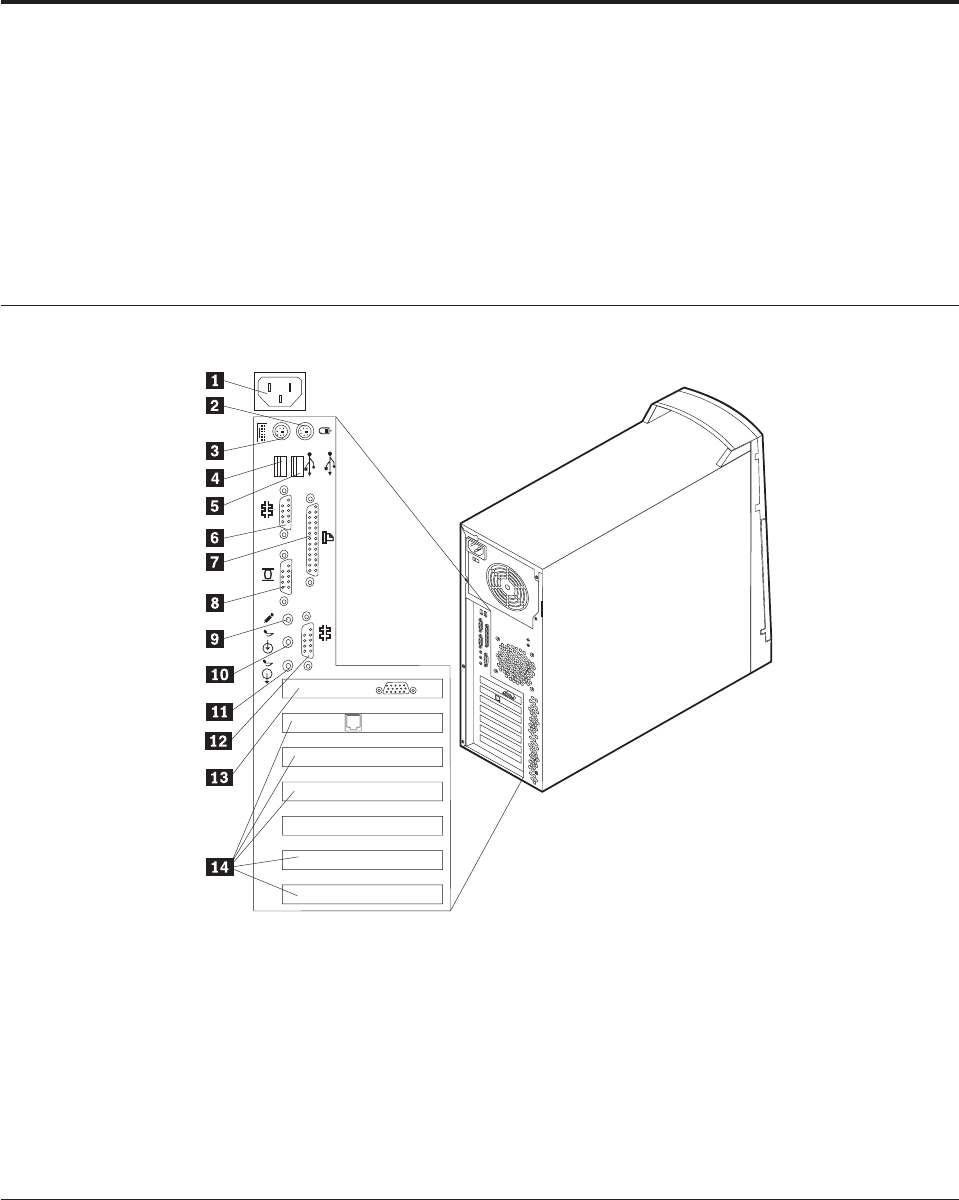
Input/Output connectors
1
1
2
2
1 Power connector 10 Audio in connector
2 Mouse connector 11 Audio out connector
3 Keyboard connector 12 Serial connector 2
4 USB connector 1 13 AGP slot
5 USB connector 2 14 PCI slot 1
6 Serial connector 1 14 PCI slot 2
7 Parallel connector 14 PCI slot 3
8 Monitor connector 14 PCI slot 4
9 Microphone connector 14 PCI slot 5
Removing the cover
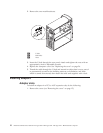
1. Remove the two back thumb screws.
2. Disengage the keylock (if any) on the side of the computer.
© Copyright IBM Corp. 2000 15


