Connecting the CD-ROM drive to your
computer
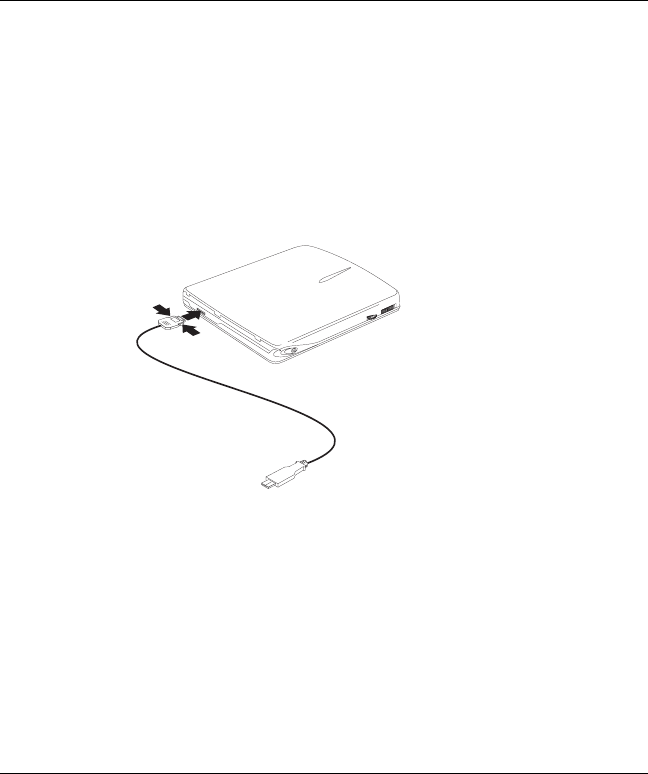
Follow these instructions to connect the CD-ROM drive.
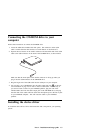
1. Locate the USB cable included with this option. One connector on the USB
cable is smaller than the other and has two small buttons on each side of it.
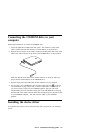
2. Squeeze the two buttons on the smaller connector and attach that end of the USB
cable to the USB connector on the back of the CD-ROM drive, as shown below.
Make sure that the metal plate on the smaller connector is facing up when you
plug it into the USB connector on the CD-ROM drive.
3. Plug the larger end of the USB cable into the USB port on your computer.
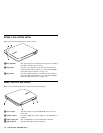
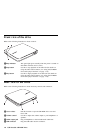
4. You can plug a set of headphones into the audio output jack (see 3 in the rear
view illustration on page 1-2) in order to listen to audio CDs. Alternatively, if
you want to listen to audio on your ThinkPad speakers, plug one end of the
included audio cable into the audio output jack on the CD-ROM drive, and plug
the other end of the audio cable into either the microphone jack or the line-in jack
on your ThinkPad computer. This will route the audio to your ThinkPad
speakers.
Installing the device driver
To install the device driver, follow the instructions that correspond to your operating
system.
Part 1: Installation and usage guide 1-3


