36
Using the Projector
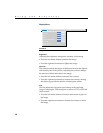
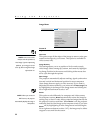
Ceiling Projection
When you turn
Ceiling Projection
on, the projector turns the
image upside down for ceiling-mounted projection. Highlight
Ceiling Projection, then click the left or right mouse button to
turn this feature on and off.
Rear Projection
When you turn
Rear Projection
on, the projector reverses the
image so you can project from behind a translucent screen. High-
light Rear Projection, then click the left or right mouse button to
turn this feature on and off.
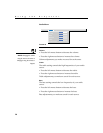
Default Source
Default Source toggles among Computer RGBHV, Computer
VESA, Computer M1 Analog, Computer M1 Digital, Computer
CableWizard and Component Video, Composite Video, and
S-video. This determines which source the projector checks first
for active video during power-up. Highlight Default Source and
click the left or right mouse button to toggle among the options.
Auto Source Select
This setting toggles between On and Off. When this feature is Off,
the projector defaults to the source selected in Default Source. To
display another source, you must manually select one by press-
ing the
source
button on the keypad or the
computer
or
video
but-
ton on the remote. When this feature is On, the projector
automatically finds the active source, checking the default source
first. Highlight Auto Source Select and click the left or right
mouse button to turn this feature on and off.
Plug and Play
This setting toggles between On and Off. When it is On, most
new computers will automatically recognize the projector, then
set the monitor resolution and refresh rate accordingly. You need
to set the Plug and Play setting to Off for the projector to display
properly on some older computers. The Plug and Play setting
does not affect video images.
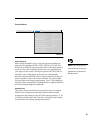
If the projector’s display constantly changes between the com-
puter image and the message, “Perfecting the image”, you may
need to turn Plug and Play Off.


