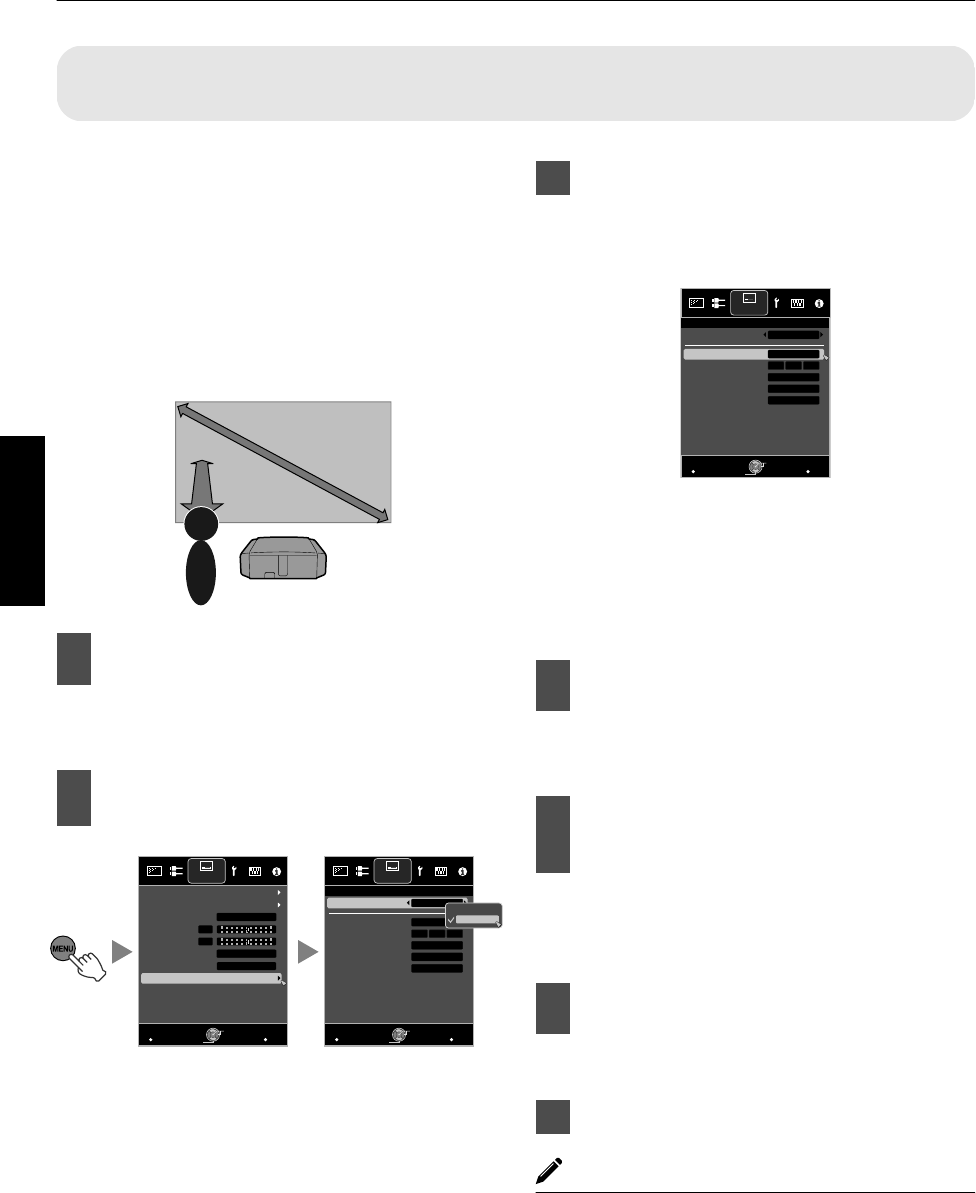
Adjusting Image Quality Automatically According to the Viewing
Environment
By configuring “Environment Setting” according to the
viewing environment, image quality adjustment and
correction according to environmental differences are
performed
automatically
to
minimize
any
influence on the
image quality.
0
“Environment Setting” is applied separately from the
individually adjusted data.
0
Screen correction cannot be performed when “Color
Profile” is set to “x.v.Color”.
.
Projector
Viewer
Viewing
Distance
Screen Size
Screen
- Front View -
1
Press the [MENU] button to display
the menu
Q:
Press the [ENV.SETTING] button on the remote
control to open the “Environment Setting” menu.
2
Select “Installation”"“Environment
Setting”"“On” from the menu
.
>>
MENU
BACK
0
MENU
BACK
0
3
21
Back
Operate
Select
Exit
Back
Operate
Select
Exit
Light
3m
100inch
Off
On
Wall Color
Viewing Distance
Screen Size
Screen No.
Screen Adjust
Off
Front
Environment Setting
High Altitude Mode
Anamorphic
Pincushion
Keystone
Installation Style
Pixel Adjust
Lens Control
Installation Installation
Off
Environment Setting
Off
On
Adjust
0
When “Environment Setting” is set to “Off”,
“Screen Size”, “Viewing Distance”, and “Wall
Color” are grayed out and cannot be selected.
3
Set Screen Adjust
By selecting the optimal correction mode
according to the characteristics of the screen in
use, corrections can be performed to reproduce
natural images with balanced colors.
.
>>
MENU
BACK
3
21
Back
Operate
Select
Exit
Light
3m
100inch
Off
On
Wall Color
Viewing Distance
Screen Size
Screen No.
Screen Adjust
Installation
Environment Setting
Adjust
0
This item is not available
when “Color Profile” is
set to “Off”.
0
Select a type from “1” to “106”.
0
For information on the screen and the
corresponding
correction mode, please visit
our
website.
http://www3.jvckenwood.com/english/projector/screen/
4
Select “Screen Size” to configure the
screen size to use
0
Select the closest screen size setting from the
range between “60inch” and “200inch” (in 10-
inch increments).
5
Select “Viewing Distance” to
configure the viewing distance
(distance to the screen)
0
Select the closest viewing distance
setting from
the range between “1 m” and “10 m”.
0
For more details on the height, please refer to
“Screen Size and Projection Distance”p. 75.
6
Select “Wall Color” to configure the
wall color
0
If the wall is dark
in color, select “Dark”. For walls
with a color other than dark color, select “Light”.
7
Press the [MENU] button to exit
MEMO
0
You can utilize the optional optical sensor and
dedicated software to make finer adjustments.
For more information on the dedicated software,
please visit our website.
http://www3.jvckenwood.com/english/download/
index.html
30
Operate


