A-61602 January 2008 27
File Type — select one of these options based on how you want to
save or send the scanned image(s). Available formats are:
• PDF: Adobe PDF files (Portable Document Files) look exactly like
original documents and preserve the fonts, images, graphics and
layout of the source files regardless of the application and platform
used to create it.
• PDF - Searchable: same as a PDF file with the addition of full text
search features for locating words.
• RTF (Rich Text Format): is a document file format developed by
Microsoft to allow easy portability from one PC to another regardless
of the operating system that is running on the PC.
• JPEG/TIFF - Single page: if you are scanning documents with
multiple pages or sides, each page or side is saved as a separate
JPEG or TIFF file. JPEG files are created if JPEG compression is
enabled, otherwise TIFF images are created.
• TIFF - Multi-page: combines all the scanned images into a single
TIFF file.
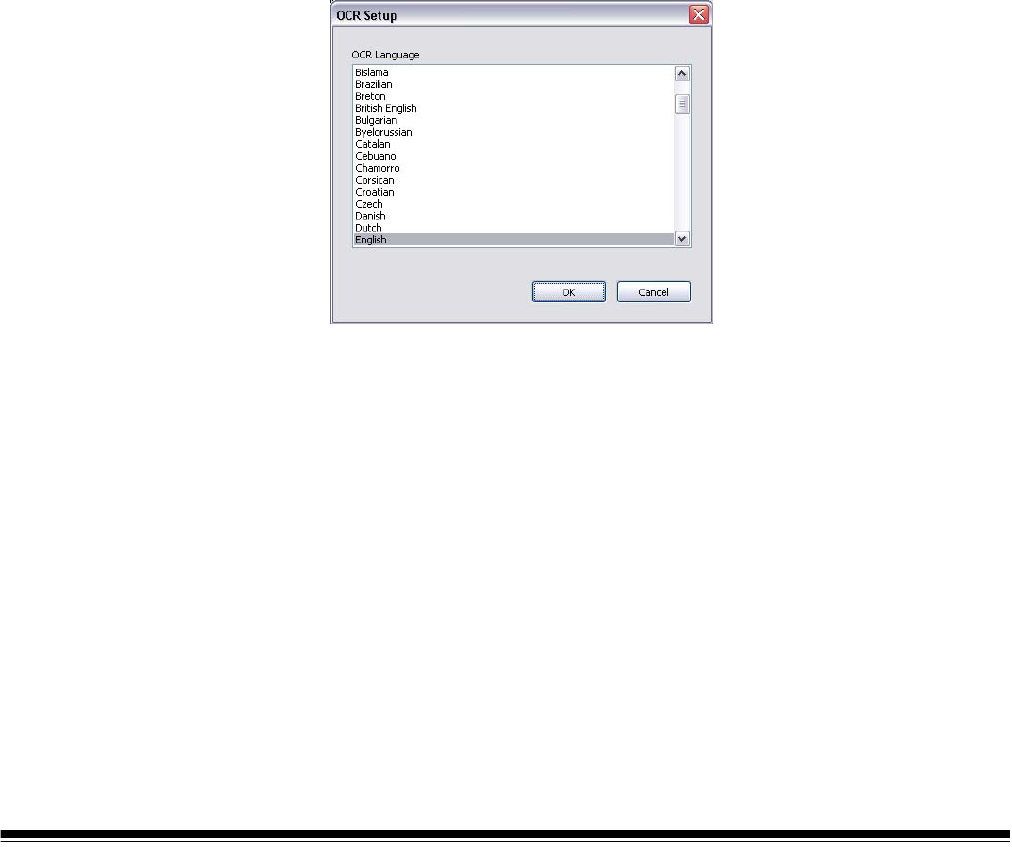
Settings button — if you select PDF - Searchable or RTF as the File
Type, the OCR Setup dialog box will be displayed.
• Select the language for the searchable PDF or RTF file and click OK.
Folder: enter the folder name where you want to save the scanned
images or click Browse to locate the folder. You will be prompted to
create the folder if you enter a folder name that does not exist.
File Name Prefix: when images are scanned, they are automatically
assigned a unique file name. For example, if you choose to scan your
documents as PDF files, the software automatically assigns the date
and sequence number for each image: 2007-04-27(1).pdf (for the first
file created), 2007-04-27(2) for the second file created, etc. If you want
to add a prefix to the file name, it will be attached to the beginning of
each file name. For example, if you want the word Invoice before the
file name, enter “Invoice” in the File name prefix field. The files will be
named: Invoice2007-04-27(1); Invoice2007-04-27(2), etc.
Name file prior to saving/sending: if selected, the Save As dialog box
will be displayed after the documents are scanned, allowing you to
specify the name of the file and the location where it will be stored. The
Save As dialog box will be displayed each time the function is run.
