Matchprint Professional Server for DocuColor 12 Printer/Copier – Quick Start
2002 Kodak Polychrome Graphics. All Rights Reserved.
17
Step 4. Adding a Spooler
Creating a spooler allows workstations to see the proofer over the network as a
custom printer with its own user definable configurations. Files that are sent to the
spooler are automatically entered into the Job Queue for proofing.
Note for Windows NT and 2000: At the client Windows machine, either log
into the same domain as the Matchprint Professional Server, or connect to the
Matchprint Server with a valid user name and password that has a minimum of
read access. For security purposes, KPG does NOT recommend enabling the
Guest Account.
Failure to do so will result in Windows 2000 clients receiving the following error
message when trying to print an image: "Could not complete the print command
because the selected printer driver could not be found. Please select a printer
from the control panel and try again."
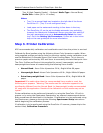
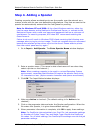
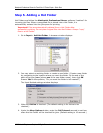
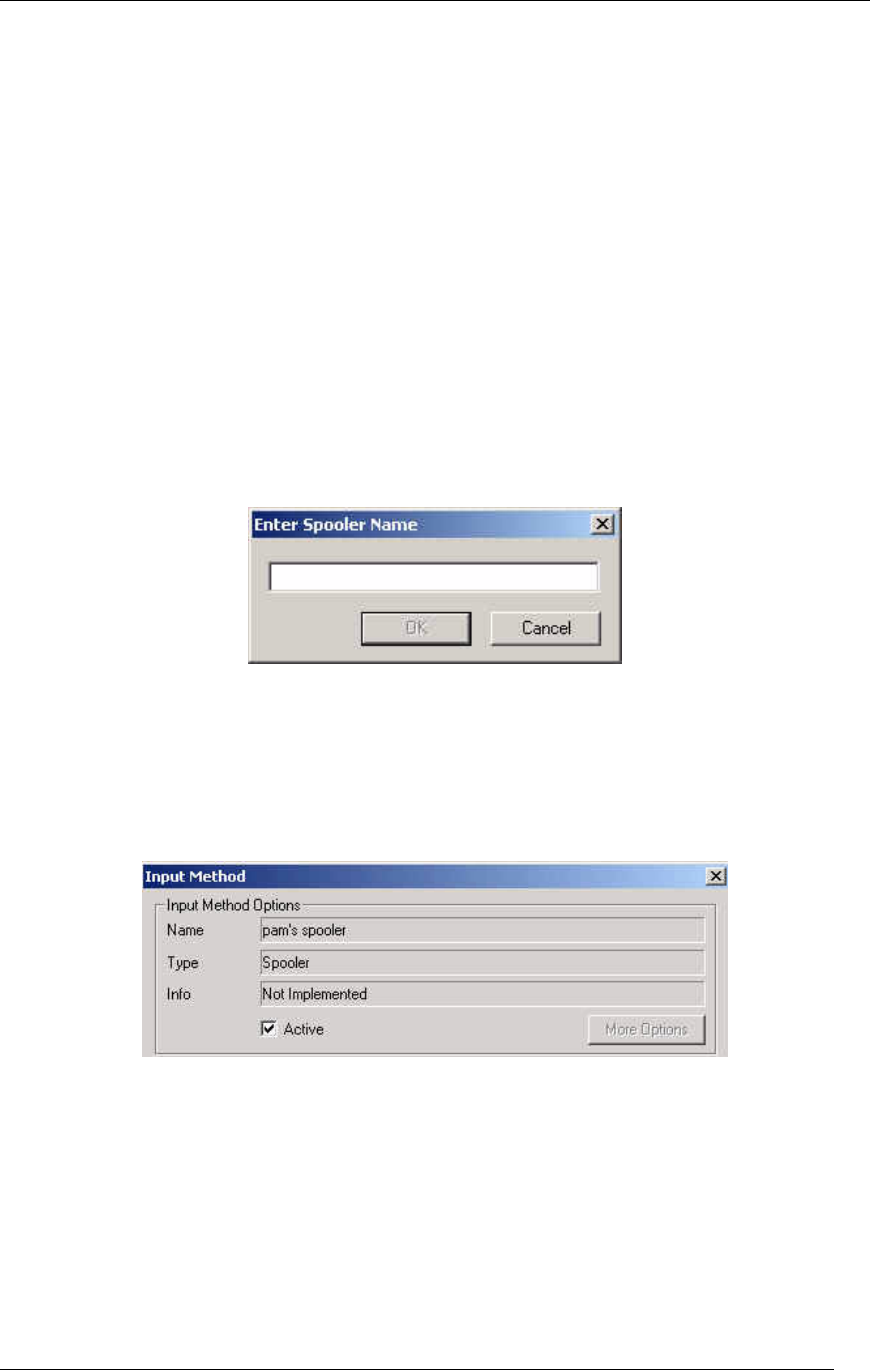
1. Go to Input > Add Spooler. The Enter Spooler Name window displays:
2. Enter a spooler name. (This name is what client users will see when they
select a printer on the network.)
Note: When creating a spooler to be used in a mixed Operating System
environment, remember that Windows 98 require the spooler name to be
12 characters or less. (Alpha-numeric characters and spaces are allowed.)
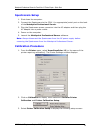
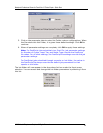
3. Click OK. The Input Method window displays:
4. Make sure Active is checked. (The default setting is for Active to be
checked.)
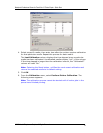
5. Click on the parameter tabs and enter the Spooler configuration. When the
file enters this Spooler, it is given these default settings.
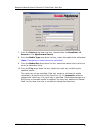
6. When parameter information is complete, click OK to apply these settings.
Note: For PostScript jobs submitted via a Print File, job parameter settings
for Number of Copies, Input Tray and Media Type override the PostScript
file codes. For all other settings, the PostScript file settings override the job
parameter settings.


