


Kramer Electronics Ltd.
5
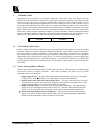
3 HOW DO I GET STARTED?
The fastest way to get started is to take your time and do everything right the first time. Taking 15 minutes to
read the manual may save you a few hours later. You don’t even have to read the whole manual - if a certain
section doesn’t apply to you, you don’t have to spend your time reading it.
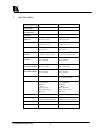
4 UNPACKING AND CONTENTS
The items contained in your Kramer accessory package are listed below. Please save the original box and
packaging materials for possible future transportation and shipment of the unit.
Video Scaler
AC Power Cable
VGA Cable – HD15 to HD15
Composite Video Input Cable
S-Video Input Cable
Rackmount Screws (Qty 4) for EIA 19” Racks
User Manual
Kramer Concise CD ROM Product Catalog
Disk containing sample Remote Control software (supplied with VP-722DS only)
4.1 Optional Accessories
The following optional accessories, which are available from Kramer, can enhance implementation of your
Video Scaler. For information regarding these accessories, contact your Kramer dealer.
RGBHV Output Cable Assemblies - 5 BNC to 5 BNC
VGA-style Output Cable Assemblies - HD15 to HD15
RS-232 Cable (VP-722DS Only)
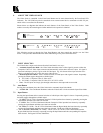
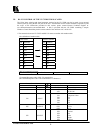
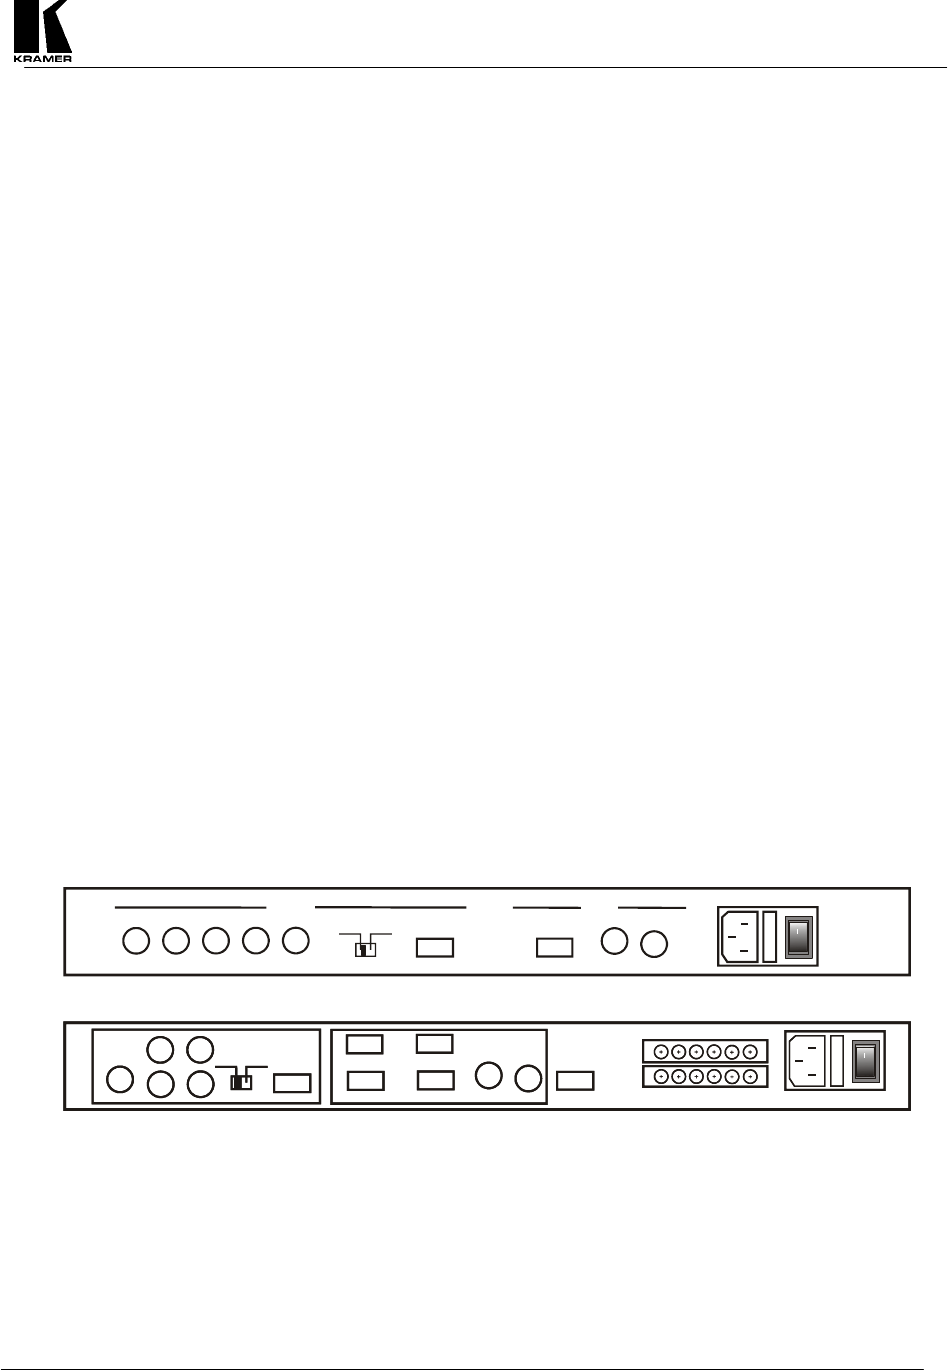
5 CONNECTING THE HARDWARE
The first step is to connect the Video Converter and related hardware. Below is a drawing of the rear panels of
the two units.
R
BH
V
BNC
V
GA
V
GA
PC
CV
SV
POWER
100-240V 50-60Hz
INPUTS
OUTPUT
G
o
POWER 100-240V 50-60Hz
RS 232
SV
CVPC1
PC2PC3PC4
AUDIO
CONTACT
LOOP
CONTROL
V
IDEO S-VIDEO
INPUTS
PC 4
PC 3
PC 2
PC 1
o
VR
G
VGA
OUTPUT
H
BNC
HD-15
B
POWER 100-240V 50-60Hz
RS 232
SV
CVPC1
PC2PC3PC4
AUDIO
CONTACT
LOOP
CONTROL
V
IDEO S-VIDEO
INPUTS
PC 4
PC 3
PC 2
PC 1
o
VR
G
VGA
OUTPUT
H
BNC
HD-15
5.1 Rack Mounting
Each of the Video Scalers described in this manual mount in a standard 19” (1RU) EIA rack assembly. These
devices do not require spacing above or below the unit for ventilation. Four standard rackmounting screws are
provided for each of the four corner holes in the rack ears.