9
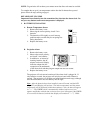
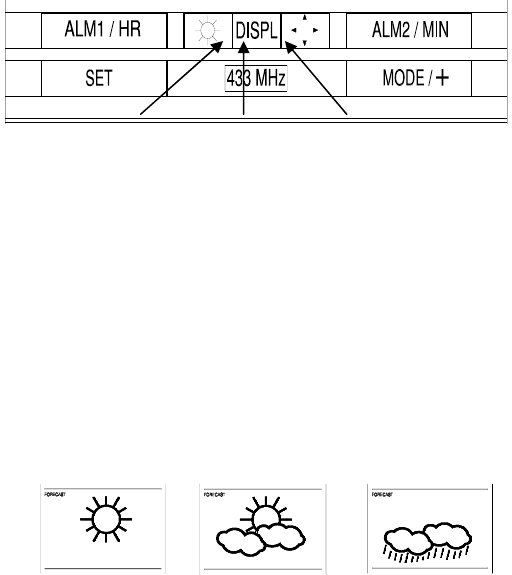
between time and remote temperature (M2) by pressing the “DISPL”
button. The selected display mode will flash on the lower left as “M0”,
“M1” or “M2”.
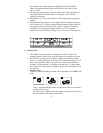
12. The direction of the display can also be rotated 360° in 90° increments by
pressing the directional button. There is no display on the LCD that
signifies the direction.
13. The projector case can be rotated 180° to further help orient the projected
display.
14. The intensity of the projection can be adjusted to three different settings as
well as turned “off” by pressing the light Intensity button. When turned off,
the projection will only come on when a button is pressed. The intensity
cannot be set for the projected display when set to “off”. When only
batteries are used, the intensity setting is set to “off” with no other options.
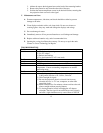
C. Forecast Icon
1. The weather forecasting feature is estimated to be 75% accurate. The
weather forecast is based solely upon the change of air pressure over time
2. The WT-5432 averages past air-pressure readings to provide an accurate
forecast—creating a necessity to disregard all weather forecasting for 12-24
hours after the unit has been set-up, reset, or moved from one altitude to
another (i.e. from one floor of a building to another floor). In areas where
the weather is not affected by the change of air pressure, this feature will be
less accurate.
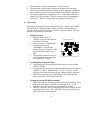
3. Weather Icons
There are 3 possible weather icons that will be displayed in the FORECAST
LCD:
Sunny—indicates that the weather is expected to improve (not that the
weather will be sunny).
Sun with Clouds—indicates that the weather is expected to be fair (not
that the weather will be sunny with clouds).
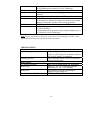
Light intensity Display Mode Display Direction


