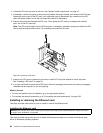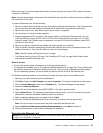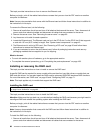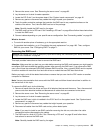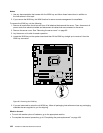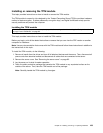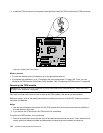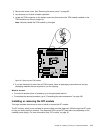
• To complete the installation, go to “Completing the parts replacement” on page 168. Then, the onboard
SATA software RAID 5 is available for your server if your server has the required number of hard disk
drives installed. To congure RAID, see “Conguring RAID” on page 71.
Removing the system board RAID 5 key
Attention: Do not open your server or attempt any repair before reading and understanding the “Safety information”
on page iii
and “Guidelines” on page 83.
This topic provides instructions on how to remove the system board RAID 5 key.
Notes:
1. This topic applies only to servers that have a system board RAID 5 key option installed.
2. If you remove the system board RAID 5 key, the onboard SATA software RAID 5 will be disabled.
Before you begin, print all the related instructions or ensure that you can view the PDF version on another
computer for reference.
Note: Use any documentation that comes with the system board RAID 5 key and follow those instructions in
addition to the instructions in this topic.
To remove the system board RAID 5 key, do the following:
1. Remove all media from the drives and turn off all attached devices and the server. Then, disconnect all
power cords from electrical outlets and disconnect all cables that are connected to the server.
2. Remove the server cover. See “Removing the server cover” on page 85.
3. Lay the server on its side for easier operation.
104 ThinkServer Hardware Maintenance Manual


