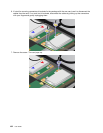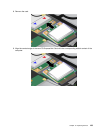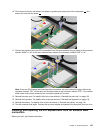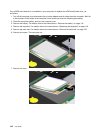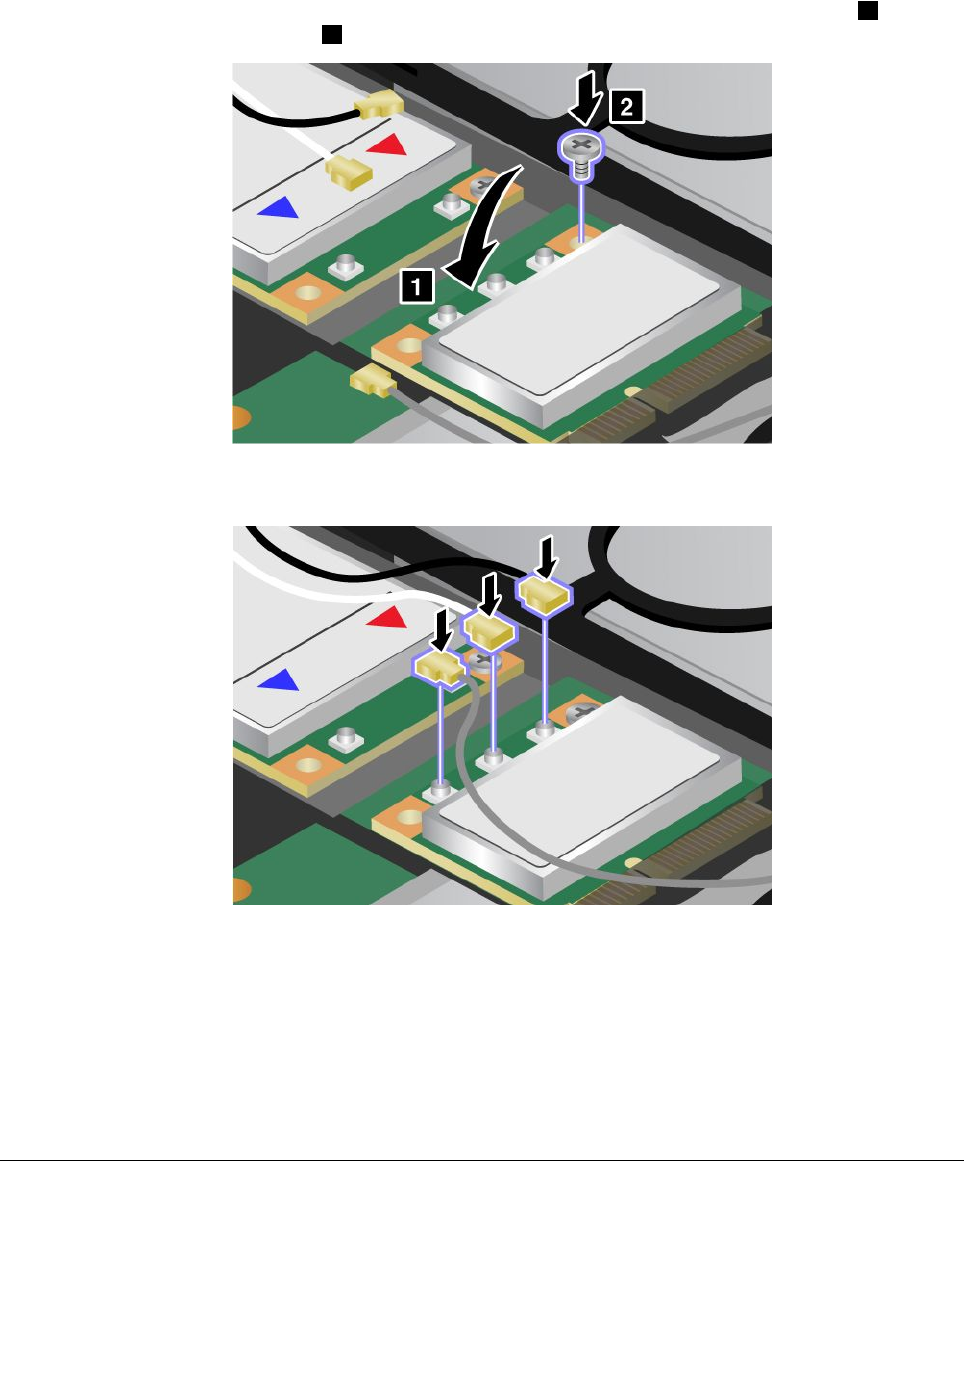
10. Pivot the card until you can snap it into place by pressing the upper side of the connectors 1 , and
secure the card with the screw 2 .
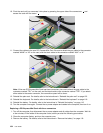
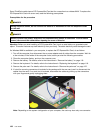
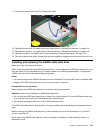
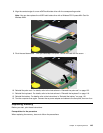
11. Connect the cables to the new PCI Express Mini Card. Be sure to attach the gray cable to the connector
marked “MAIN” or “M” on the card, and the black cable to the connector marked “AUX” or “A.”
Note: If the new PCI Express Mini Card has three connectors, be sure to attach the gray cable to the
connector marked “TR1” on the card, and the black cable to the connector marked “TR2”. If you attach
either cable to the center connector, the connection speed will be lower.
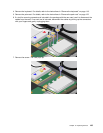
12. Reinstall the palm rest. For details, refer to the instructions in “Reinstall the palm rest” on page 122.
13. Reinstall the keyboard. For details, refer to the instructions in “Reinstall the keyboard” on page 118.
14. Reinstall the battery. For details, refer to the instructions in “Reinstall the battery” on page 116.
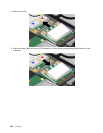
15. Turn the computer over again. Connect the ac power adapter and cables to the computer; then turn it on.
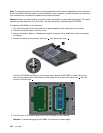
Installing and replacing the PCI Express Mini Card for wireless WAN
connection
Before you start, print these instructions.
Chapter 6. Replacing devices 137


