


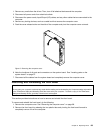
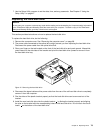

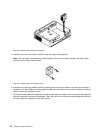

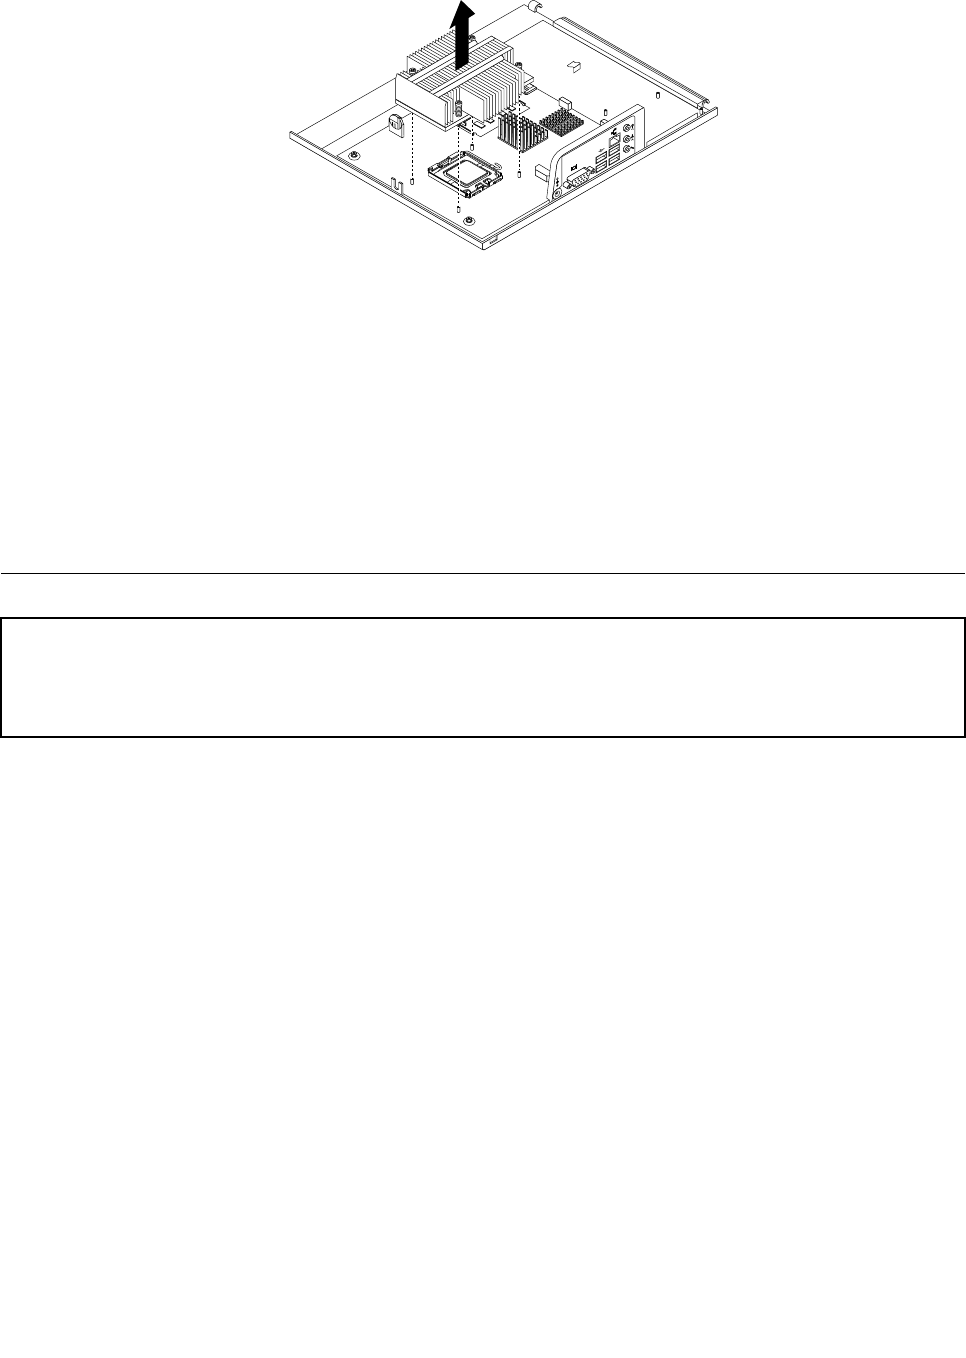
Figure18. Removing the heat sink
4. Place the new heat sink on the system board so that the four screws are aligned with the four
corresponding mounting studs on the system board.
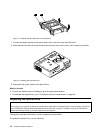
5. Alternate tightening each screw a small and equal amount until the heat sink is secured to the system
board. Do not over-tighten the screws.
What to do next:
• To work with another piece of hardware, go to the appropriate section.
• To complete the replacement, go to “Completing the parts replacement” on page 84.
Replacing the system fan assembly
Attention
Do not open your computer or attempt any repair before reading and understanding the “Important safety information”
in the ThinkCentre Safety and Warranty Guide that came with your computer. To obtain a copy of the ThinkCentre
Safety and Warranty Guide, go to:http://www.lenovo.com/support
This section provides instructions on how to replace the system fan assembly.
To replace the system fan assembly, do the following:
1. Remove the computer cover. See “Removing the computer cover” on page 68.
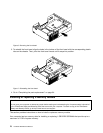
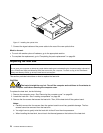
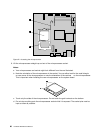
2. Disconnect the system fan assembly cable from the system fan connector on the system board. See
“Locating parts on the system board” on page 67.
3. You might have to remove the hard disk drive to gain access to the system fan assembly. See
“Replacing the hard disk drive” on page 73.
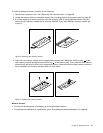
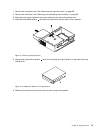
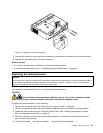
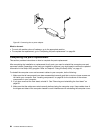
4. Break or cut the rubber mounts that secure the system fan assembly to the chassis. Then, remove
the system fan assembly out of the computer.
Chapter 8. Replacing FRUs 77