


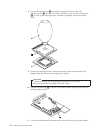
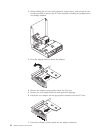
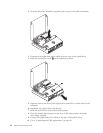
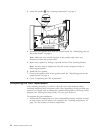


2. Pivot the drive bay assembly upward to gain access to the cable connections.
3. Disconnect the signal and power cables from the rear of the optical drive.
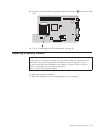
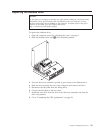
4. Slide the optical drive lock 1 to the unlocked position.
5. Open the door at the front of the optical drive and slide it out the front of the
computer.
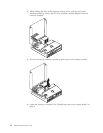
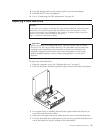
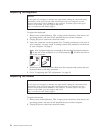
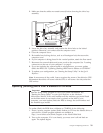
6. Install the new optical drive into the bay.
7. Slide the optical drive lock to the locked position.
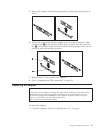
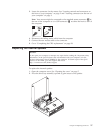
8. Place the master/slave jumper on the drive in the same position as on the
drive being replaced.
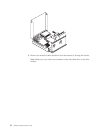
9. Connect the signal and power cables to the rear of the optical drive.
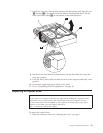
10. Go to “Completing the CRU replacement” on page 28.
24 Hardware Replacement Guide