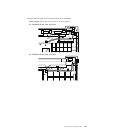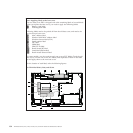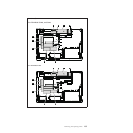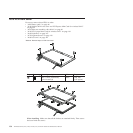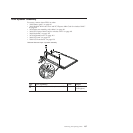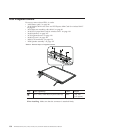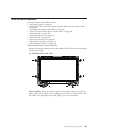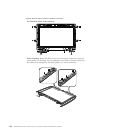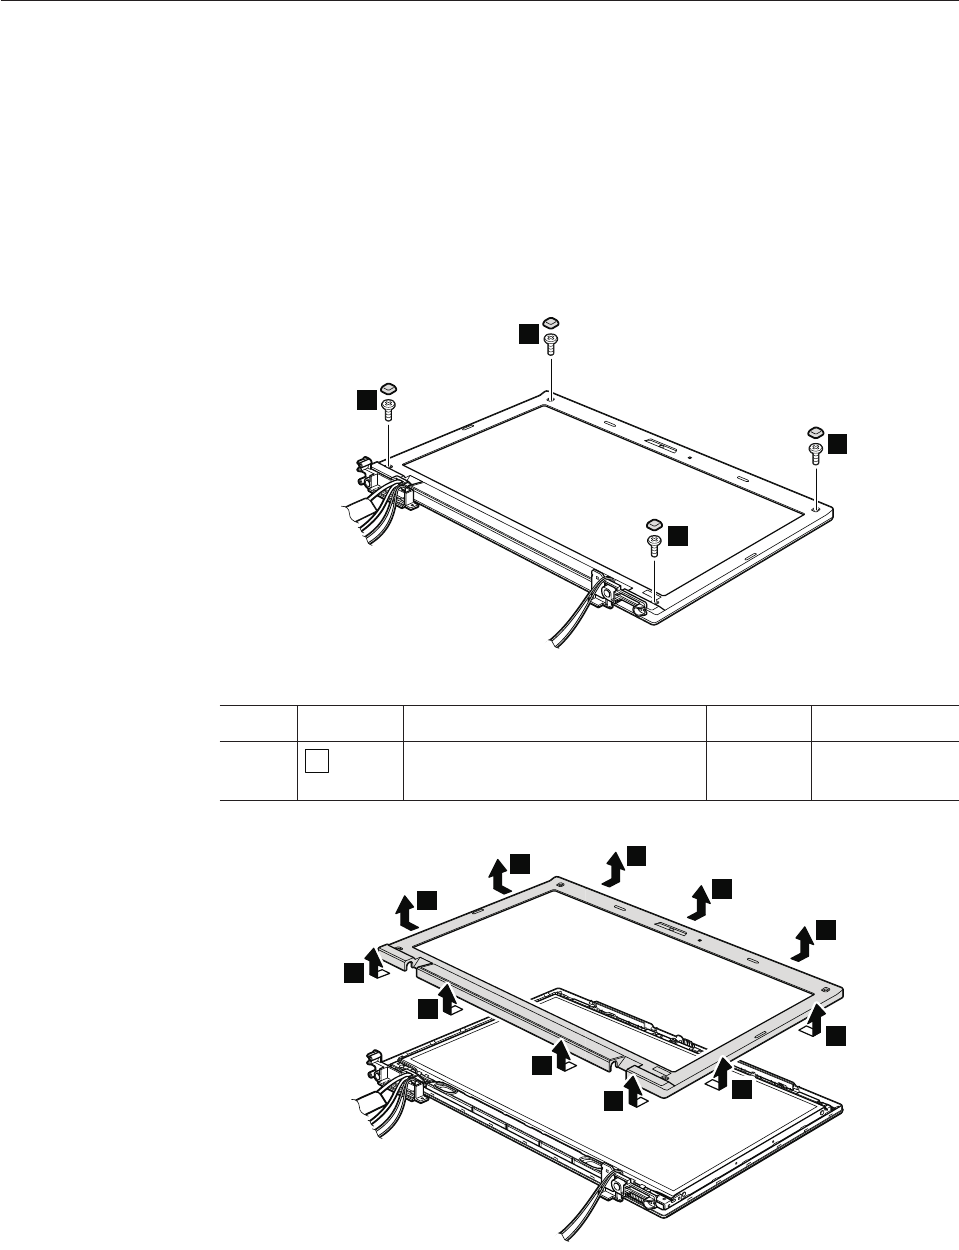
2010 LCD front bezel
For access, remove these FRUs in order:
v “1010 Battery pack” on page 80
v “1100 Wireless WAN slot cover and PCI Express Mini Card for wireless WAN”
on page 96
v “1110 Palm rest assembly with cables” on page 98
v “1120 PCI Express Mini Card for wireless LAN” on page 101
v “1160 Keyboard” on page 107
v “1170 Keyboard bezel” on page 110
v “1180 LCD unit” on page 112
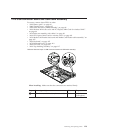
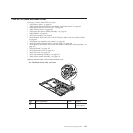
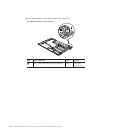
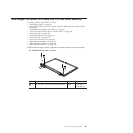
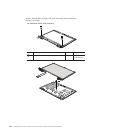
Table 35. Removal steps of LCD front bezel
1
1
1
1
Step Screw cap Screw (quantity) Color Torque
1
M2 × 5 mm, wafer-head,
nylon-coated (4)
Black 0.181 Nm
(1.85 kgfcm)
2
2
2
2
2
2
2
2
2
2
2
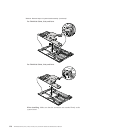
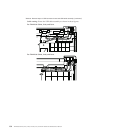
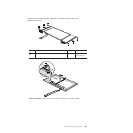
When installing: Make sure that all the latches are attached firmly. Then secure
the bezel with the screws.
136 ThinkPad SL410, L410, L412, SL510, L510, and L512 Hardware Maintenance Manual


