


Installing memory and option cards
16
Installing and removing options
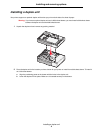
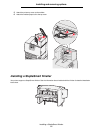
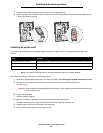
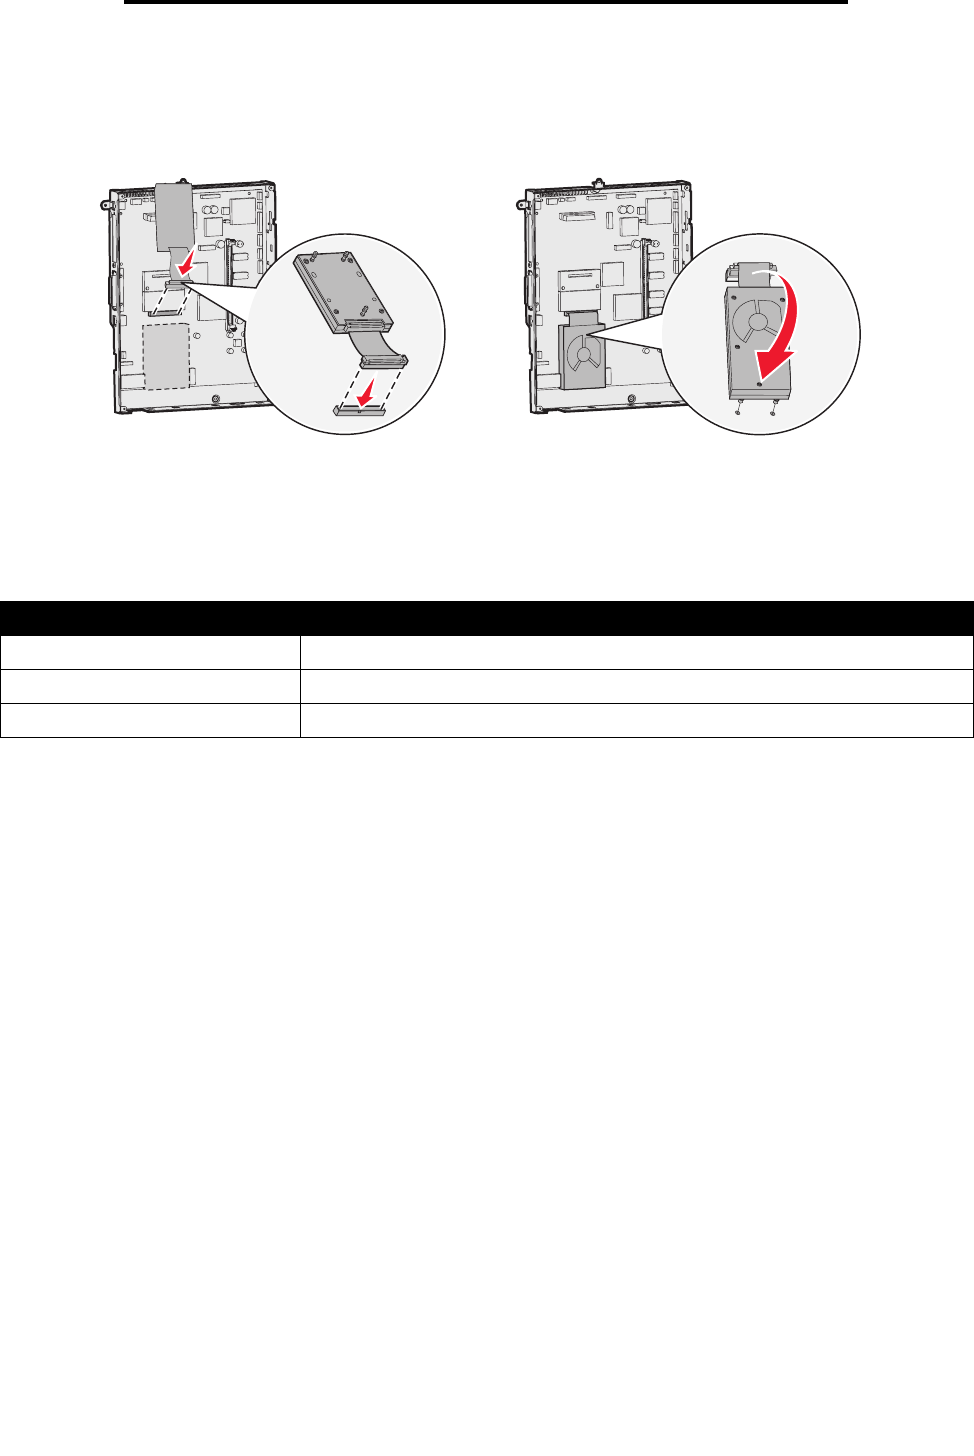
7 Press the ribbon cable connector into the connector on the system board.
8 Flip the hard disk over, and then press the three posts on the mounting plate into the holes on the system board.
The hard disk snaps into place.
Installing an option card
Your printer has one expansion card slot that supports a number of option cards. The following table describes their
function.
Note: The network models ship with an integrated Ethernet print server already installed.
You need a small Phillips screwdriver to install these options.
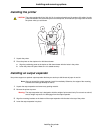
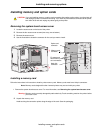
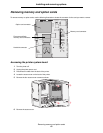
1 Remove the system board access cover. For more information, see Removing the system board access cover.
2 Remove the screw from the metal plate that covers the connector slot, and then lift the plate off.
Save the screw.
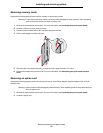
Warning: Option cards are easily damaged by static electricity. Touch something metal on the printer before you
touch an option card.
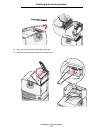
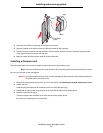
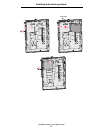
3 Unpack the option card.
Save the packing materials.
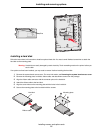
4 Align the connector on the option card with the connector on the system board.
The cable connectors on the side of the option card must fit through the connector slot.
5 Push the option card firmly into the option card connector.
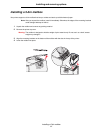
6 Secure the card to the system board with the screw.
Card Function
MarkNet internal print server Adds an Ethernet or Token-Ring port so you can connect your printer to a network
Parallel 1284-B Interface Card Adds a parallel port
Serial Interface Card Adds a serial port