


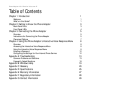
7
Chapter 3: Connecting the Phone Adapter
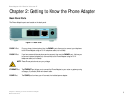
Placement Options
Phone Adapter with 2 Ports for Voice-over-IP
Placement Options
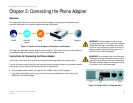
There are three ways to place the Phone Adapter. The first way is to place the Phone Adapter horizontally on a
surface. The second way is to stand the Phone Adapter vertically on a surface. The third way is to mount the
Phone Adapter on a wall. The second and third options are explained in further detail below.
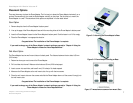
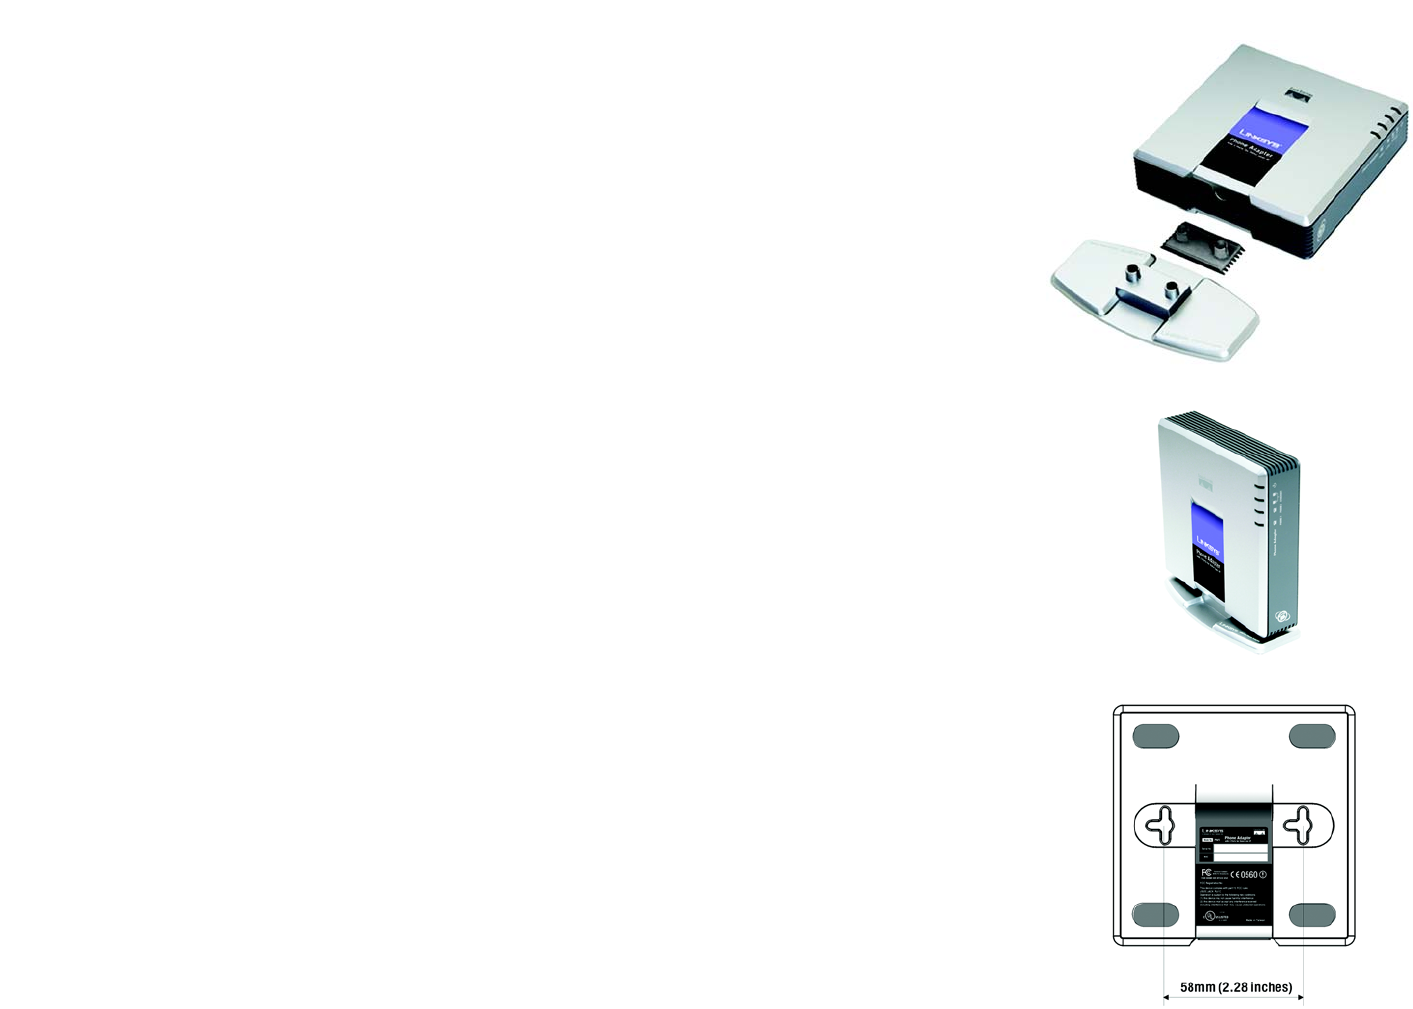
Stand Option
1. Remove the plate from the Phone Adapter’s bottom panel.
2. Line up the pegs of the Phone Adapter’s base with the mounting holes of the Phone Adapter’s bottom panel.
3. Insert the Phone Adapter’s base into the Phone Adapter’s bottom panel. Push the base in until it fits snugly.
4. Place the Phone Adapter in an appropriate location.
Congratulations! The installation of the Phone Adapter is complete.
If you need to change any of the Phone Adapter’s network settings, proceed to “Chapter 4: Using the
Phone Adapter’s Interactive Voice Response Menu.”
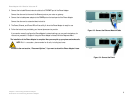
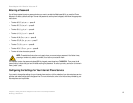
Wall-Mount Option
The Phone Adapter has two wall-mount slots on its back panel. The distance between the two slots is 58 mm
(2.28 inches).
1. Determine where you want to mount the Phone Adapter.
2. Drill two holes into the wall. Make sure the holes are 58 mm (2.28 inches) apart.
3. Insert a screw into each hole, and leave 5 mm (0.2 inches) of its head exposed.
4. Maneuver the Phone Adapter so the wall-mount slots line up with the two screws.
5. Place the wall-mount slots over the screws and slide the Phone Adapter down until the screws fit snugly into
the wall-mount slots.
Congratulations! The installation of the Phone Adapter is complete.
If you need to change any of the Phone Adapter’s network settings, proceed to “Chapter 4: Using the
Phone Adapter’s Interactive Voice Response Menu.”
Figure 3-7: Measurement between Wall-Mount Slots
Figure 3-6: Phone Adapter Standing on Base
Figure 3-5: Attaching the Phone Adapter’s Base