Module Setup and Installation
1. Ensure that the Switch is disconnected from the main
power supply and that you are wearing an anti-static
wrist-band connected to a suitable grounding point.
2. Place the Switch on a flat surface. Using a small cross-
bladed screwdriver, remove the blanking plate from the
rear of the Switch. Do not remove any other screws from
the rear of the Switch.
3. Keep the blanking plate and screws in a safe place. If
you remove the Module at any time, you must replace
the blanking plate to prevent dust and debris from
entering the Switch and to aid the circulation of cooling
air.
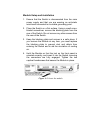
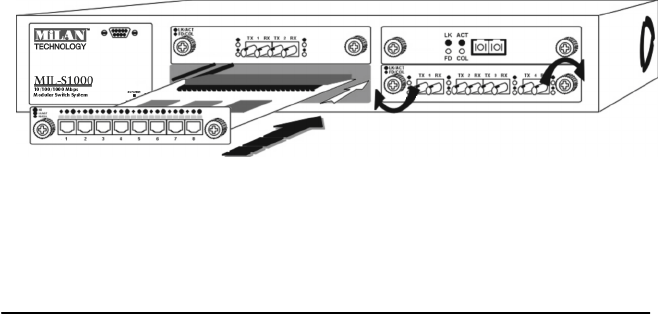
4. Hold the Module so that the text on the front panel is
oriented correctly, and insert it into the Switch, ensuring
the connectors are fully engaged. Tighten the two
captive thumbscrews that secure the Module in place.
Figure 4-1.
Insert the module


