


USER GUIDE
7
2. Connecting and setting up the system
Once the IP Access systems are set up in their locations, you can connect the
KVM.net Manager and begin to set up the KVM.net system.
2.1 Connecting the hardware
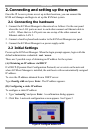
1. Connect the KVM.net Manager to the network as follows: On the rear panel
where the two LAN ports are next to each other connect an Ethernet cable to
LAN 1. Where the two LAN ports are one on top of the other connect an
Ethernet cable to LAN 2.
2. Connect a local keyboard and monitor to the KVM.net Manager rear panel.
3. Connect the KVM.net Manager to a power supply outlet.
2.2 Initial Settings
Power up the KVM.net Manager. When the login prompt appears, login with the
default administrator credentials: root / access.
There are 2 possible ways of obtaining an IP address for the system:
(A) Obtaining an IP address via DHCP
If a DHCP (Dynamic Host Configuration Protocol) server exists on the network
where KVM.net Manager is installed, the unit boots with an automatically assigned
IP address.
To view the IP address obtained from a DHCP server:
Type ifconfig eth0 and press Enter. The IP address appears.
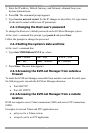
(B) Configuring a static IP address
To configure a static IP address:
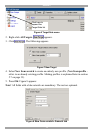
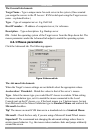
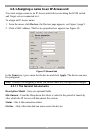
1. Type “netconfig” and press Enter. A confirmation dialog appears.
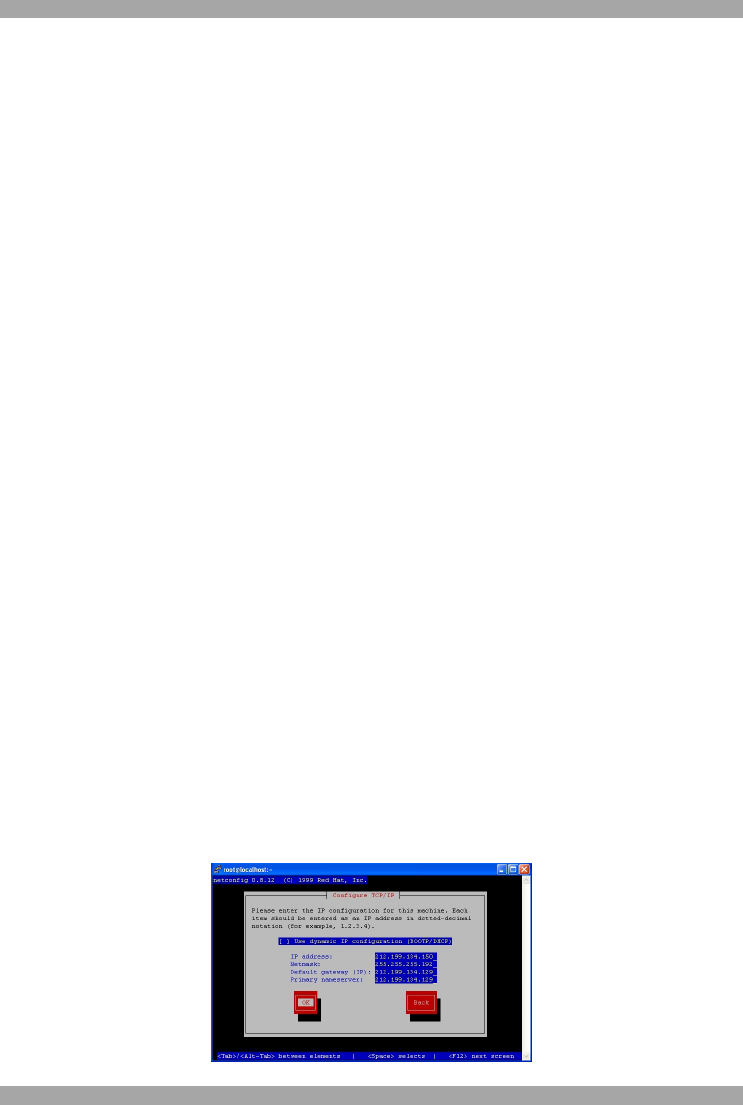
2. Click Yes. A network configuration screen appears. See Figure 2
Figure 2 Configure Network IP