Chapter 2 - Installation
8 Multi-Tech Systems, Inc. MT9234ZPX User Guide
PhysicallyInstallingyourMultiModem
• Installing the MultiModem requires you to open your system. Please consult your system manual in
addition to the following instructions.
• Turn off your system and unplug it. Failure to do so may result in damage to both the MultiModem and your
system. Do not turn on the system until the instructions tell you to do so.
• Remove the cover from your system as instructed in the system manual.
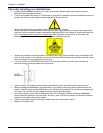
Before handling the MultiModem ZPX, discharge any static in your body by touching a piece of grounded
metal such as the computer chassis. Electrostatic discharge (ESD) is the release of stored static electricity
that can damage electrical circuitry or components
. Static electricity is often stored in your body, and
discharged when you come in contact with an object of a different potential.
• Perform the procedure below described in this section only at an ESD workstation using an antistatic wrist
strap. If such a station is not available, you can provide some ESD protection by wearing an antistatic wrist
strap and attaching it to a metal ground screw (lug).
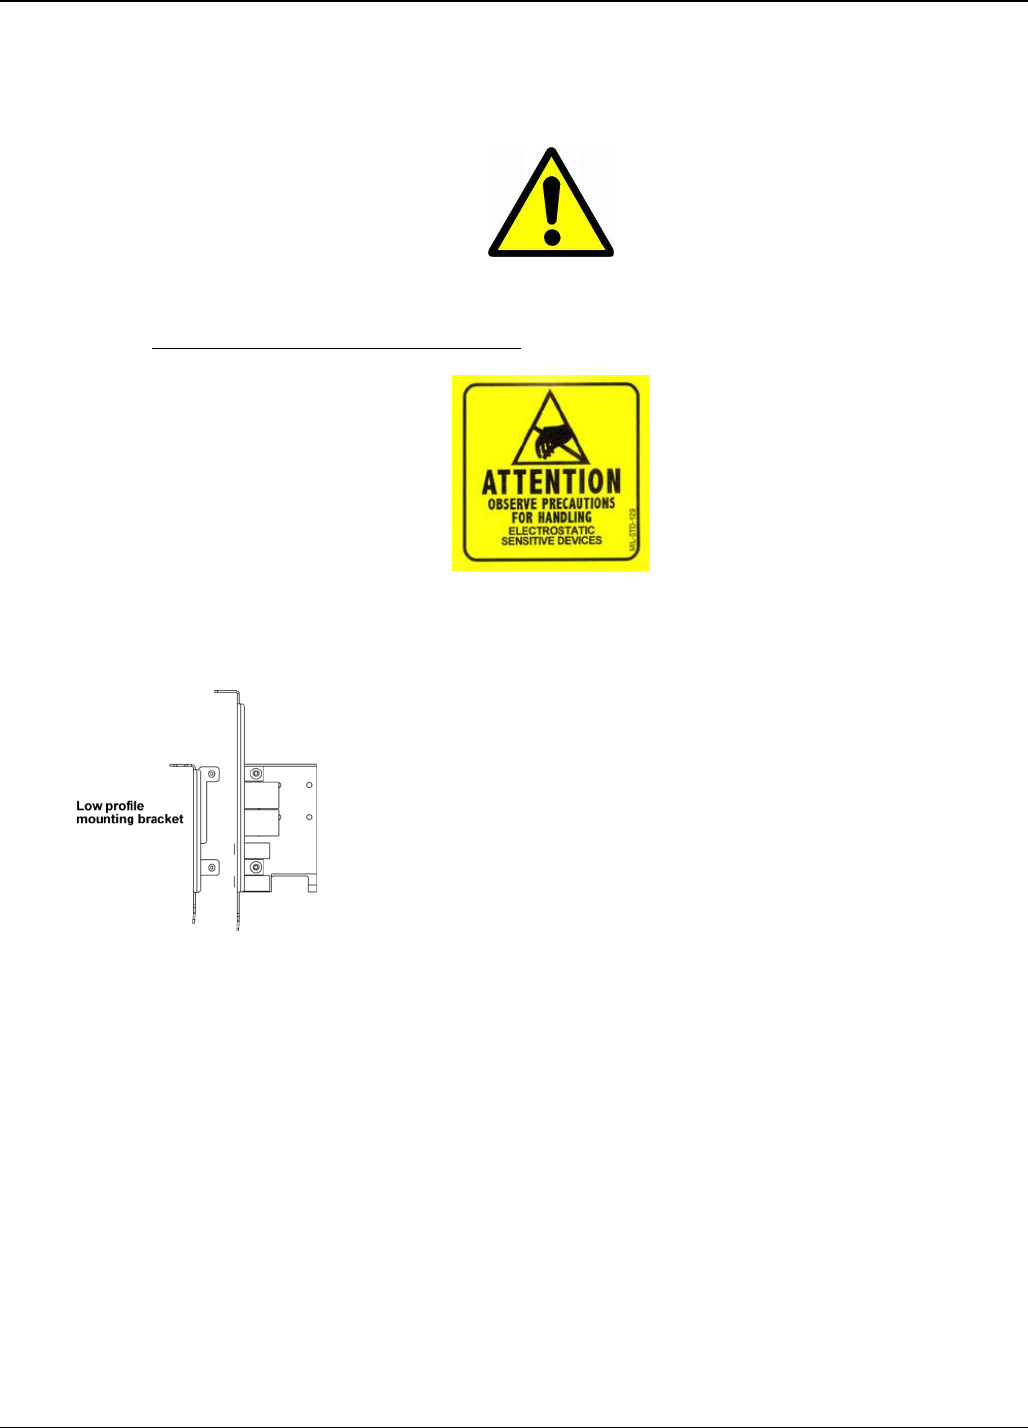
• If you are installing a MT9234ZPX-PCIe board in a low profile machine, you will need to change the
mounting bracket to the low profile mounting bracket.
• Select an empty PCI expansion slot. Remove the expansion slot cover and save the retaining screw.
• Before handling the MultiModem, discharge static in your body by touching a piece of bare metal on the
chassis. Carefully remove the MultiModem from its antistatic bag, handling it only by the mounting bracket
and edges. Do not touch the gold-plated connectors along the bottom edge.
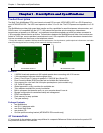
• Look at the system’s main board to determine either PCI or Express connector. Place the MultiModem
directly above the expansion slot and gently, but firmly, push it into the connector until the card’s retaining
bracket is flush against the system chassis.
• Fasten the retaining bracket to the system chassis with the screw saved in step 4.
• Replace the system cover.


