


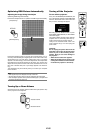
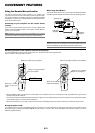
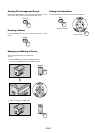
E-28
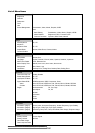
Selecting Signal Format [Signal Select]
<RGB>
Allows you to choose “RGB” for an RGB source such as a computer,
or “Component” for a component video source such as a DVD player.
Normally select “RGB/Component” and the projector automatically
detects a component signal. However there may be some compo-
nent signals that the projector is unable to detect. If this is the case,
select “Component”. Select “Scart” for the European Scart.
<Video & S-Video System Select>
This feature enables you to select composite video standards manu-
ally. Normally select “Auto”.
When you select the video standard for Video and S-Video, select
the video standard from the pull-down menu.
This must be done for Video and S-Video respectively.
Page2
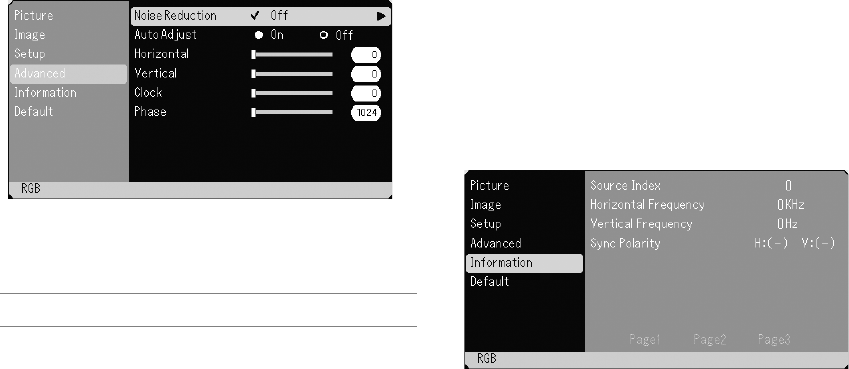
Selecting Noise Reduction Level
Select one of the three levels for reducing video noise: Off, Low, or
High.
NOTE: The lower the Noise Reduction level, the better the image quality by
way of higher video bandwidth.
Enabling Auto Adjust [Auto Adjust]
When “Auto Adjust” is set to “On”, the projector automatically deter-
mines the best resolution for the current RGB input signal to project
an image using NEC’s Advanced AccuBlend Intelligent Pixel Blend-
ing Technology.
The image can be automatically adjusted for position and stability;
“Horizontal Position”, “Vertical Position”, “Clock” and “Phase”.
On .................. Automatically adjusts image “Horizontal Position”,
“Vertical Position”, “Clock” and “Phase”.
Off .................. User can adjust the image display functions (“Hori-
zontal Position”, “Vertical Position”, “Clock” and
“Phase”) manually.
Adjusting Position/Clock (when Auto Adjust is off)
This allows you to manually adjust the image horizontally and verti-
cally, and adjust Clock and Phase.
<Horizontal/Vertical>
Adjusts the image location horizontally and vertically.
This adjustment is made automatically when the Auto Adjust is turned
on.
<Clock>
Use this item with the “Auto Adjust off” to fine tune the computer
image or to remove any vertical banding that might appear. This func-
tion adjusts the clock frequencies that eliminate the horizontal band-
ing in the image. This adjustment may be necessary when you con-
nect your computer for the first time. This adjustment is made auto-
matically when the Auto Adjust is turned on.
<Phase>
Use this item to adjust the clock phase or to reduce video noise, dot
interference or cross talk. (This is evident when part of your image
appears to be shimmering.)
Use “Phase” only after the “Clock” is complete.
This adjustment is made automatically when the Auto Adjust is turned
on.
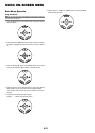
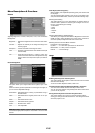
Information
Displays the status of the current signal and lamp usage. This item has
three pages. The information included is as follows:
[Page 1]
Source Index
Horizontal Frequency
Vertical Frequency
Sync Polarity
[Page 2]
Signal Type
Video Type
Sync Type
Interlace
[Page 3]
Remaining Lamp Time (%)*
Lamp Hour Meter (H)
Filter Usage
Projector Usage
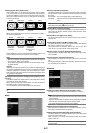
* The progress indicator shows the
percentage of remaining bulb life.
The value informs you of the
amount of lamp usage. When the
remaining lamp time reaches 0,
the Remaining Lamp Time bar in-
dicator changes from 0% to 100
Hours and starts counting down.
If the remaining lamp time reaches
0 hours, the projector will not turn
on regardless of whether the lamp
mode is set to Normal or Eco.