Page
12
NOTE 1: The unit must be powered up for at least ten minutes before any adjustments are made.
NOTE 2: For calibrating units with RTD or Thermistor inputs, connect the source to input connector, dial in
a temperature near high end of the scale and adjust gain potentiometer on the back of the unit (See figure 7
for reference).
Thermocouple type Selection:
Next function is the last one in system setup. Here you select the type of thermocouple for which the unit has
been calibrated. First the display shows the message ‘IP tYPE’ (for ‘Input Type’) followed by current
thermocouple selection. For various thermocouples the unit reads:
Thermocouple type Display shows
J T/C J tC
K T/C Cr.AL tC
T T/C t tC
E T/C E tC
For units with RTD input, the selection is between RTD 392 or RTD 385. Thermistor units display
‘tHrStOR’ (for ‘Thermistor’) and units with R, S and B type thermocouples display ‘r tC’, ‘S tC’ and
‘b tC’ respectively with no selection option (since these units offer only one type of input)
To make an alternate selection, push ‘^DIGv’ key. After making the selection, push ‘SETUP’ key. This
last push will take you to the very beginning of setup mode with the display reading 'PrG Ctr’. At this
point either push RESET key to get out of setup or select any other option as described before.
‘PROGRAM LIMITS’ MODE:
Process Limits (1 thru 4):
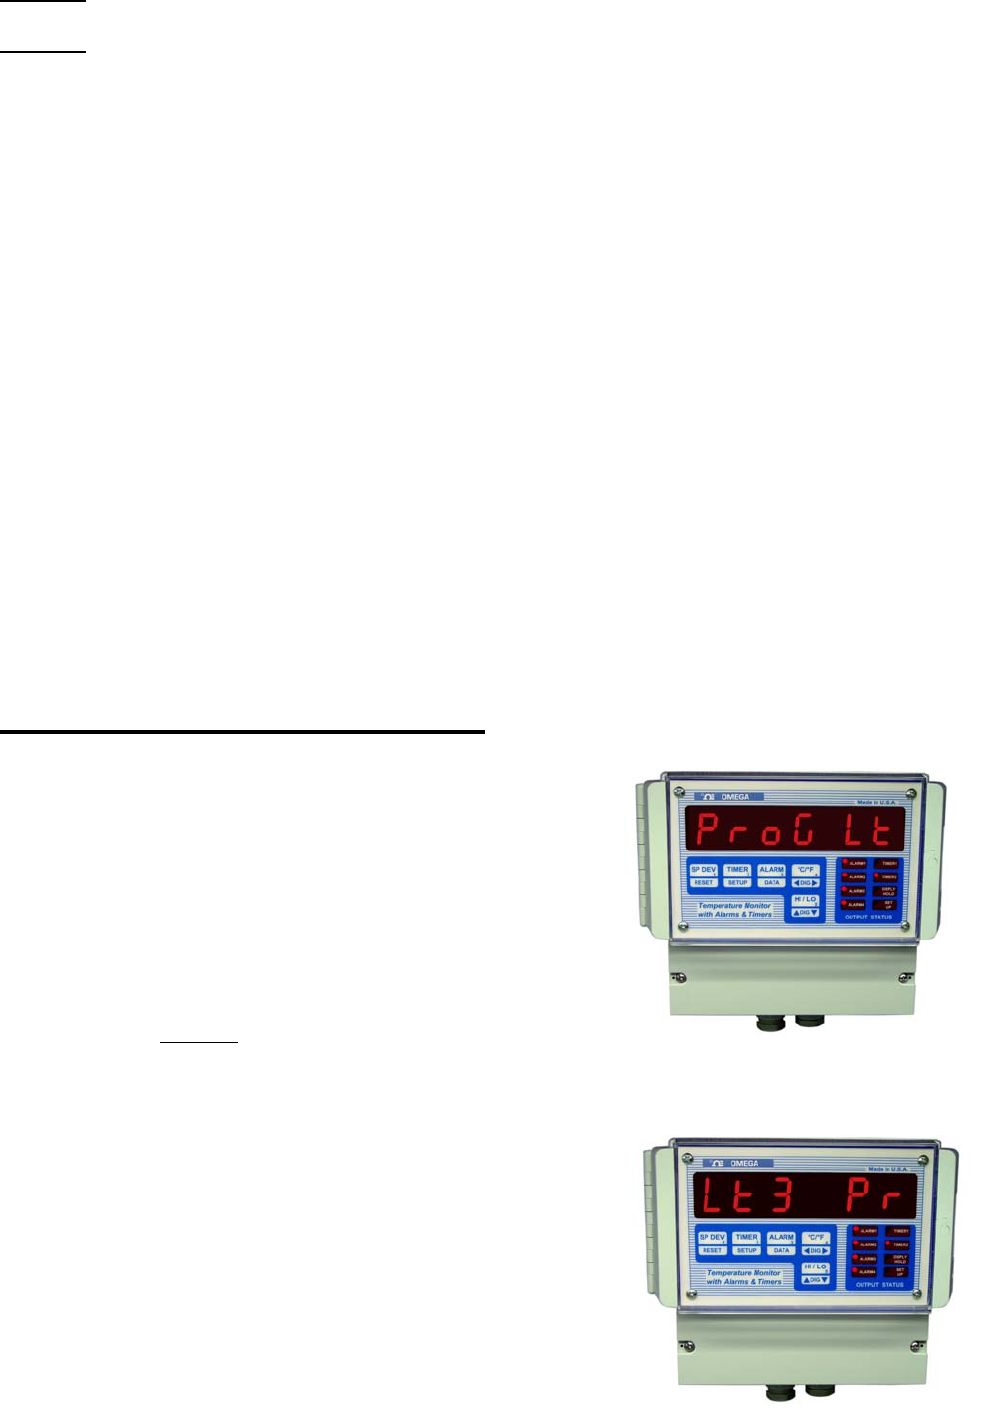
If selection made from programming group is for ‘PROG LT’
then the very first parameter programmed is process limit 1.
This is indicated by the message ‘PrG. LT1’ followed by pre-
programmed value of the limit. Again, use ‘<DIG>’ key to
move flashing to the next digit and ‘^DIGv’ key to
increment/decrement value of the flashing digit.
The procedure for programming limits 2,3 and 4 are very
similar to limit 1 (
provided Limits 3 and 4 are setup as process
limits). However, limits 3 and 4 can be configured to work as
rate and deviation limits. If such is the case, then, after
programming limit 2, the next step takes us into selection of
limit 3 as rate or process limit.
Selection of Limit 3 as Process or Rate Limit:
This step comes after programming Limit 2 and is indicated by
the message ‘LT3 RTE’ (if Limit 3 is setup as Rate limit) or
‘LT3 Pr’ (if Limit 3 is setup as Process limit). Alternate
selection can be made by pushing ‘^DIGv’ key. Push ‘SETUP’
key after making the selection.
