


4
Packard Bell EasyNote B3 Disassembly Manual
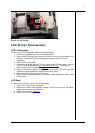
System Disassembly
HDD
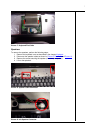
To remove the HDD, perform the following steps:
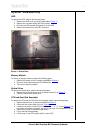
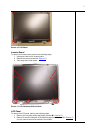
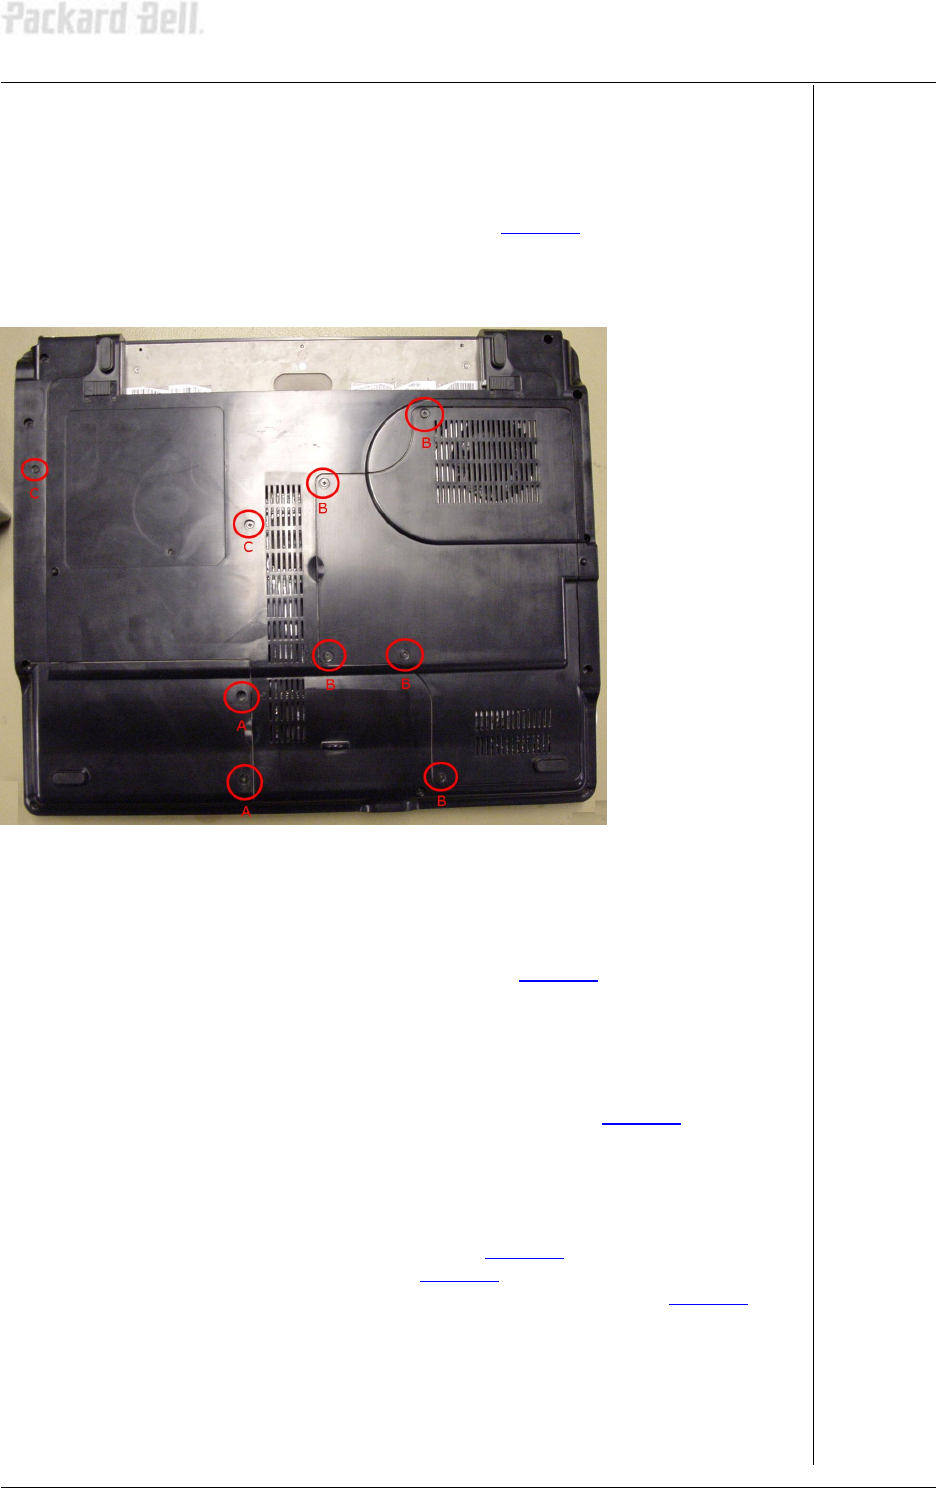
1. Remove the HDD cover (2 screws marked A on Picture 1
).
2. Remove the 2 screws holding the HDD bracket.
3. Pull back the HDD bracket and gently lift out the HDD.
4. Remove the bracket from the HDD (4 screws).
Picture 1. Bottom Base
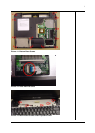
Memory Module
To remove a memory module, perform the following steps:
1. Remove the bottom cover (5 screws marked B on Picture 1
).
2. Push the metal clips holding the SO-DIMM aside.
3. Take out the memory module.
Optical Drive
To remove the optical drive, perform the following steps:
1. Remove the optical drive bay cover (2 screws marked C on Picture 1
).
2. Carefully slide out the optical drive.
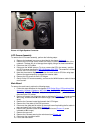
CPU and Heat Sink Assembly
To remove the CPU and the CPU heat sink assembly, perform the following steps:
1. Remove bottom cover (5 screws marked B on Picture 1
).
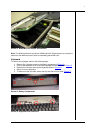
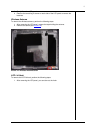
2. Disconnect the power cable of the fan (Picture 2).
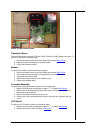
3. Loosen the 4 screws for the CPU fan in the order 1 – 2 – 3 - 4 (see Picture 3
). Do
not loosen the screws completely, just one or two turns of the screwdriver will do.
4. Remove the screws in the exact order shown.
5. Lift out the heat sink assembly.
6. Lift the lever on the CPU socket and lift out the CPU.