


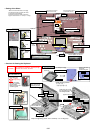

9-26
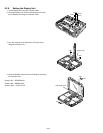
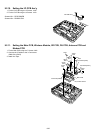
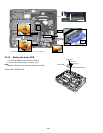
9.2.12. Setting the Audio PCB
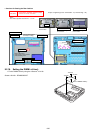
1. Connect the Cable to the Connector. (CN901)
2. Fix the Audio PCB using the 3 Screws. <N9>
Note:
Tighten the Screws in the numbered order (No1 to No3).
Screws <N9> : DRSB2+5FKL
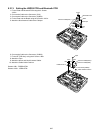
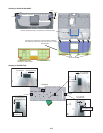
0~0.5mm
0~0.5mm
䫹
EX
䫹
PC
0~0.5mm
0~0.5mm
0~1mm
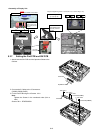
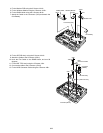
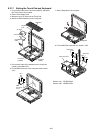
SD Blind
Sheet Base
Screw ԙ
Screw Ԙ
Gasket
BAT FPC Ass'y
D Blind
Sheet S
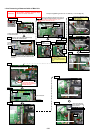
Ensure that both top and
bottom are hooked.
Slide the whole
BAT FPC ASSY.
Attach it fitting to the left.
Attach to the
DIMM socket.
Side surface
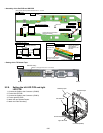
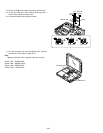
Insert the FPC as
Insert the FPC as
illustrated, and lock it.
illustrated, and lock it.
Insert the FPC as
illustrated, and lock it.
Apply the load to attach.
20~30N (2.0~3.0Kgf)
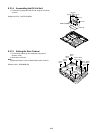
Torque of tightening screw :0.2 ± 0.02N·m(Ṑ2.0 ± 0.2kgf·cm)
<N9>:No1
<N9>:No.2
Audio PCB
Connector(CN901)
<N9>:No.3