


21
Individual e-mail services
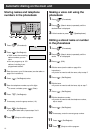
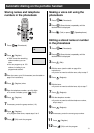
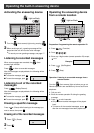
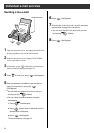
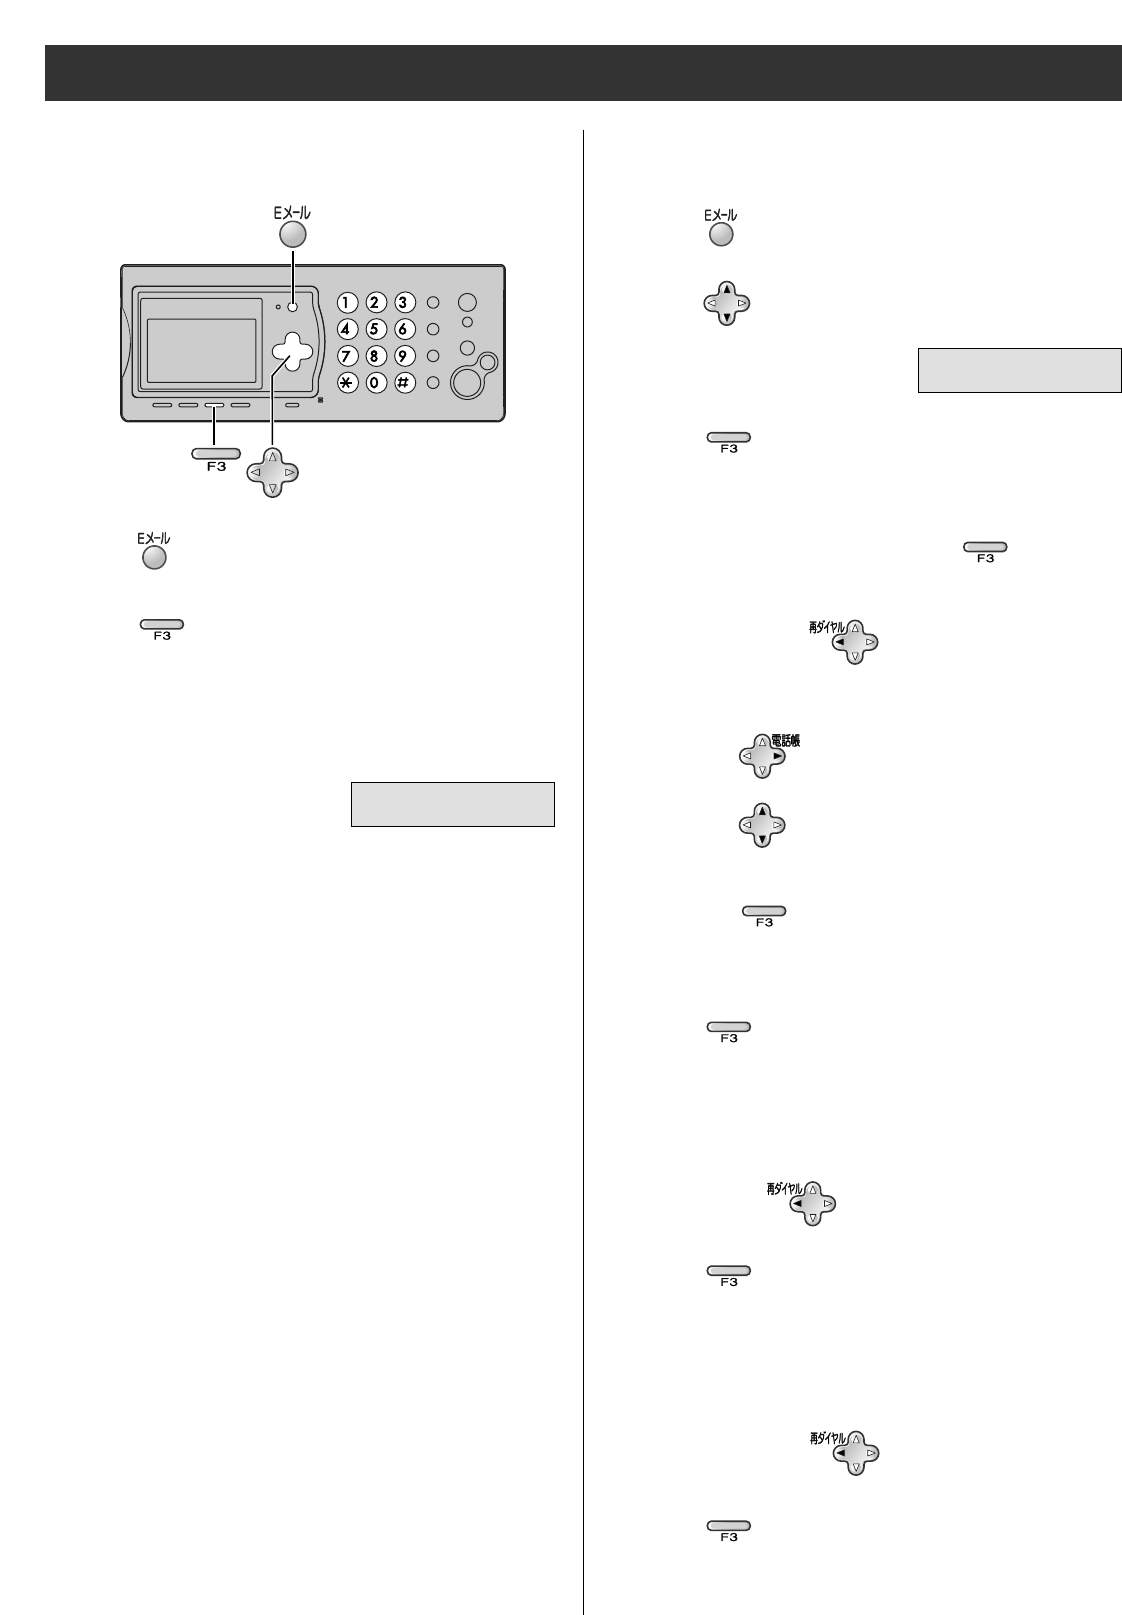
1Press (E-mail).
2Press (Search button) repeatedly until the
following is displayed.
Sending a text e-mail from the
main unit
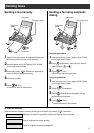
3Press (Set/Register).
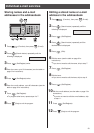
5Press (Set/Register).
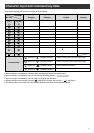
6Enter the title of your e-mail, up to 32 characters (see
the table on page 9 for instructions).
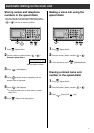
●
You can enter the title of the last e-mail you sent
by pressing (Redial).
9Press (Set/Register).
7Press (Set/Register).
8Enter your e-mail message, up to 200 characters
(see the table on page 9 for instructions).
●
You can enter the message of the last e-mail you
sent by pressing (Redial).
4Enter the desired e-mail address (see the table on
page 9 for instructions), then press
(Set/Register).
●
You can enter the address of the last e-mail you
sent by pressing (Redial).
●
You can select the desired address using the
addressbook.
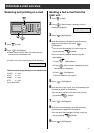
1. Press (Addressbook).
2. Press (Search button) repeatedly until the
desired name is displayed.
3. Press (Set/Register).
To store an address, see page 23.
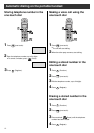
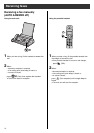
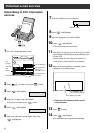
Receiving and printing an e-mail
2Press (Set/Register).
●
If there is an e-mail you have not viewed yet, the
unit will print the received e-mail.
●
If there is no e-mail, the following will be displayed.
1Press (E-mail).
The file formats recognized by your fax machine are:
●
JPEG
●
~. doc
●
TIFF
●
~. xls
●
BMP
●
~. ppt
●
TXT
●
~. pdf
(as of June 2003)