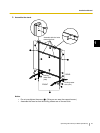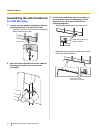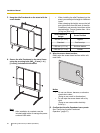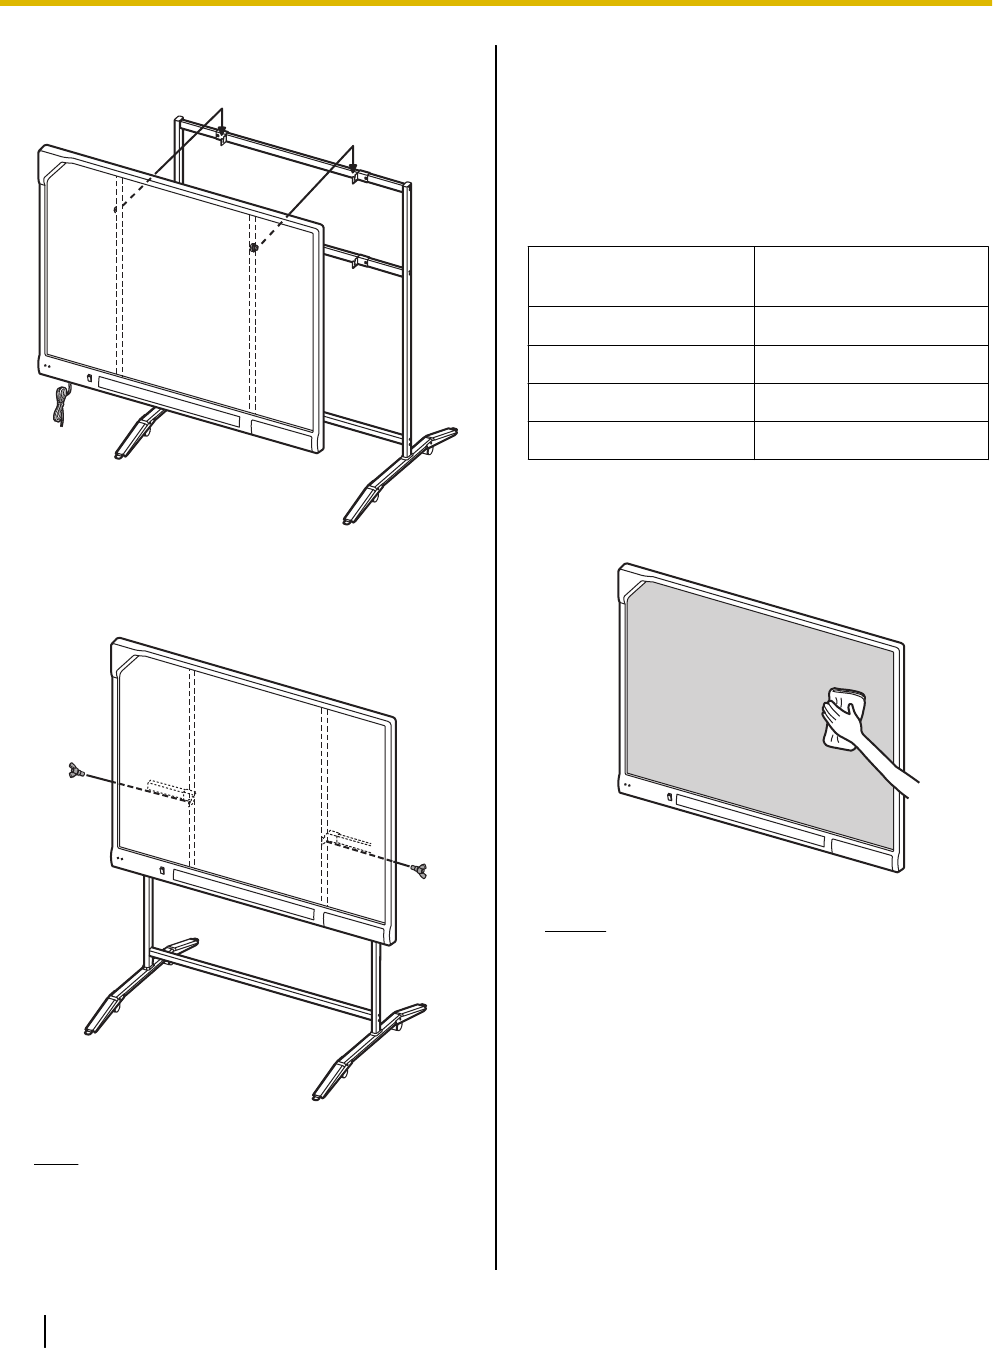
3. Hang the elite Panaboard on the stand with the
screw heads.
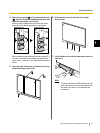
4. Secure the elite Panaboard to the stand frame
using the two-wing bolts (M5 ´ 12 mm [
1
/2 in.]
[2 count]) included with the stand.
Note
• After installation is complete, use the
included cable holder to manage the power
cord and USB cable.
• When installing the elite Panaboard on the
stand, you can adjust its height to 4 different
levels.
When changing the height, remove the left
and right screws from the back of the elite
Panaboard, and securely insert them at the
desired height. Torque (greater than 1 N·m
[10 kgf·cm (9 lbf·in.)]).
elite Panaboard
Height
Screw Position
-100 mm (-3
7
/8 in.) Highest
Standard 2nd from top
+100 mm (+3
7
/8 in.) 2nd from bottom
+200 mm (+7
7
/8 in.) Lowest
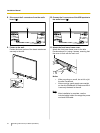
5. Wipe the screen board surface.
Gently wipe the screen board surface with a soft,
moist cloth.
Notice
• Do not use thinner, benzene, or abrasive
chemicals to clean.
(Doing so can result in discoloration.)
• Do not wipe the screen board with a dry
cloth.
(Doing so can cause static electricity
build-up.)
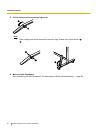
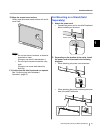
6. Confirm that the elite Panaboard can operate.
See "Confirming the elite Panaboard
Operation" (page 57).
56 Operating Instructions (For Basic Operations)
Installation Manual


