4-2 C1510M-A (2/03) SECTION 4
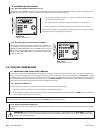
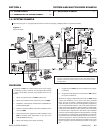
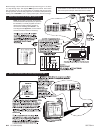
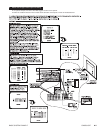
NOTE: RJ-45 cable run between the keyboard
and the 9760-SAT local keyboard port (shown in
the illustration) is normally supplied. be sure to
check that the cable supplied (“straight”) is
correct before installing (see Section 1, 3.6
Local Keypad and Appendix I, Communication
and the Connection Tutorial, if necessary).
NOTE:
Figure numbers are not allocated for the remainder
of this section, as the features under discussion are sub-
sets of the system example, which does have a number.
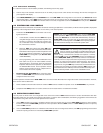
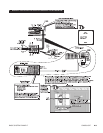
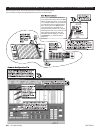
Before we begin, note that link-camera video input # 5 in Figure 4-1 is shown
as a loop-through input. This requires SAT top-cover removal. This is done
first if the SAT unit is to be rack-mounted. To configure this input for loop-
through operation, move the JP5 jumper from 75-ohm term (factory default) to
looping (refer to Section 1, 3.2.1 Looping Video Inputs). Now we can begin.
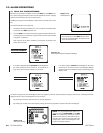
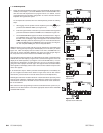
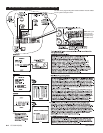
1. Attach a keyboard to the local SAT keyboard port.
2. Attach a local monitor to the monitor-out port on the SAT. **


