


PC Connection 23
EN
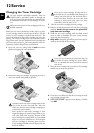
Add an Entry
1 To add a new entry, select New. You can choose
whether to add a single entry or a group.
2 Enter the name and number and select the transfer
speed for fax transmissions to this recipient (also see
chapter Telephone Book, page 11). Confirm with OK.
Edit Entry
Edit Entry
1 Select the entry that you would like to edit and click on
Properties.
2 Modify the name or the number.
3 Confirm with OK.
Add a Group
1 Enter the name of the group.
2 Click on Select the members to add new entries to
the group.
3 Add new members to the group using the arrow but-
tons.
4 Confirm with OK.
Edit Group
Edit Group
1 Select the group that you would like to edit.
2 Choose Select the members to add new entries to the
group or remove entries from the group. Click on
Erase to delete the entire group.
3 Confirm with OK.
Archiving the Telephone Book
Introduction
With the address book of the Companion Suite LL you
can save the telephone book entries of your device to your
PC or load saved entries (file format *.csv).
Export
Click on File > Export to save the telephone book en-
tries. You can select the directory in which you would like
to save the file.
Import
Click on File > Import to add entries to the address book.
Select the file you would like to import; the entries are add-
ed to the existing entries.
Archiving the Telephone Book
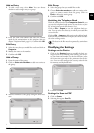
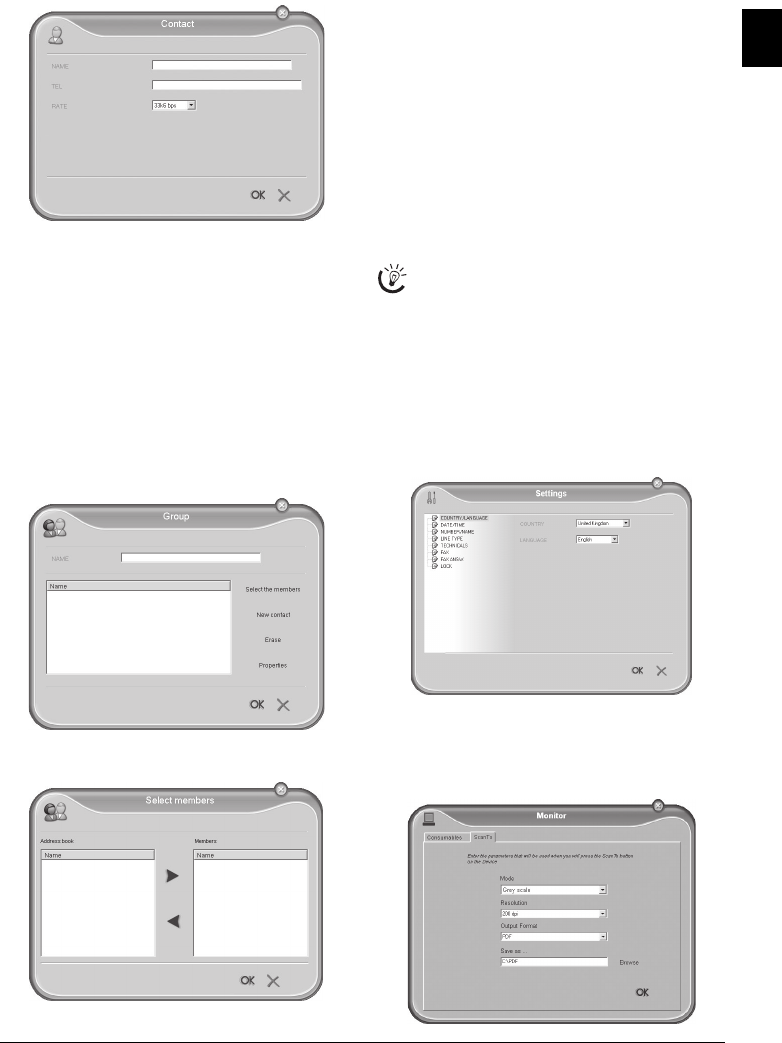
Modifying the Settings
Settings on the Device
1 Click on the Settings button to modify the basic set-
tings of your device. Among other setting, you can en-
ter your name and number, set the date and time, select
the connection type and set the parameters for the de-
vice. You can also configure the security codes for the
fax memory and keyboard lock.
2 Confirm with OK.
Settings for Scan-to-PDF
1 Click on Status.
2 Selecting the register ScanTo.
The data in the file must be separated by semicolons
(;).