


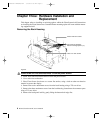
Chapter Three: Hardware Installation and
Replacement
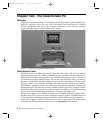
This chapter refers to installing or replacing options within the Clean Screen itself. Instructions
on installing the Clean Screen onto a standard Planar mounting option will come with the mount-
ing equipment itself.
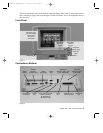
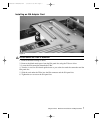
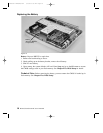
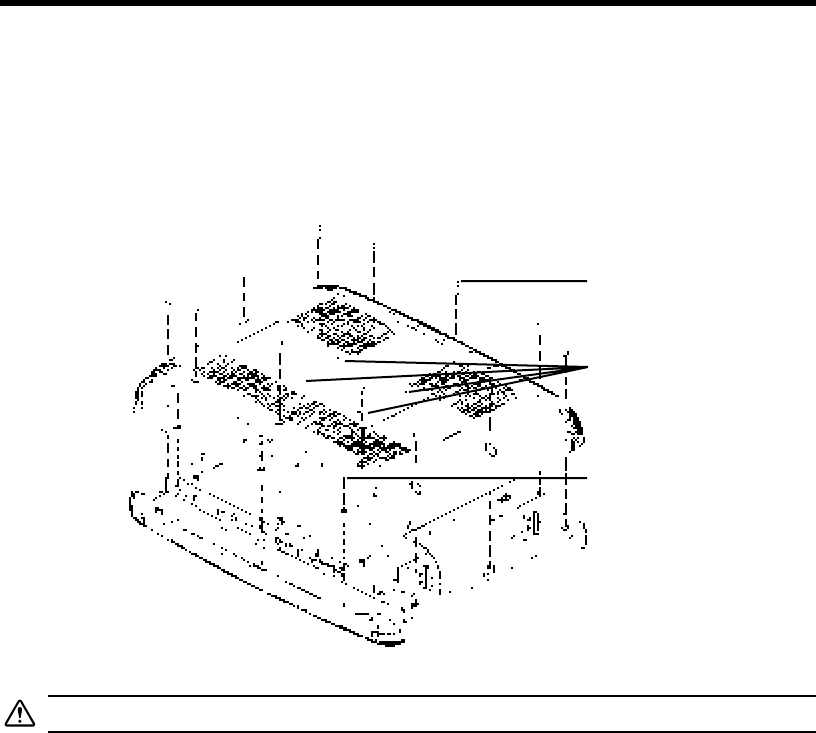
Removing the Back Housing
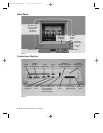
Figure 8
Power down unit first and disconnect it from the power source.
1. Power down unit first and disconnect it from the power source.
2. Use a static-free workstation.
3. Place Clean Screen face down on a secure flat surface, using a cloth or other non-abrasive
material to protect the display.
4. Remove the twelve attachment screws from the back housing using a T25 torx driver.
5. Remove the three attachment screws from the back housing located near the connector ports
using a T15 torx driver.
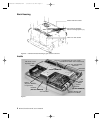
6. Remove the back panel itself by gently lifting the bottom back edge first.
6 Planar Clean Screen PC User’s Manual
Twelve T25 Torx screws
Four holes for standard
Planar mounting options (
10
⁄32)
Three T15 Torx screws
CS Manual LAYOUT#1787 3/9/98 5:33 PM Page 6