


E – 16
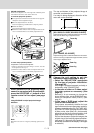
Using the Remote Control
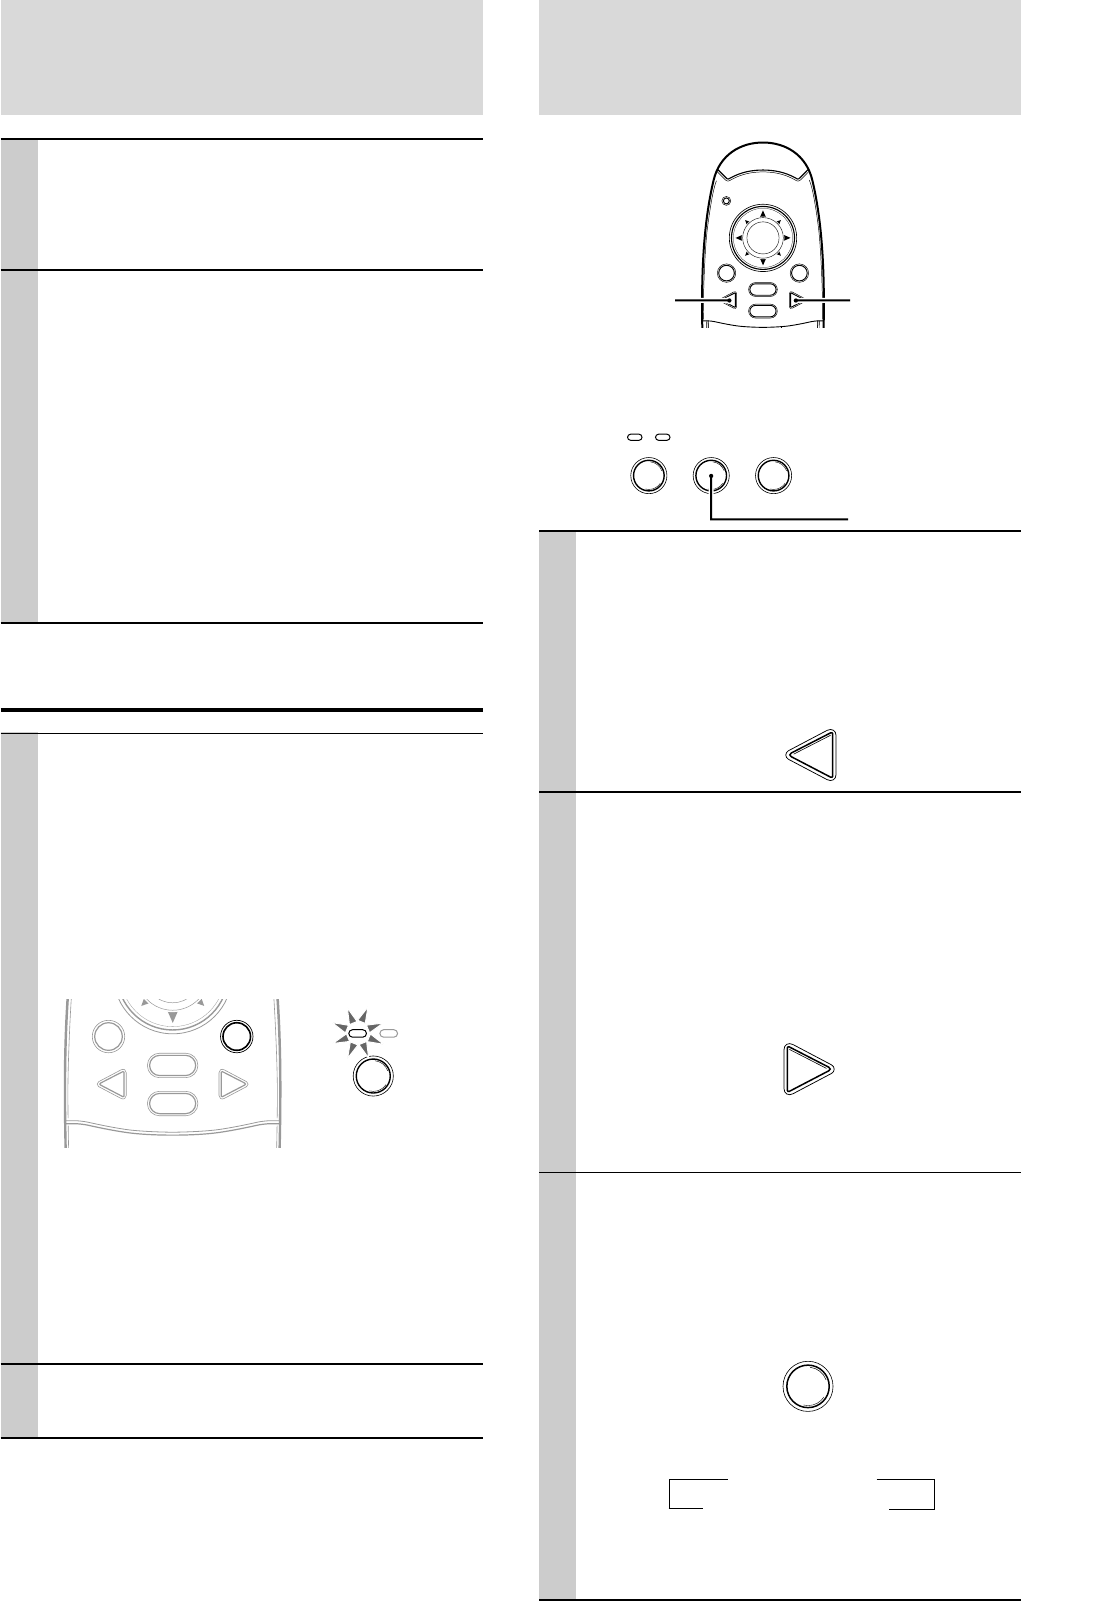
(Input Selection)
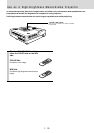
Operating from the main unit
Inputs can be selected not only by operating the remote
control but also by using the main unit SOURCE button.
POWER STATUS
POWER SOURCE AUTO
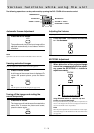
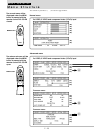
1 Press the VIDEO button.
The video signal (VIDEO, S-VIDEO) connected
to the input jack of this device will be detected
and projected automatically. If a video signal is
not detected, the message NO SIGNAL will be
displayed.
VIDEO
2 Press the RGB button.
The analog RGB signal connected to the input
connector of this device will be detected and
projected automatically.
(Component video will be detected if the RGB/
YCbCr connector is set (page 27) to YCbCr.) If a
video signal is not detected, the message NO
SIGNAL will be displayed.
RGB
Note
• All video signals input to this device will be detected if Auto
Source (page 29) is set.
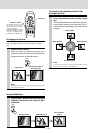
3 Press the SOURCE button.
The video signal (RGB or YCbCr, VIDEO, S-
VIDEO) connected to the input jack of this device
will automatically be detected and projected. If a
video signal is not detected, the message NO
SIGNAL will be displayed.
SOURCE
The signals are sensed repeatedly in the se-
quence shown below.
→ RGB/YCbCr
S-VIDEO ← VIDEO
Note
• When Auto Source (see page 29) is set to ON, all signals
input to this projector will be sensed.
VIDEO button RGB button
SOURCE button
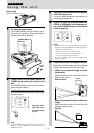
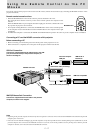
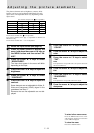
9 Adjust the picture elements (see page
22), then select the picture type
according to the video content (see page
26).
10
Start using the unit.
The following functions are available while using
the unit:
• Adjusting the volume of the unit's speaker
(see pages 18 and 28),
•Turning off the image and muting the sound
temporarily (see page 18),
• Freezing a moving picture (see page 18),
• Enlarging the picture (see page 19A)
Note
• When there is no signal input for a period of 5 min. or more,
the power is automatically turned off and standby status is
activated. (see page 29)
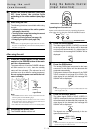
After using the unit
1 Press the POWER button of the remote
control or the POWER button of the main
unit for a few seconds.
The power will turn off and the POWER indicator
will blink amber for 1 min., then the standby
status will be activated. (The exhaust fan will
continue to run for a while for cooling purposes.)
Do not unplug the power cord while the indi-
cator is blinking.
MOUSE POWER
VIDEO
MENU
CANCEL
RGB
POWER S
T
POWER
Note
• The POWER switches of the remote control and main unit
will not operate until the blinking stops.
• After the standby status is activated, wait 1 min. or more
before turning the power on again. The power will not turn
on until the 1 min. interval has elapsed.
• The exhaust fan will continue to run even in standby status.
2 Disconnect the power cord.
The POWER indicator will turn off.
Blinks amber
(1 min.)
↓
Lights amber
MOUSE POWER
VIDEO
MENU
CANCEL
RGB
Using the unit
(continued)