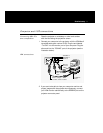
4 To supply power to the projector, connect the power cable
to the power port on the rear panel of the projector. Then
connect the power cord to an appropriate power outlet.
Turn on the power switch located on the rear panel of the
projector, beside the power port. After approximately 30
seconds after the power is on, a solid-colored image is pro-
jected onto your screen.
Note: You may detect a high-pitched sound as the color-
wheel and fans are reaching operating speed. Also, as you
turn on the projector, you may detect a slight, crackling,
electrostatic sound as the bulb illuminates. It may take up to
10 seconds for the bulb to reach full brightness.
A keystone correction of 17 degrees is built into the projec-
tor to compensate for image distortion. You may want to
adjust the rear feet of the projector to position the image on
the screen.
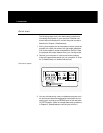
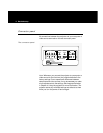
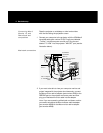
5 Turn on your computer or video source. Select the desired
source for display by pressing the appropriate SOURCES
button on the projector control panel or remote control.
Your computer or video image then appears on the projec-
tion screen. The selected SOURCES button is backlit green;
all other SOURCES buttons are backlit red.
Note: For information about the operation of your external
computer or video sources, refer to the appropriate instruc-
tion manual for the equipment in question.
6 Focus the projected image with the FOCUS control either on
the control panel or remote control. Adjust the image size
by using the ZOOM control on the control panel or remote
control. Use the projector SETUP and IMAGE menus to
adjust the settings to fine-tune your projected image. (For
more detailed instructions for image adjustments, see
Chapter 4,
Using the projector
.
Introduction 5


