


14
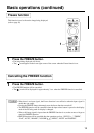
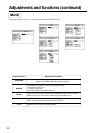
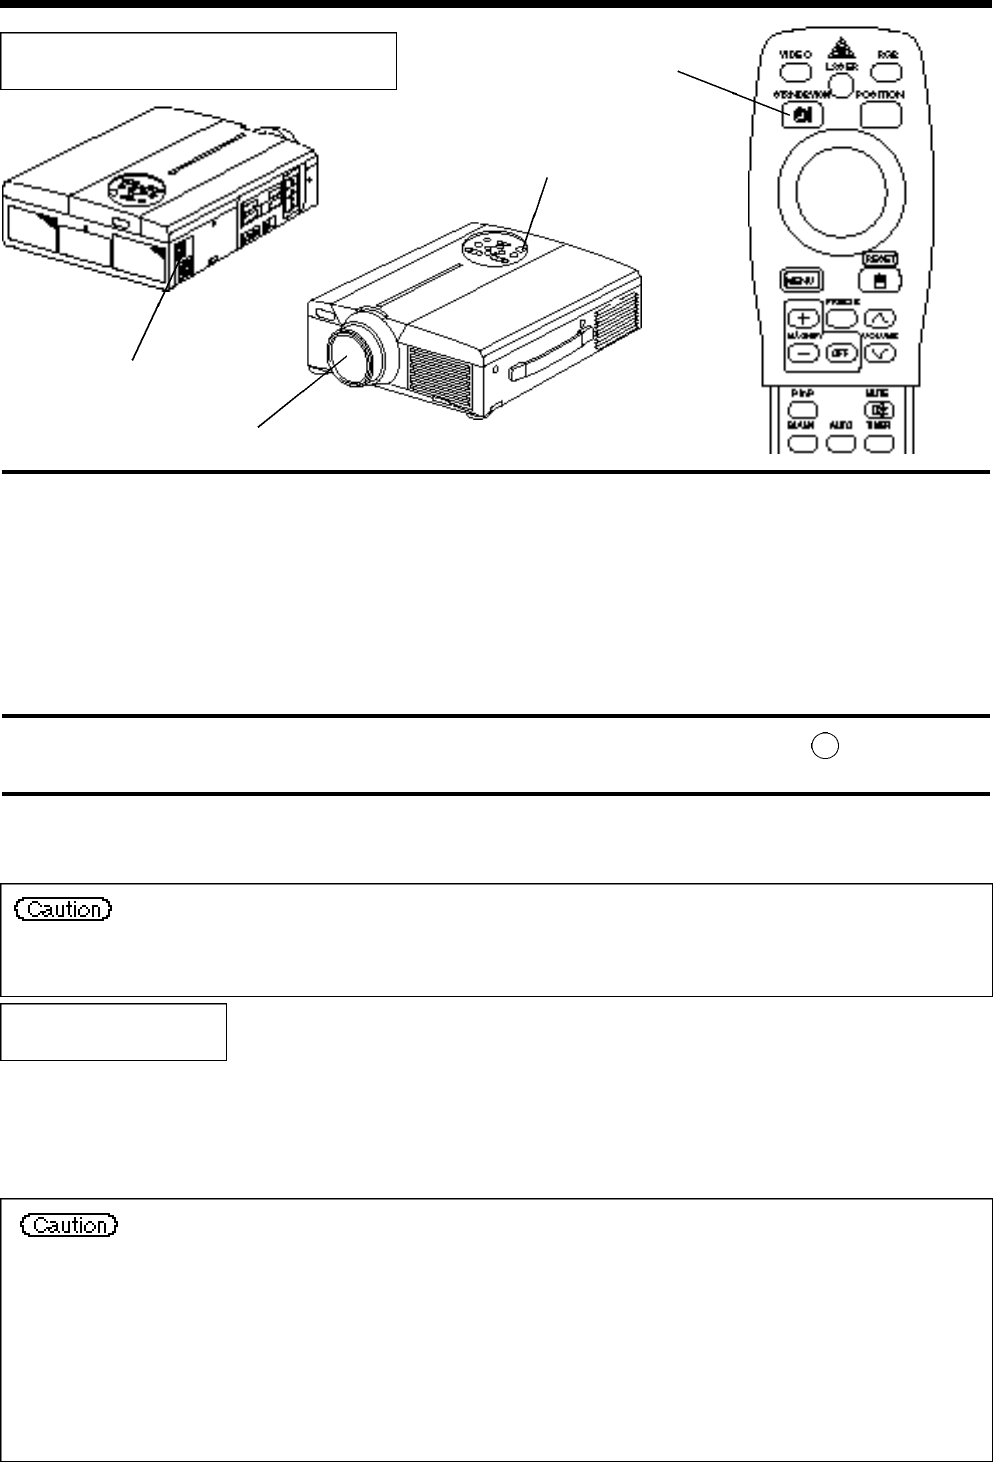
Turning off the power
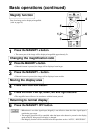
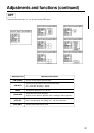
Plug & Play
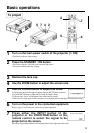
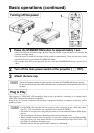
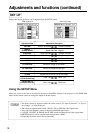
Basic operations (continued)
1
Press the STANDBY/ON button for approximately 1 sec.
• The Power indicator will blink orange, then the lamp will turn off. Approximately 1 sec. after that, the
indicator will light orange.
• After the power is turned off, the lamp will be cooled for approximately 1 min. and the power cannot
be turned off even by pressing the STANDBY/ON button.
• The standby status will not be entered if the time which the STANDBY/ON button is pressed is too
short.
2
Turn off the main power switch of the projector [ : OFF].
3
Attach the lens cap.
The fan will continue running for approximately 1 min. after the STANDBY/ON button is pressed.
Do not turn off the main power switch while the lamp is on because this will shorten the service life of
the lamp.
• Use the RGB cable included with this projector when using plug & play. With other cables,
pins (12) - (15) are sometimes not connected (effective only for RGB1).
• This device is recognized as a plug-and-play monitor. Use the standard Windows95/98 display
drivers.
• This function may not operate, depending on the personal computer used.
• When the DDC function does not operate on a personal computer running Wi n d o w s 9 5 / 9 8 ,
select the display type from Screen Priority. It is recommended that Super VGA 1024 x 768
(60-75Hz) be selected as the display type.
The DDC function will not operate when connected to a Macintosh.
This projector is VESA DDC 1/2B compatible. Plug & play is possible by connecting to a computer that is
VESA DDC (Display Data Channel) compatible.
(Plug & play is a system configured with peripheral equipment including a computer and display, and an
operating system.
1
1
3
2