


Polycom RMX 4000 Hardware Guide
2-13
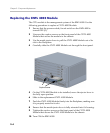
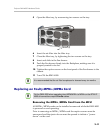
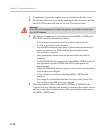
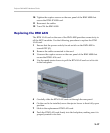
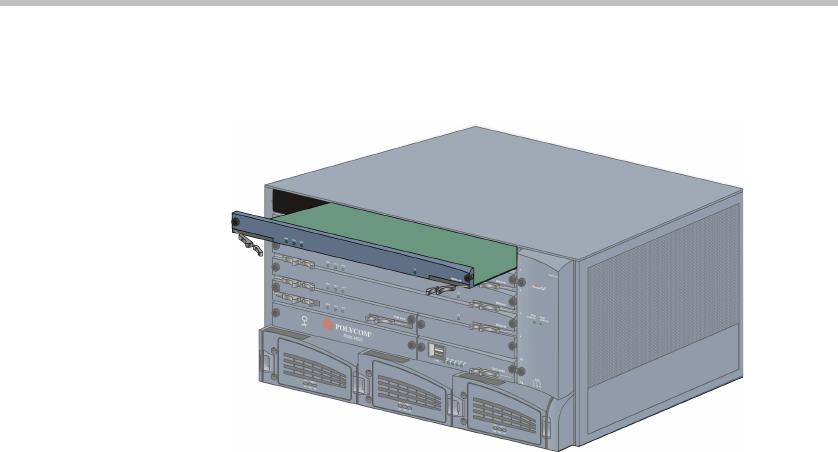
5 Carefully slide the MPM+/MPMx card out through the front panel.
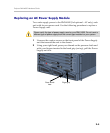
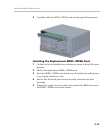
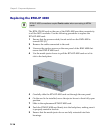
Installing the Replacement MPM+/MPMx Card
1 On the card to be installed, move the ejector levers to their fully open
position.
2 Slide in the replacement MPM+/MPMx card.
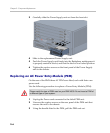
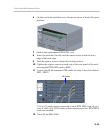
3 Push the MPM+/MPMx card firmly into the Backplane, making sure
it is properly seated in its slot.
4 Ensure that the metal ejector levers are fully retracted into their
housings.
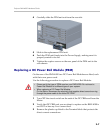
5 Tighten the captive screws on the front panel of the RMX that secure
the MPM+/MPMx card to the chassis.