PX502 Tape Library Quick Start Guide
9
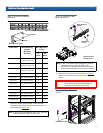
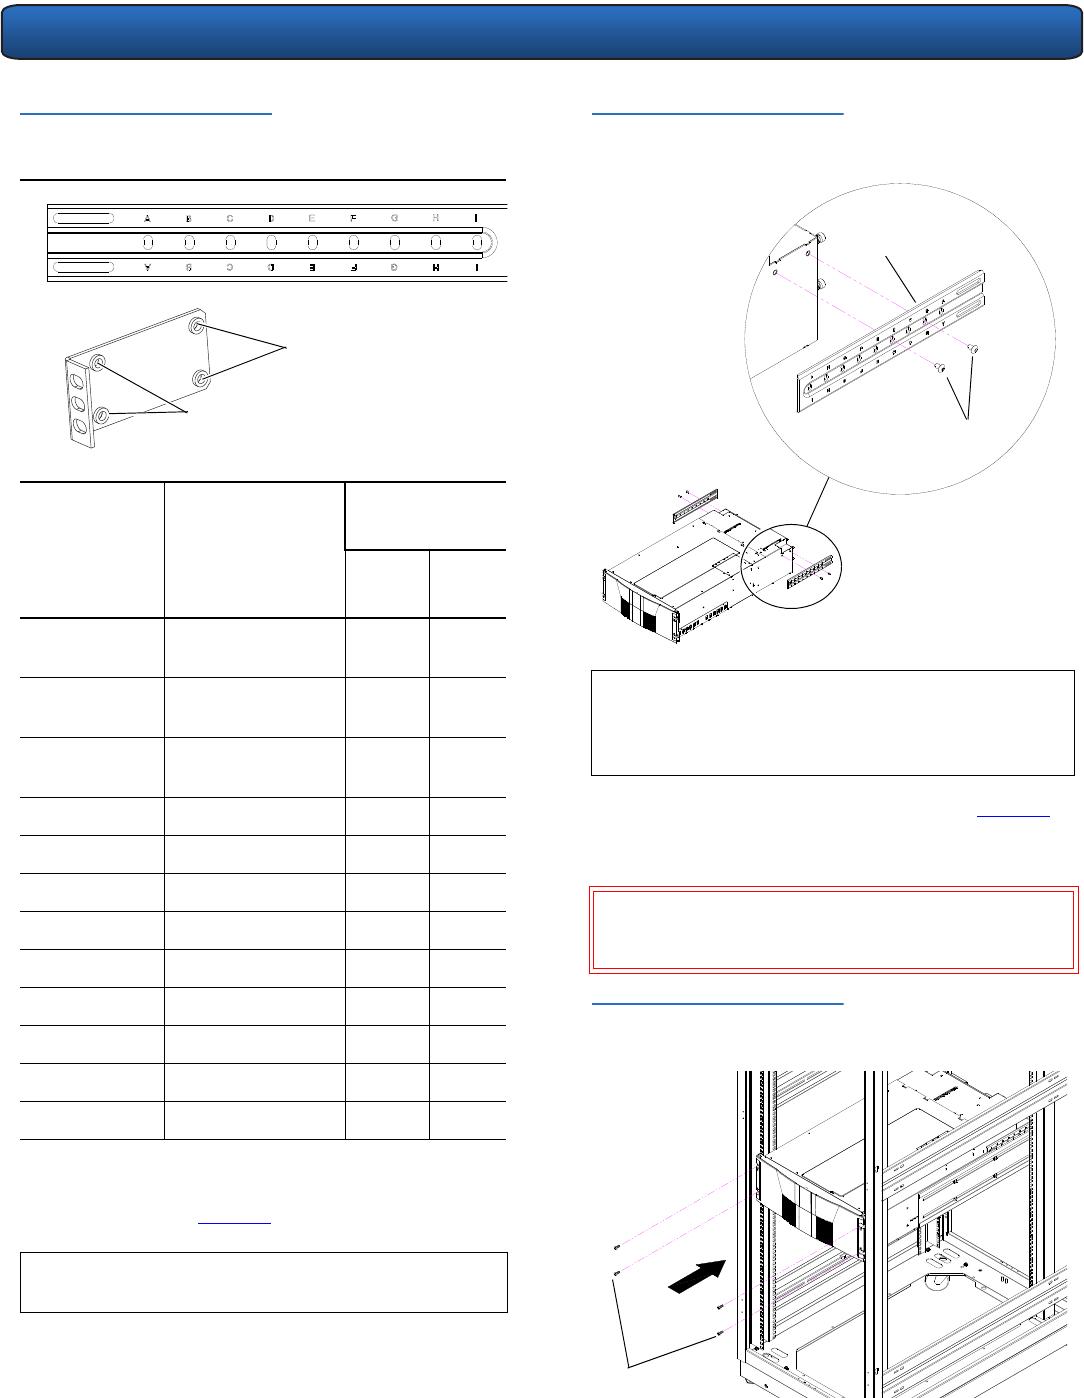
Table 4 Back Mounting Bracket
Orientation
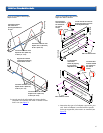
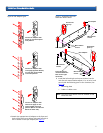
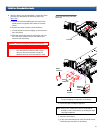
Once the location is determined, attach the back
brackets to each side of the library with four M5 x 8
Allen screws (see figure 10).
Rack Depth Back Mounting
Bracket
(Mounting
Position)
Back Mounting
Clamp
#1
Holes
#2
Holes
24 to 25 in. Back bracket and
clamp not required
N/A N/A
25 to 26 in. Back bracket and
clamp not required
N/A N/A
26 to 27 in. Back bracket and
clamp not required
N/A N/A
27 to 28 in. Use holes A and C X
28 to 29 in. Use holes B and D X
29 to 30 in. Use holes C and E X
30 to 31 in. Use holes D and F X
31 to 32 in. Use holes E and G X
32 to 33 in. Use holes F and H X
33 to 34 in. Use holes G and I X
34.5 to 35.5 in. Use holes F and H X
35.5 to 36.5 in. Use holes G and I X
N
OTE: If your rack has a depth less than 27 in., the back
brackets and back clamps are not used.
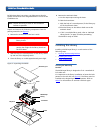
#1 Holes
#2 Holes
Back mounting bracket
Back mounting clamp
Figure 10 Installing the Back
Mounting Brackets
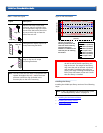
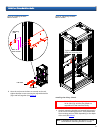
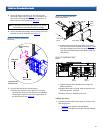
2 Install the library into the rack as shown in figure 11
and secure the library to the rack with four PHILLIPS
screws.
Figure 11 Installing the PX502 in
the Rack
N
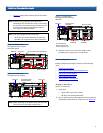
OTE: If this is a multiple stack configuration, refer to
“Multiple Library Stacks” on page 15 for
information on preparing the library chassis for
passing tape cartridges from one unit to another.
W
ARNING: The PX502 tape library weighs approximately
52 lbs (23.6 kg). At least two people are
required to lift and install the library.
Right-hand back
bracket shown.
Back mounting
bracket
M5 x 8 Allen
screws
PHILLIPS screws


