KX III Quick Setup Guide 2
QSG-DKX3-v3.0.0-0B-E 255-62-0003-00-RoHS
2. Slide the KX III between the side brackets, with its rear
panel facing the cable-support bar, until its front panel is
flush with the back edges of the side brackets.
3. Secure the KX III to the side brackets using the remaining
included screws (three on each side).
4. Mount the entire assembly in your rack and secure the
side brackets' ears to the rack's front rails with your own
screws, bolts, cage nuts, and so on.
5. When connecting cables to the rear panel of the user
station or switch, drape them over the cable-support bar.
QS Rule
Step 1: Configuring Network Firewall Settings
TCP Port 5000
Allow network and firewall communication on TCP Port 5000
to enable remote access to the KX III.
Alternatively, configure the KX III to use a different TCP port,
then allow communication on that port.
TCP Port 443
Allow access to TCP Port 443 (Standard HTTPS) so you can
access KX III via a web browser.
TCP Port 80
Allow access to TCP Port 80 (Standard HTTP) to enable
automatic redirection of HTTP requests to HTTPS.
QS Rule
Step 1: Configuring KVM Target Servers
Mouse Settings
Raritan recommends using Absolute Mouse Synchronization
to minimize mouse settings on target servers. For other
mouse modes, see Additional Supported Mouse Settings
in KX III Online Help.
In this mode, absolute coordinates are used to keep the client
and target cursors in synch, even when the target mouse is
set to a different acceleration or speed.
This mode is supported on servers with USB ports and is the
default mode for Virtual Media CIMs.
Absolute Mouse Synchronization requires the use of a virtual
media CIM:
D2CIM-VUSB
D2CIM-DVUSB
D2CIM-DVUSB-DVI
D2CIM-DVUSB-HDMI
D2CIM-DVUSB-DP
Target Server Video Resolutions
For a list of supported target video server resolutions, see
Supported Target Server Video Resolutions in KX III
Online Help.
QS Rule
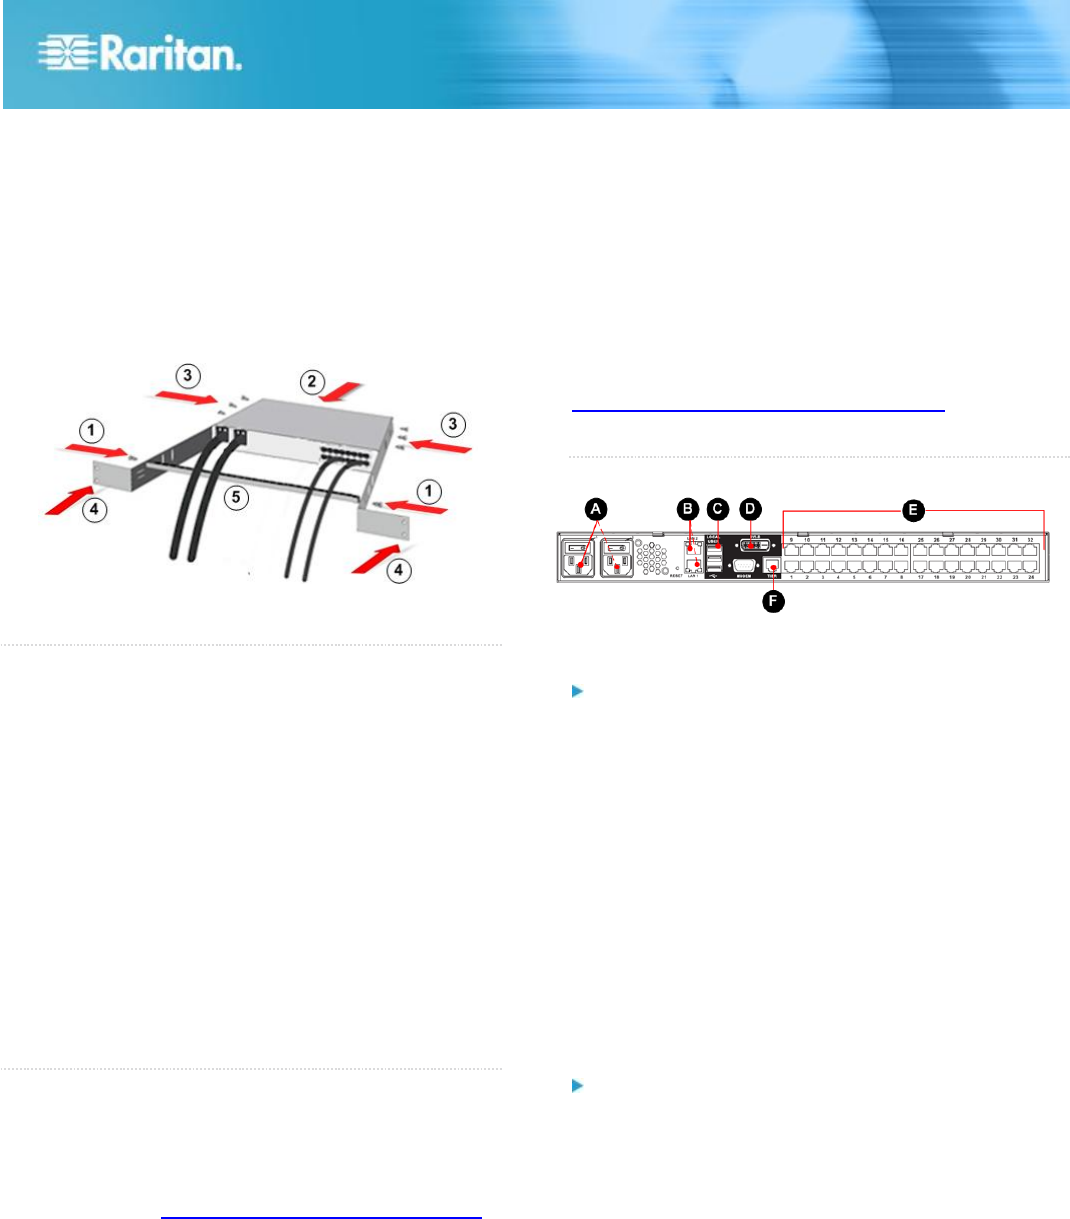
Step 3: Connecting the Equipment
A. AC Power
Connect the power supply(s):
1. Attach the included AC power cord to the KX III, and plug
it into an AC power outlet.
2. For dual-power failover protection, attach the second
included AC power cord to the KX III, and plug it into a
different power source than the first power cord.
B. Network Port
The KX III provides two Ethernet ports for failover purposes -
not for load-balancing.
By default, only LAN1 is active, and the automatic failover is
disabled.
Enable network failover if you want LAN2 to use the same IP
address should the KX III internal network interface or the
network switch it is connected to become unavailable.
To connect to the network:
1. Connect a standard Ethernet cable from the network port
labeled LAN1 to an Ethernet switch, hub, or router.
2. To use the optional KX III Ethernet failover capabilities:
a. Connect a standard Ethernet cable from the network
port labeled LAN2 to an Ethernet switch, hub, or
router.
b. Enable 'Automatic Failover' on the KX III Network
Configuration page.


