Installation and Connection 2-2
2-2 Installing the Projector
Install the projector so that the beam from the projector is perpendicular to the screen.
• Place the projector so that the lens aims at the center of the screen. If the screen is not vertical, the picture on the
screen may not appear rectangular.
• Do not install the screen in bright surroundings. If the surroundings are too bright, the picture on the screen will be
washed out and not display clearly.
• When using the projector in bright surroundings, use curtains to block the light.
• You can install the projector in the following locations relative to the screen: Front-Floor / Front-Ceiling / Rear-Floor /
Rear-Ceiling. To view the installation position settings, see below.
To adjust the picture when you install the projector behind the screen
To adjust the picture when you install the projector in the front of the screen
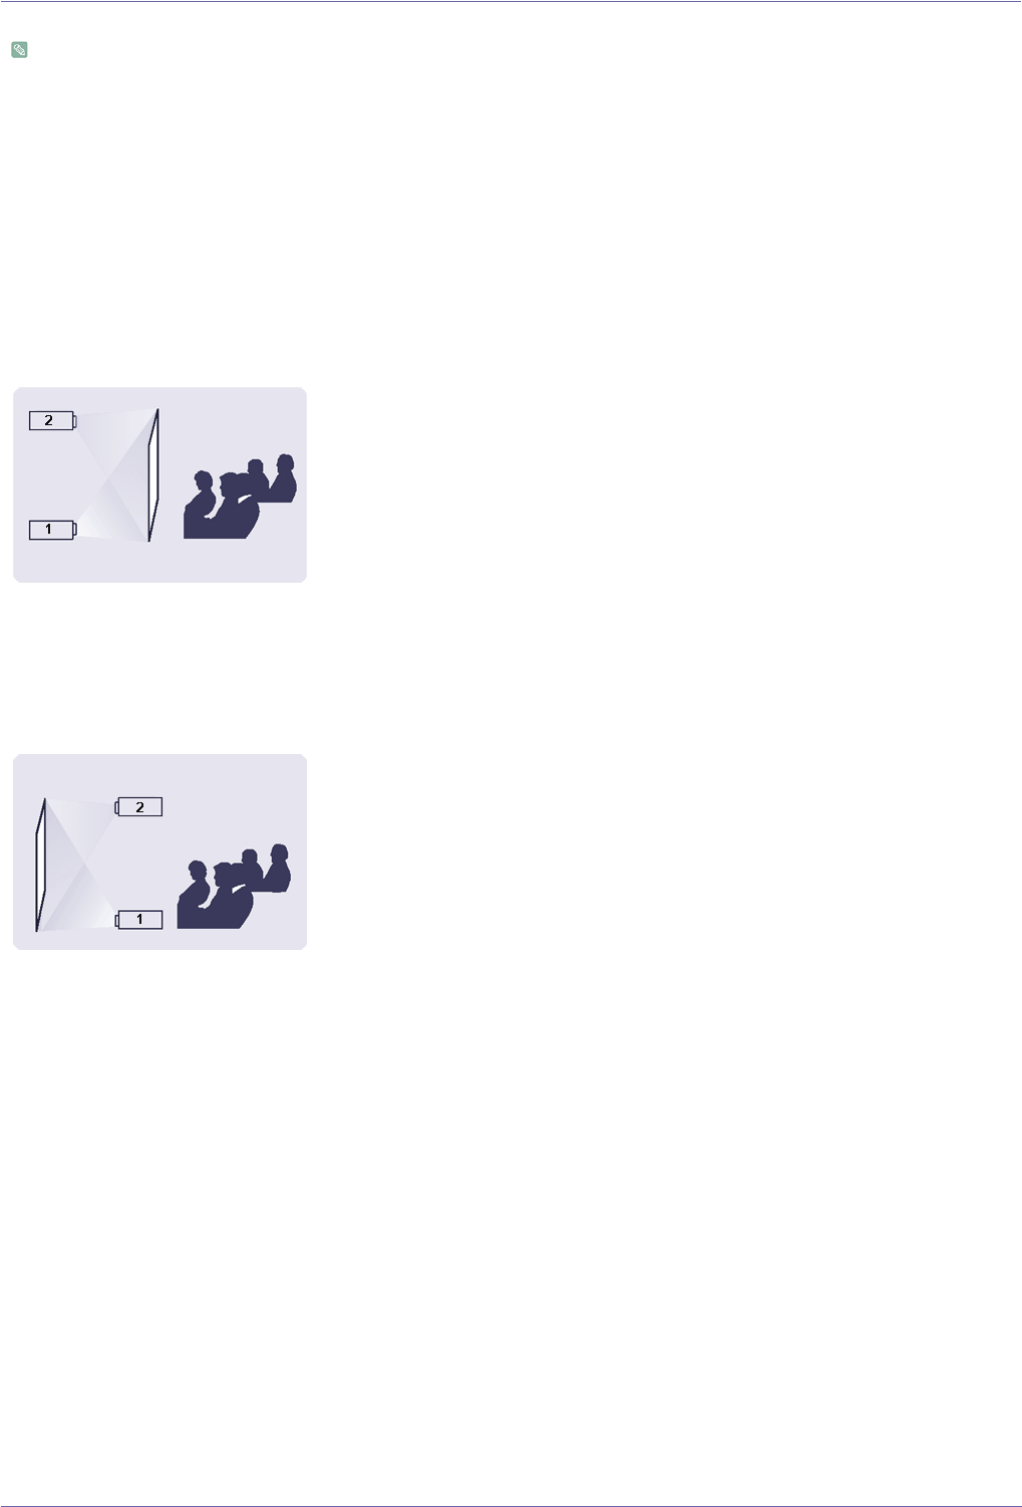
Installing behind a semi-transparent screen.
When you install the projector behind a semi-transparent screen,
you can use the menu to adjust the picture so that it displayscor-
rectly, depending on where you've located the projector, rearfloor
(or low) or rear-ceiling.
1. For rear-floor, press :
Menu > Setup > Install > Rear-Floor
2. For rear-ceiling, press :
Menu > Setup > Install > Rear-Ceiling
Installing the projector in front of the screen.
When you install the projector in front of a screen, you can use
the menu to adjust the picture so that it displays correctly,
depending on where you’ve located the projector, front-floor (or
low) or front-ceiling.
1. For front-floor, press :
Menu > Setup > Install > Front-Floor
2. For front-ceiling, press :
Menu > Setup > Install > Front-Ceiling


