


CX400 User Guide
Page 6 PN 9001107 Rev. A
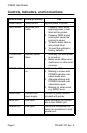
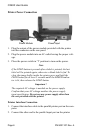
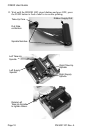
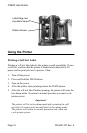
Printer Power Connection
1. Plug the output of the power module provided with the printer
into the connector on the rear panel.
2. Plug the power module into an AC outlet having the proper volt-
age.
3. Place the power switch in “I” position to turn on the power.
Note
If the FEED button is pressed after a label is printed, the last
label will be printed again; otherwise a blank label is fed. To
clear the image buffer inside the printer press and hold the
FEED button for at least 5 seconds untill the ERROR indica-
tor is lit, then release the FEED button.
Important !
The required AC voltage is marked on the power supply.
Confirm that your AC voltage matches the power supply
input specificaton. Do not use any power supply other than
the one provided with the printer.
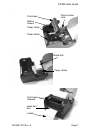
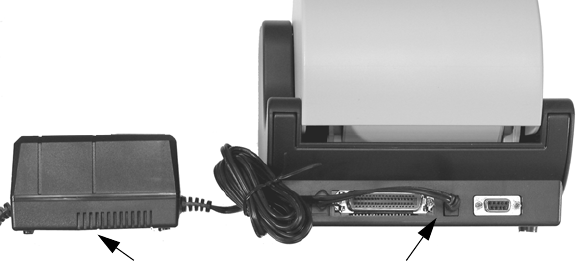
Printer Interface Connection
1. Connect the interface cable to the parallel printer port on the com-
puter.
2. Connect the other end to the parallel input port on the printer.
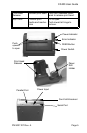
Power Input
Power Module