INDEX
CONTENTS
12
3
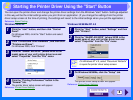
The SHARP scanner driver conforms to TWAIN, the industry standard, making it compatible with a variety of TWAIN-
compliant applications. Below is a step-by-step guide for acquiring a scanned image to the Sharpdesk desktop screen
using Sharpdesk.
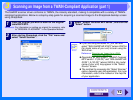
1
Place the original you wish to scan on the original
table/RSPF/SPF.
Reference: For information on setting an original for scanning, refer
to "ORIGINAL PLACEMENT" in the Operation Manual.
2
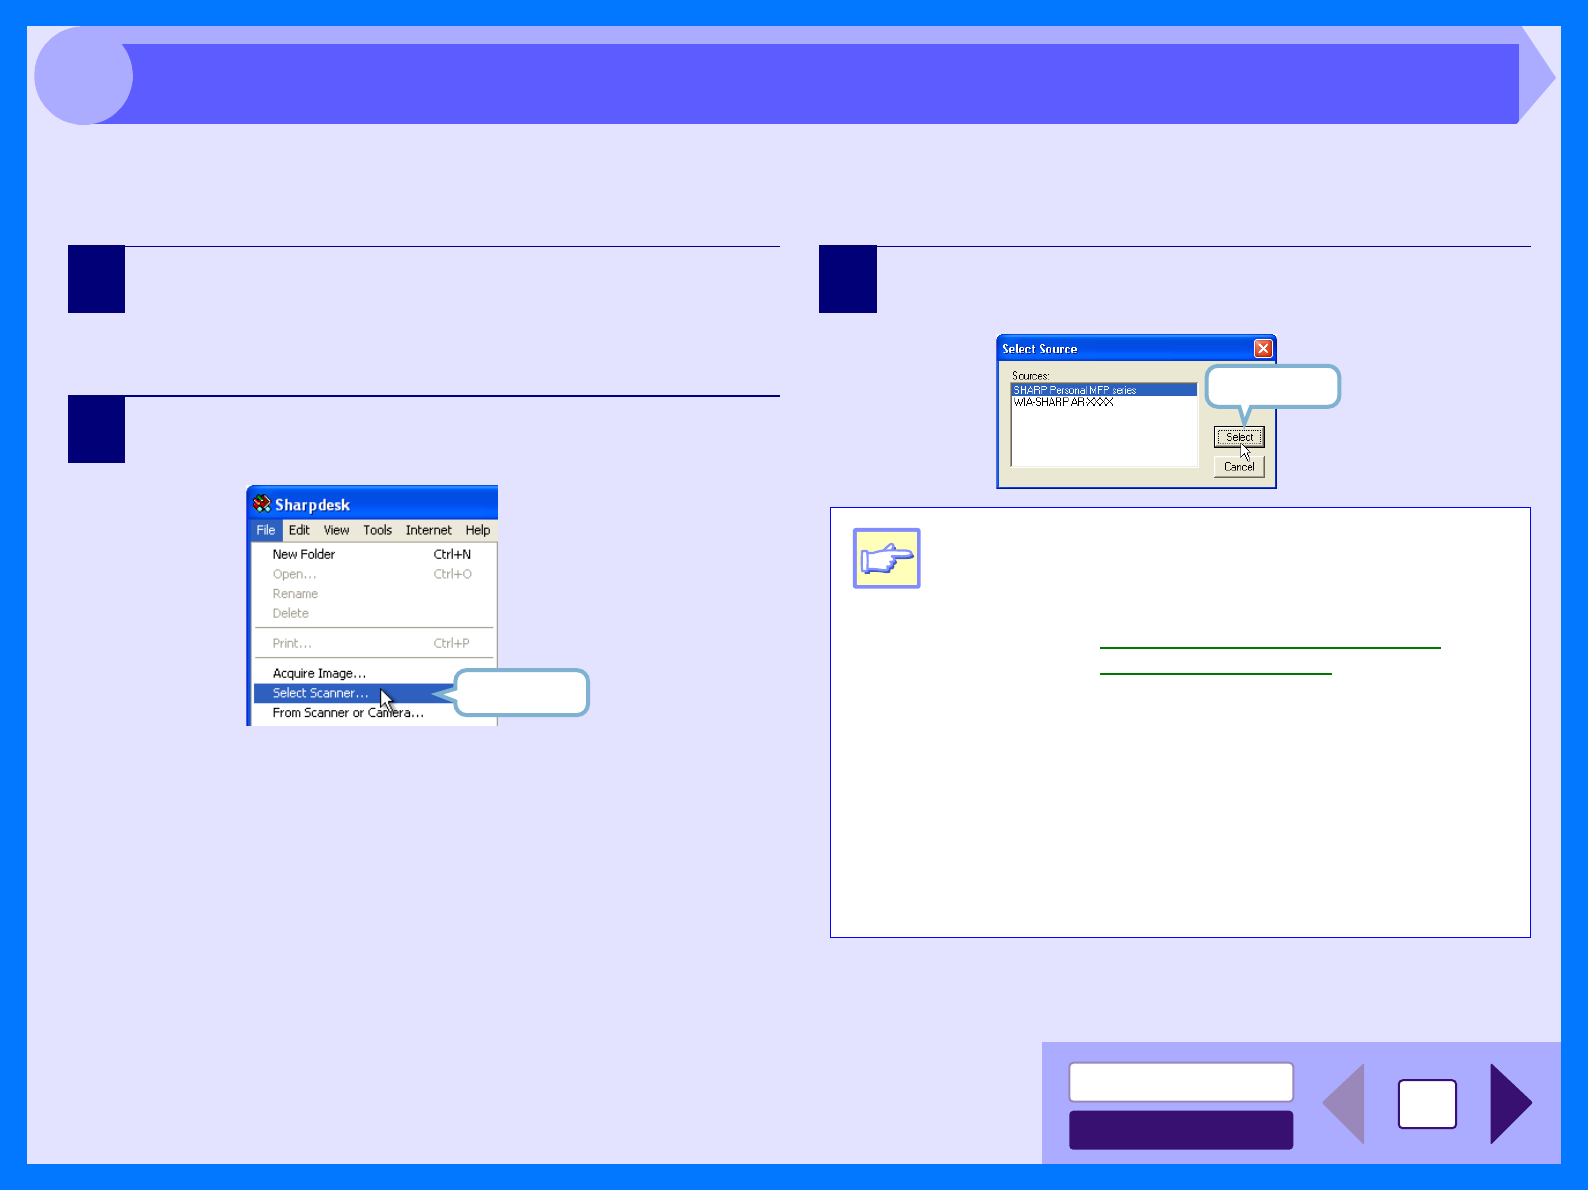
After starting Sharpdesk, click the "File" menu and
select "Select Scanner".
3
Select "SHARP Personal MFP series", and click the
"Select" button.
Click here.
Note
! If you are using Windows XP, you can also
select "WIA-SHARP AR-XXXX" (where XXXX is
the model name of your unit) to scan using the
WIA driver.
Reference: Scanning an Image from a WIA-
Compliant Application
! Depending on your system, "SHARP Personal
MFP series 1.0 (32-32)" and "WIA-SHARP AR-
XXXX 1.0 (32-32)" (where XXXX is the model
name of your unit) may appear in the "Select
Source" screen.
! The method for accessing the "Select Scanner"
option, depends upon the application. For more
information, refer to the manual or the help file
of your application.
Click here.
Scanning an Image from a TWAIN-Compliant Application (part 1)


