


AR-M350U UNPACKING AND INSTALLATION 6-2
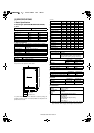
2. AR-P14 installing procedure
<Before installation>
* This installation procedure is provided for use with the AR-M350U/
M450U series.
* To connect this machine to a network, a Print Server Card (NIC) AR-
NC5J must be installed to the multi-function controller board in
advance.
* To enable the printer expansion function, the product key must be
acquired.
The application number, machine serial number, and product key
number are important information.
Keep the above information for future reference.
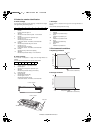
1) Mount the printer expantion kit ROMs to the control PWB.
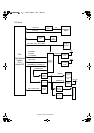
<1>Turn off the main switch of the main unit of the printer
Turn the main switch located on the front side of the main unit to the
"OFF" position.
If the machine is equipped with a facsimile unit, also turn off the FAX
power switch.
Then remove the power plug from the outlet.
.
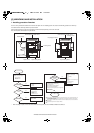
<2>Remove the cables connected to the control PWB unit.
Remove all the cables connected to the control PWB unit of the main unit
of the printer.
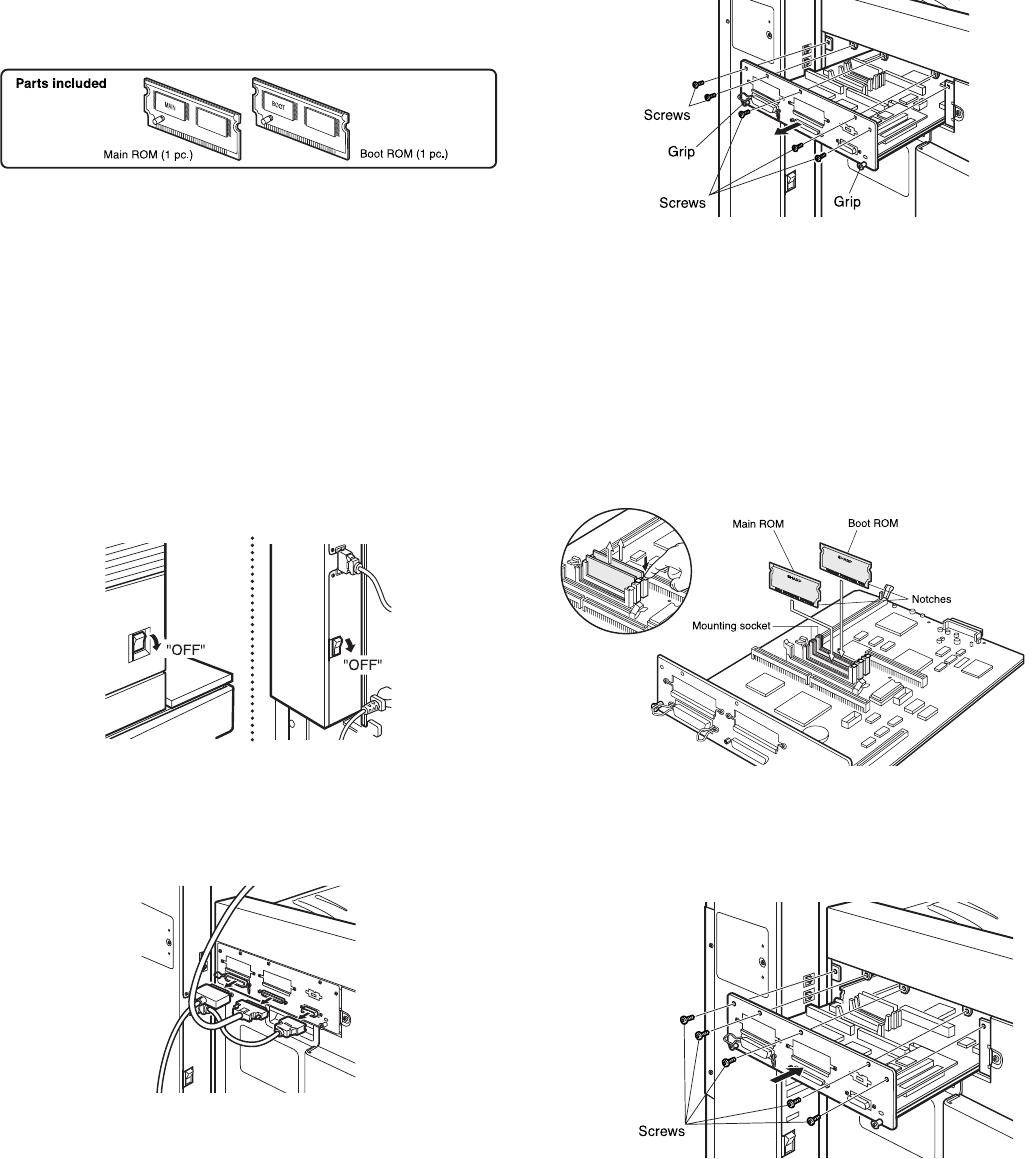
<3>Remove the control PWB unit.
Remove the five screws that fix the control PWB unit to the main unit of
the printer.
Then, hold the two grips and pull out the control PWB unit to remove it
from the main unit.
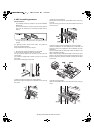
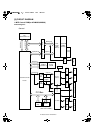
<4>Mount the printer expansion kit ROMs(2 pcs.)to the control PWB.
Remove the ROMs(main and boot ROMs)from the control PWB and
replace them with the two ROMs(main and boot ROMs)of the printer
expansion kit.
The main and boot ROMs are indicated with "MAIN" and "BOOT" on the
labels on the ROMs respectively.
When mounting the printer expansion kit ROMs, insert them to the same
positions in the same direction as those before replacement and ensure
that the inserted printer expansion kit ROMs are locked with the fittings
of the sockets.
<5>Re-attach the control PWB.
Attach the control PWB to the main unit of the printer and fix it using five
screws.