


Basic Operation
-33
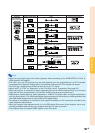
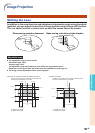
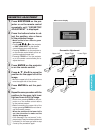
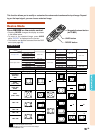
Geometric Adjustment
Upper Left Upper Right Lower Right
Lower Left
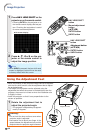
GEOMETRIC ADJUSTMENT
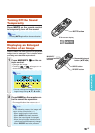
1 Press KEYSTONE on the pro-
jector or on the remote control
repeatedly until “GEOMETRIC
ADJUSTMENT” is displayed.
2 Press the buttons below to ad-
just the position, size or focus
of the projected image.
• Match screen’s four sides to green
test pattern.
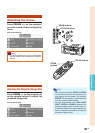
• Pressing
''
''
',
""
""
",
\\
\\
\ or
||
||
| on the projector
or H&V LENS SHIFT on the remote
control allows you to shift the lens.
• Pressing ZOOM +/– on the projector or
on the remote control allows you to ad-
just the projected image size.
• Pressing FOCUS +/– on the projector
or on the remote control allows you to
adjust the focus.
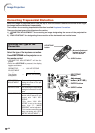
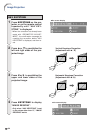
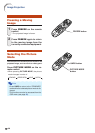
3 Press ENTER on the projector
or on the remote control.
4 Press ', ", \ or | to move the
position for the upper left of the
image.
• Move the upper left of the yellow frame
onto the upper left of the screen.
5 Press ENTER to set the posi-
tion.
6
Repeat the same procedure with the
positions for the upper right, lower
right and lower left of the image.
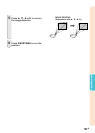
• At this time, pressing UNDO on the pro-
jector or on the remote control returns
to the previous screen.
• Before correcting the upper left of the
image, pressing UNDO returns to the re-
set confirmation screen.
• When the position of the lower left is
set, the correction is made and the
display disappears.
• If the message “Can not correct.” is dis-
played, step 2 may have been performed
incorrectly. In this case, go back to step
2 and try the procedure again.
▼On-screen display