


17
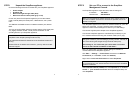
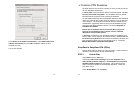
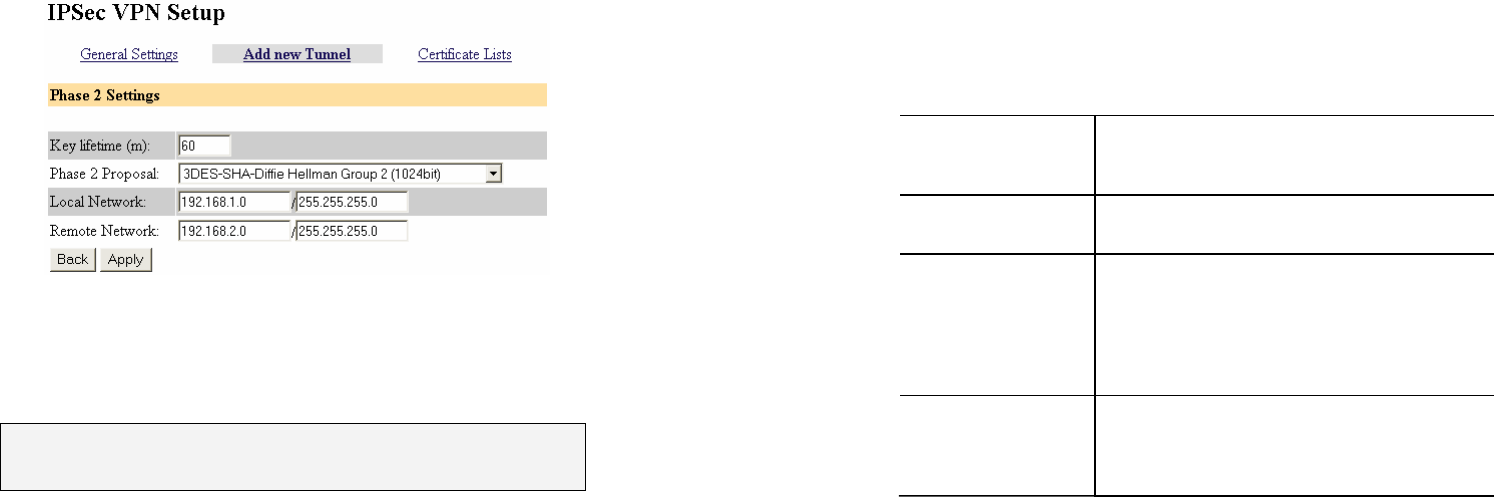
STEP 6 Phase 2 Settings
Enter the network address and network mask for the Local Network
(this SnapGear appliance) and the Remote Network (the other
SnapGear appliance). You can check this by opening Diagnostics in a
new browser window and looking under LAN Interface, e.g. if the IP
Address is 192.168.1.1 and Netmask is 255.255.255.0, enter
192.168.1.0/255.255.255.0.
Note: The two LANs being connected by the IPSec connection must
have network addresses that are different to each other, e.g.
192.168.1.0/255.255.255.0 and 192.168.2.0/255.255.255.0.
Click Apply and you're done.
STEP 6 Repeat
Your SnapGear appliance is now activated for IPSec VPN. Once you
have completed the steps at each end you will be up and running.
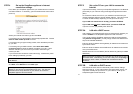
STEP 7 Verify
Under Tunnel List in the General Settings tab, check Status to see
whether the connection is Down or Running. Status will display
Negotiating Phase 1 then Negotiating Phase 2 as the connection is
being established.
18
Remote Workstation to SnapGear VPN (PPTP)
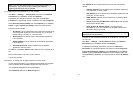
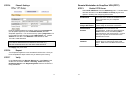
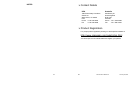
STEP 1 Enable PPTP Server
Select PPTP VPN Server from the Networking menu. The table below
describes the fields in the PPTP VPN Server Setup page and the
options in enabling and configuring VPN access.
Enable PPTP
Check this box to enable the establishment of
PPTP connections to your SnapGear
appliance.
IP Address(es) to
Assign VPN Clients
Enter a range of free IP addresses on your
LAN to assign to the remote connections.
Authentication
Scheme
MSCHAPv2 is the most secure and
recommended. It uses encrypted passwords.
CHAP is less secure, and similarly PAP is
even less secure, but more common. In some
cases you may have to choose them if the
default does not work.
Authentication
Database
Leave this as Local unless you wish to use
another server to authenticate PPTP VPN
clients. Refer to the User Manual if this is the
case.