


13
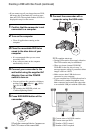
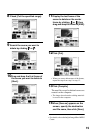
3 Connect your camcorder to the
wall outlet using the supplied AC
Adaptor, then turn on.
• You can perform this operation, whichever
position of the (Movie) / (Still) /
(PLAY/EDIT) is lit.
• For operating the POWER switch, see
“Camera Operating Guide”.
4 Connect the camcorder with a
computer using the USB cable.
[USB SELECT] appears on the LCD
screen of the camcorder.
• For connecting with the USB cable, see
page 10.
• Connect the USB cable from your camcorder
to the USB jack on the computer and make
sure no other USB devices are connected.
• If your computer has a USB keyboard and
USB mouse as standard equipment, have
them connected and connect them to a
camcorder to an available USB jack with the
USB cable.
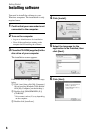
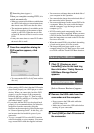
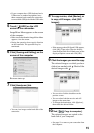
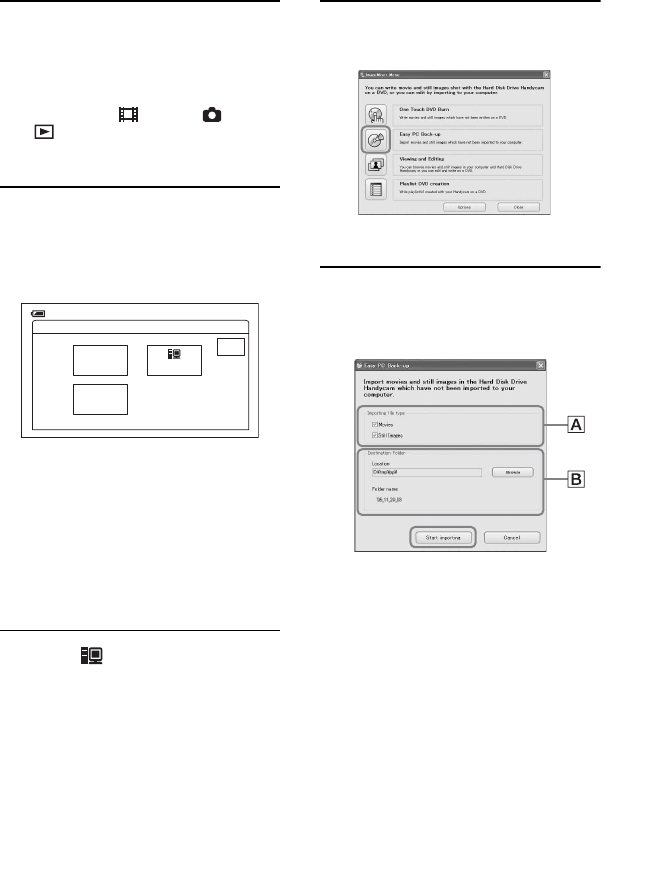
5 Touch [ HDD] on the LCD
screen of the camcorder.
ImageMixer Menu appears on the screen
of the computer.
• If the screen other than the ImageMixer Menu
appears, close the screen.
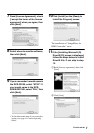
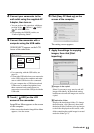
6 Click [Easy PC Back-up] on the
screen of the computer.
The setting screen appears.
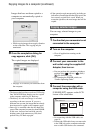
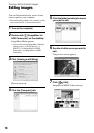
7 Apply the settings for copying
images, then click [Start
importing].
AImages to be copied
Select if you want to copy movies and still
images individually. In the default setting,
both the movies and still images are set to be
copied.
BDestination folder
Displays the destination folders. To change
the destination, click [Browse], then select
the desired folder. Each time you copy images
to the folder displayed on the screen, a new
folder containing the copied images is created
under the folder (p.12).
USB SELECT
END
DVD
BURN
PictBridge
PRINT
HDD
60min
Continued
,