


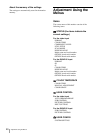
Adjustment Using the Menus
28
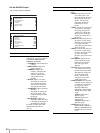
FUNCTION BUTTON SETTING
About the function assigned to the
function button
SCAN
Press to change the scan size of the picture according to
the setting of “STANDARD” or “FULL+NATIVE”
selected in SCAN (page 25).
ASPECT
Press to set the aspect ratio of the picture, 4:3 or 16:9.
Note
The panel of the monitor is 16:10.
When the 16:9 signal is displayed, black bars appear in
the upper and lower positions of the display. This is not
a malfunction. (See “Scan mode image” on page 26.)
EXT SYNC (external sync)
Press to operate the unit on an external sync signal
through the EXT SYNC IN connector.
EXT SYNC works when the component/RGB signals
are input.
BLUE ONLY
Press the assigned button to eliminate the red and green
signals. Only blue signal is displayed as an apparent
monochrome picture on the screen. This facilitates
“chroma” and “phase” adjustments and observation of
VCR noise.
MONO
Press the assigned button to display a monochrome
picture. When the buttons is pressed again, the monitor
switches automatically to color mode.
MARKER
Press to display the marker. Set the aspect marker and
safety area size in the MARKER SETTING menu (see
page 26).
H/V DELAY
Press to observe the horizontal and vertical sync signals
at the same time.
MULTI DISPLAY
Press the assigned button to display the multi display.
Set the multi display setting in the MULTI DISPLAY
SETTING menu (see page 27).
CLOSED CAPTION
Press the assigned button to display the closed caption.
Set the closed caption setting in the CLOSED
CAPTION SETTING menu (see page 29).
APA (Auto Pixel Alignment)
Press to adjust the picture automatically to maximum
clarity for the signal input to the HD15 input connector.
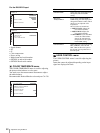
FRAME Sets the position of the main display
when MULTI DISPLAY is set to POP
and the sub display is put on the 4:3
display.
• RIGHT: The main display is put by
the right side of the sub display.
• LEFT: The main display is put by the
left side of the sub display.
SUB PICTURE
SIZE
Sets the size of the sub picture. You can
select from among 1 to 3. When the
setting is high, the size becomes large.
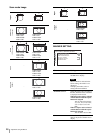
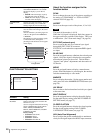
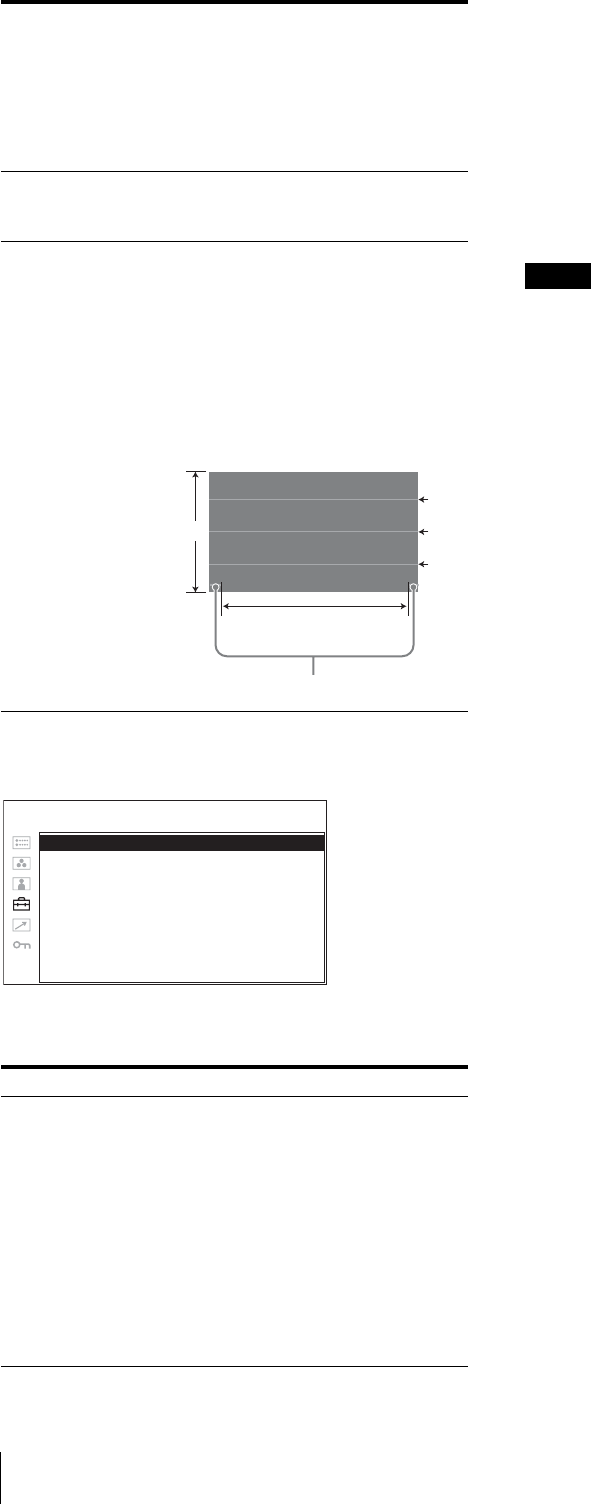
WAVE FORM Sets the signal to display the waveform.
You can select from among Y, R, G and
B signals.
You can select the sync timing signal for
Y, R, G or B signal from H PERIOD or
V PERIOD.
The indications of the waveform signify
as illustrated below, although the
percentages and characters do not appear
on the display.
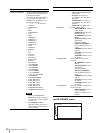
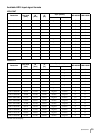
Submenu Setting
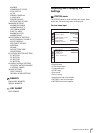
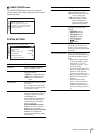
F1 BUTTON to F4
BUTTON
Assigns the function to the function
buttons of the front panel and turns the
function on or off.
You can assign the function from among
SCAN, ASPECT, EXT SYNC, BLUE
ONLY, MONO, MARKER, H/V
DELAY, MULTI DISPLAY, CLOSED
CAPTION and APA.
Factory setting
• F1 button: EXT SYNC
• F2 button: SCAN
• F3 button: ASPECT
• F4 button: H/V DELAY
100%
75%
50%
25%
1 field
Field guideline
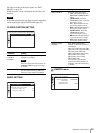
F1 BUTTON: xxxx
F2 BUTTON: xxxx
F3 BUTTON: xxxx
F4 BUTTON: xxxx
USER CONFIGt
FUNCTION BUTTON SETTING