


VAIO Notebook Computer User Guide
26
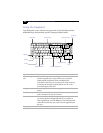
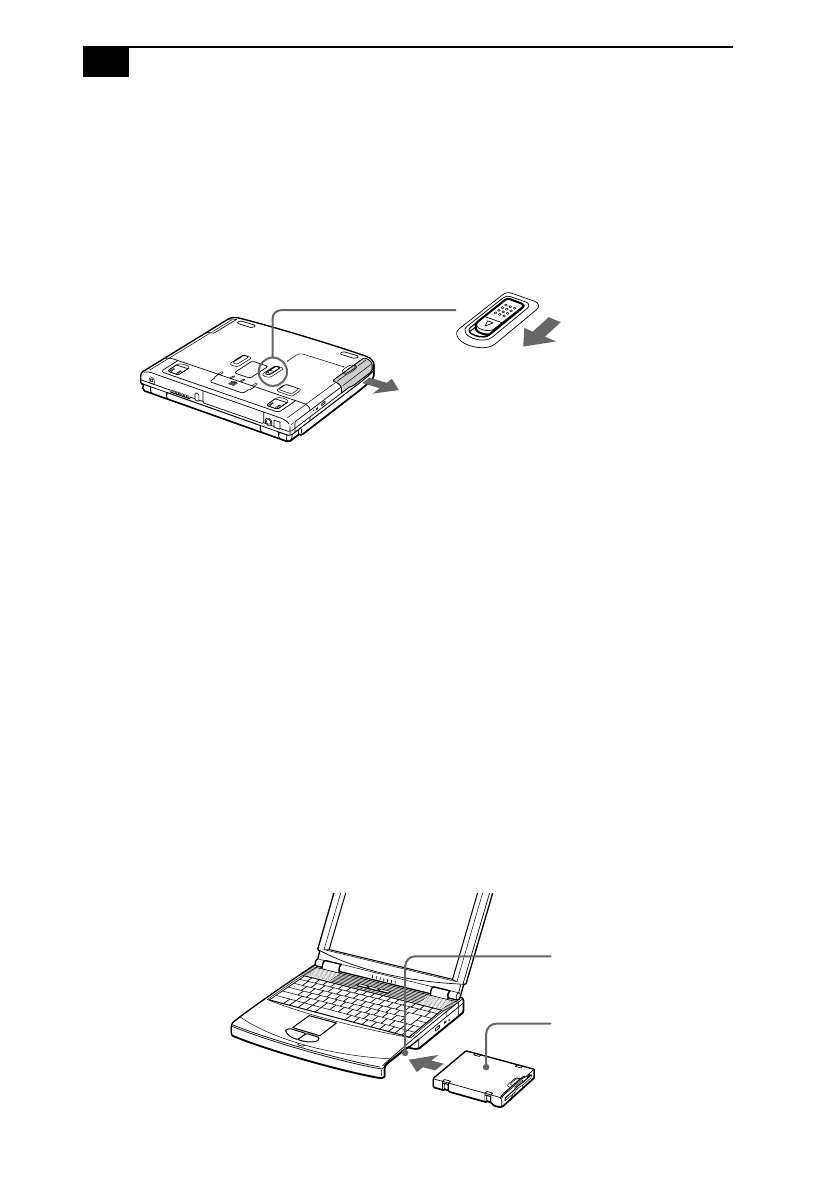
To remove the floppy disk drive
1
Turn off the computer.
2
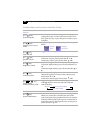
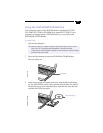
There is a RELEASE lever on the bottom of the computer. Slide this
lever in the direction of the arrow.
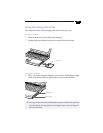
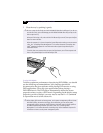
3
Slide the drive out of the drive bay.
4
Insert the weight saver. See “Using the Weight Saver” on page 39.
To reinsert the floppy disk drive
1
Turn off the computer.
2
If another device is in the drive bay, remove the device. See “To
remove the floppy disk drive” on page 26 or “To remove the second
battery pack” on page 38.
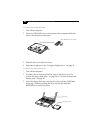
3
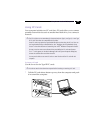
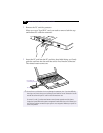
Insert the floppy disk drive into the drive bay with the VAIO label
facing up. Continue pushing the drive into the bay until the
RELEASE lever locks into place.
Drive RELEASE lever on bottom
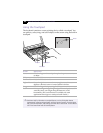
Drive bay
Floppy disk drive