


Sony Notebook User Guide
Connecting peripheral devices
74
nN
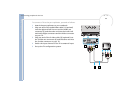
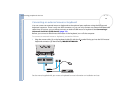
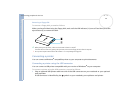
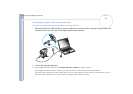
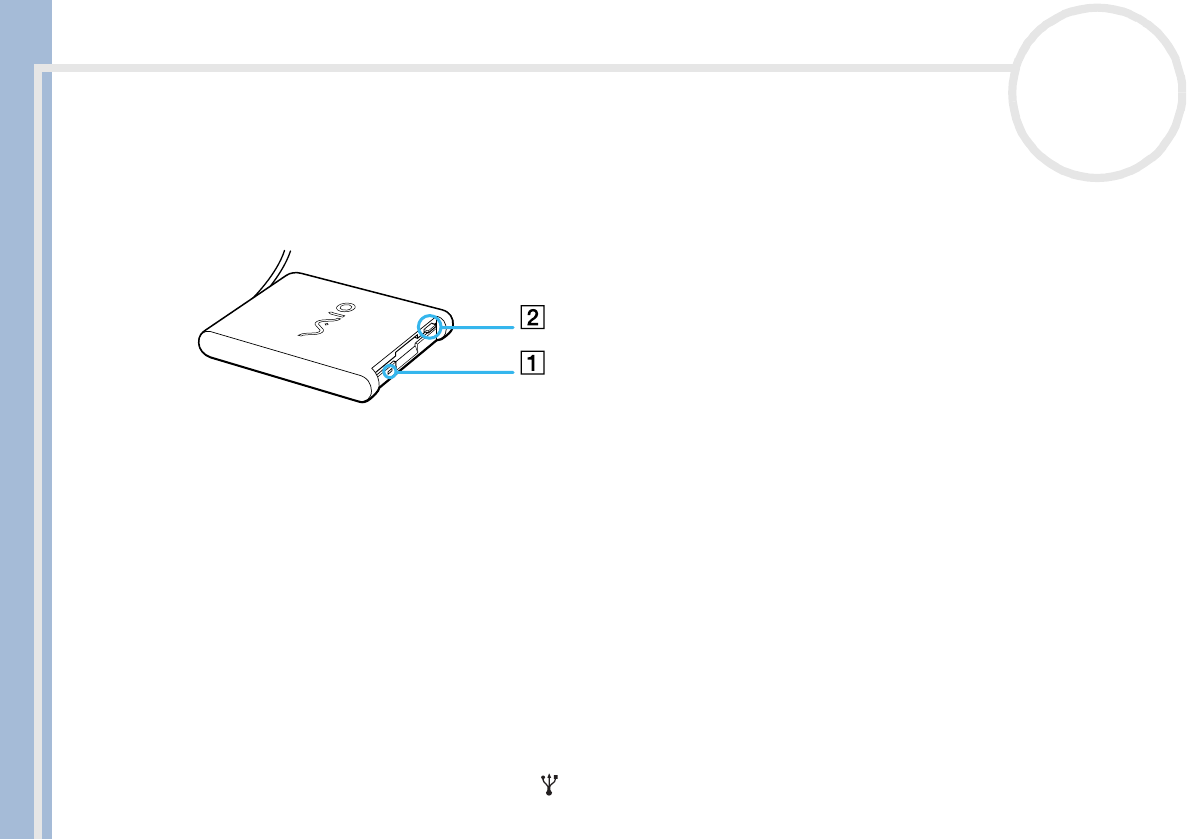
Removing a floppy disk
To remove a floppy disk, proceed as follows:
When you have finished using the floppy disk, wait until the LED indicator (1) turns off and then press the
eject button (2) to remove the disk.
✍ Before pressing the eject button, make sure that the LED indicator is turned off.
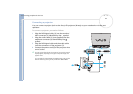
If the disk does not come out by pressing the eject button, disconnect the floppy disk drive from the computer.
! Do not press the eject button while the LED indicator is on. It may damage the floppy disk.
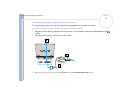
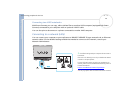
Connecting a printer
You can connect a Windows
®
-compatible printer to your computer to print documents.
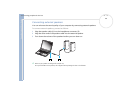
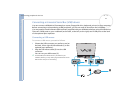
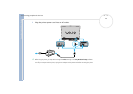
Connecting a printer using the USB connector
You can connect a USB printer compatible with your version of Windows
®
to your computer.
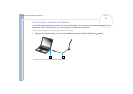
To connect a printer using the USB connector, proceed as follows:
1 Plug an optional USB printer cable into one of the USB connectors on your notebook or your optional
port replicator.
A USB connector is identified by the symbol on your notebook, port replicator and printer.