VAIO Computer Reference Manual
38
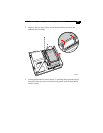
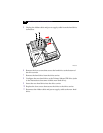
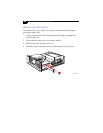
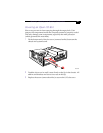
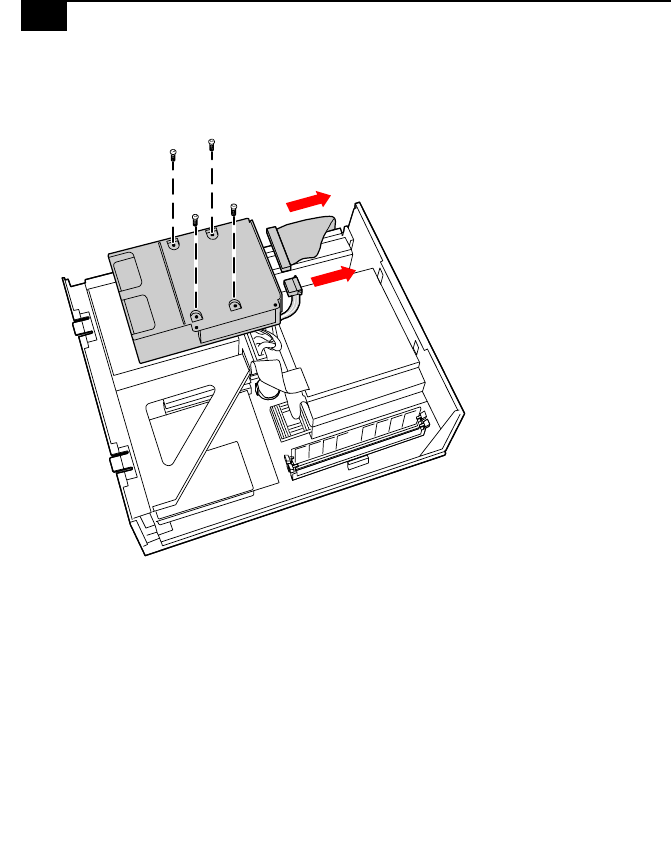
5 Unplug the ribbon cable and power supply cable from the hard drive
connectors.
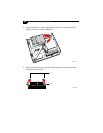
6 Remove the four screws that secure the hard drive to the bottom of
the drive carrier.
7 Remove the hard drive from the drive carrier.
8 Configure the new hard drive as the Primary Master IDE drive (refer
to the instructions that came with the new hard drive).
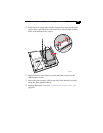
9 Insert the new hard drive into the drive carrier.
10 Replace the four screws that secure the drive to the drive carrier.
11 Reconnect the ribbon cable and power supply cable to the new hard
drive.
MAN004.VSD


