


13 (GB)
x MODE RESET menu (resetting every
mode to the default) 0
You can reset the adjustments to the default settings.
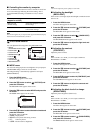
1 Press the MENU button.
The main menu appears on the screen.
2 Press the m/M button to select (PICTURE) and
press the OK button.
The PICTURE menu appears on the screen.
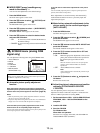
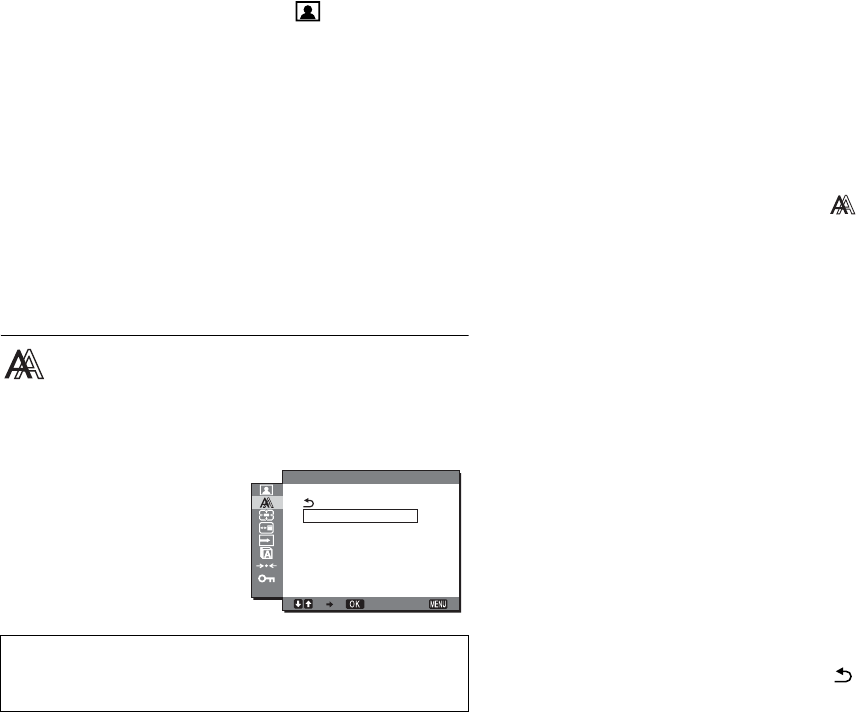
3 Press the m/M buttons to select 0 (MODE RESET)
and press the OK button.
The MODE RESET menu appears on the screen.
4 Press the m/M buttons to select the desired mode
and press the OK button.
• OK: To reset every mode in the PICTURE menu to
the default settings.
• CANCEL:To cancel resetting and return to the PICTURE
menu.
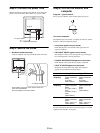
SCREEN menu (analog RGB
signal only)
You can adjust the following items using the SCREEN menu.
• AUTO ADJUST
• PHASE
•PITCH
•H CENTER
•V CENTER
• RESOLUTION
(SDM-G206W only)
x Automatic picture quality adjustment
function
When the monitor receives an input signal, it automatically
adjusts the picture’s position and sharpness (phase/pitch), and
ensures that a clear picture appears on the screen (
page 18
).
Notes
• While the automatic picture quality adjustment function is activated,
only the 1 (power) switch will operate.
• The picture may flicker during this time, but this is not a malfunction.
Simply wait a few moments until the adjustment completes.
If the automatic picture quality adjustment function of this
monitor seems to not completely adjust the picture
You can make further automatic adjustment of the picture quality for the
current input signal (See AUTO ADJUST).
If you still need to make further adjustments to the picture
quality
You can manually adjust the picture’s sharpness (phase/pitch) and
position (horizontal/vertical position).
These adjustments are stored in memory and automatically
recalled when the monitor receives a previously input and
registered input signal.
x Make further automatic adjustments to the
picture quality for the current input signal
(AUTO ADJUST)
1 Press the MENU button.
The main menu appears on the screen.
2 Press the m/M buttons to select (SCREEN) and
press the OK button.
The SCREEN menu appears on the screen.
3 Press the m/M buttons to select AUTO ADJUST and
press the OK button.
The AUTO ADJUST menu appears on the screen.
4 Press the m/M buttons to select ON or OFF and
press the OK button.
• ON: Make the appropriate adjustments of the screen's
phase, pitch and horizontal/vertical position for
the current input signal and store them.
Note
When the monitor is turned on or the input signal is
changed, AUTO ADJUST makes the automatic
adjustments.
• OFF: AUTO ADJUST is not available.
Note
AUTO ADJUST works automatically when the input
signal is changed.
5 Press the m/M buttons to select and press the
OK button.
Return to the menu screen.
x Adjust the picture’s sharpness and position
manually (PITCH/PHASE/H CENTER/
VCENTER)
You can adjust the picture’s sharpness as follows. This
adjustment is effective when the computer is connected to the
monitor’s HD15 input connector (analog RGB).
1 Set the resolution to 1280 × 1024 for SDM-G76D and
SDM-G96D, 1680 × 1050 for SDM-G206W on the
computer.
2 Load the CD-ROM.
3 Start the CD-ROM
For Windows User
When Auto run operates:
Select the area, language and model, and click DISPLAY
ADJUSTMENT TOOL (UTILITY).
Note
When receiving digital RGB signals from the DVI-D input connector
for INPUT1, adjustment is unnecessary.
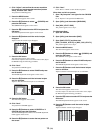
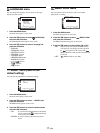
EXIT
1680 1050 60Hzx/
AUTO ADJUST
PHASE
P TCH
H CENTER
V CENTER
RESOLUT ON
SCREEN
I
I