5
US
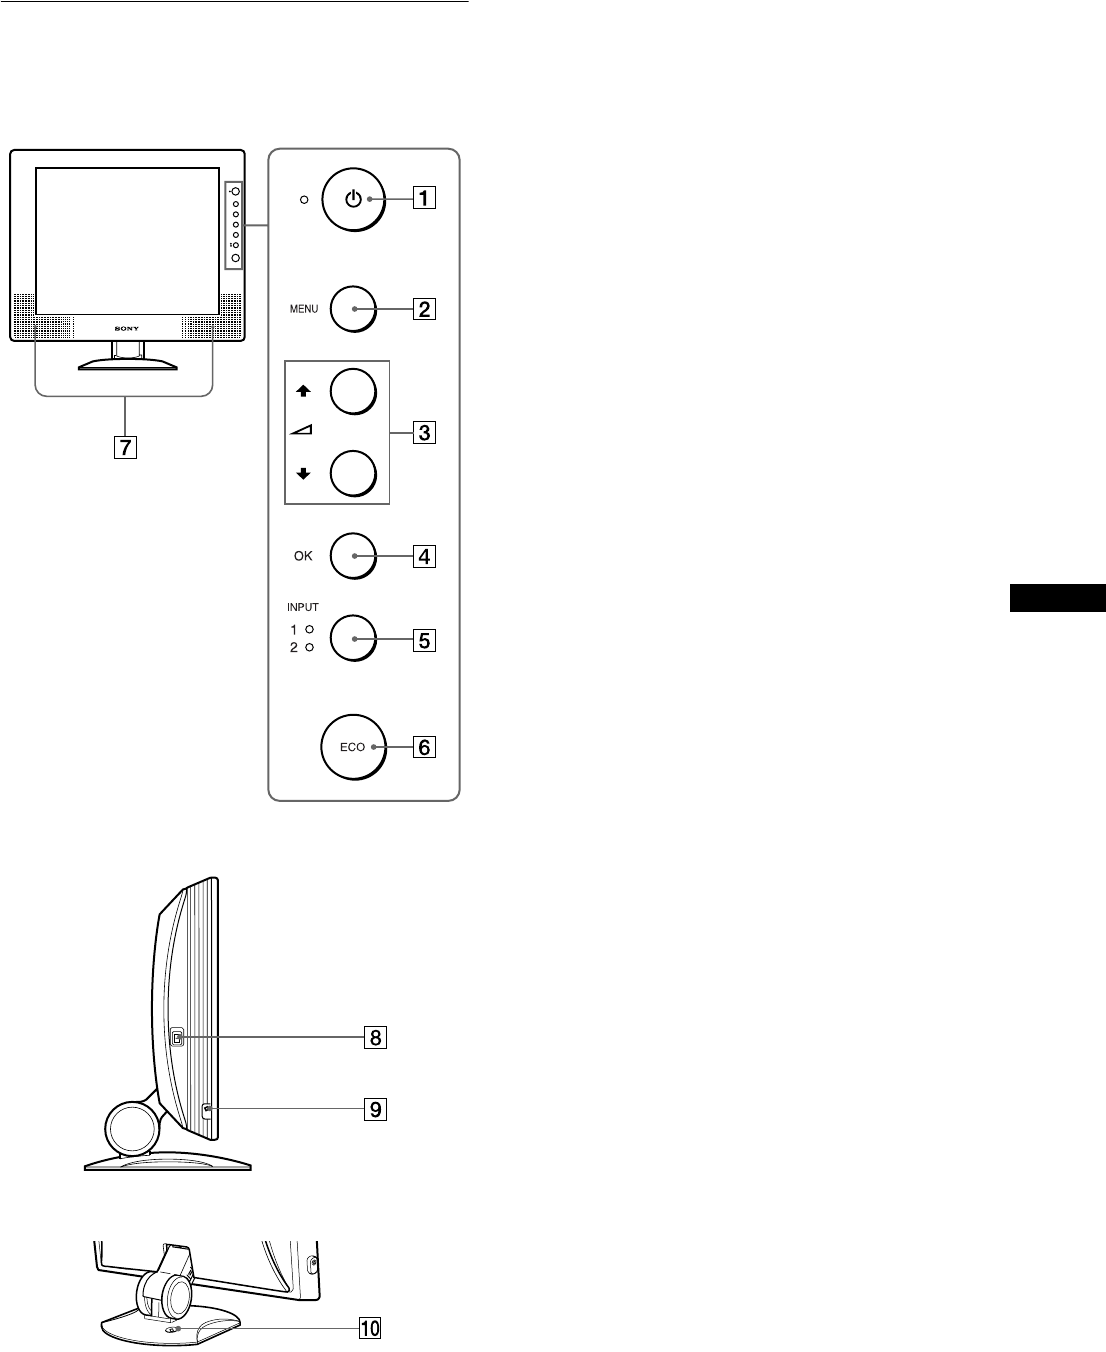
Identifying parts and controls
See the pages in parentheses for further details.
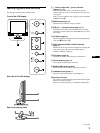
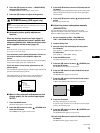
1 1 (Power) switch and 1 (power) indicator
(pages 9, 17, 22)
This switch turns the monitor on when the 1 (power)
indicator lights up in red. To turn the monitor off, press this
switch again.
If the 1 (power) indicator does not light up, press the MAIN
POWER switch (8).
2 MENU button (page 12)
This button turns the menu screen on and off.
3 M/m and 2 (volume) buttons (page 12, 17)
These buttons are used to select the menu items and make
adjustments, and also display the VOLUME menu to control
the volume.
4 OK button (page 12)
This button activates the selected menu item and adjustments
using with M/m buttons (3).
5 INPUT button and INPUT1/INPUT2 indicator
(page 11)
This button selects the connected computer for switching the
video input signals, and the corresponding indicator,
(INPUT1 or INPUT2) lights up.
6 ECO button (page 18)
This button is used to reduce the power consumption.
7 Stereo speakers (page 17)
These output the audio signals as sound.
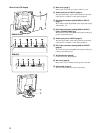
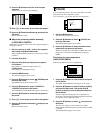
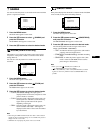
8 MAIN POWER switch (page 9)
This switch turns the monitor’s main power on and off.
9 Headphones jack (page 17)
This jack outputs audio signals to the headphones.
0 Security Lock Hole
The security lock hole should be applied with the Kensington
Micro Saver Security System.
Micro Saver Security System is a trademark of Kensington.
Front of the LCD display
Side view of the LCD display
Rear of the display stand
(continued)


